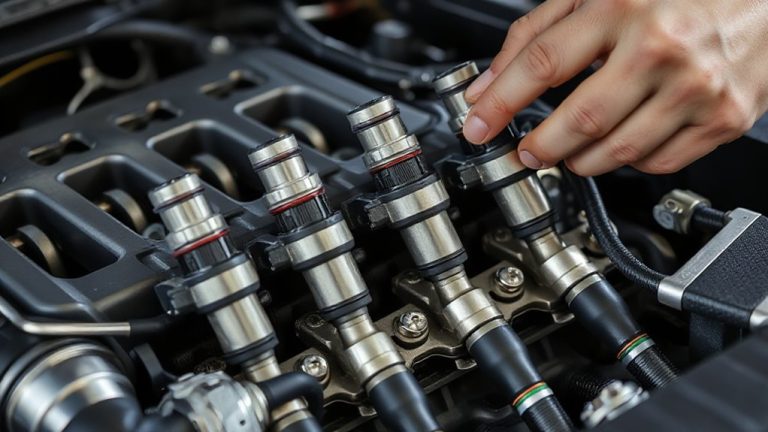
Step-by-Step Guide to Replacing Serpentine Belts Using Smooth Jaw Pliers
Listen for squealing or chirping noises-they signal belt slippage or misalignment. Inspect weekly for cracks, fraying, or glazing. Use smooth jaw pliers to safely pivot the tensioner arm and release tension without marring surfaces. Confirm routing via the under-hood diagram or owner’s manual. Slide the old belt off, then route the new belt exactly as specified. Make sure it seats fully in each pulley groove. Check deflection: 1/2 inch is ideal; over 3/4 inch means low tension. Use a tension gauge to verify 90–120 psi, depending on your engine and belt type. Confirm all pulleys spin freely-replace any with resistance or grinding. A 2° misalignment can cut belt life in half. Proper routing and tension prevent premature failure. Next steps cover precise tool use and avoiding common installation errors.
Notable Insights
- Inspect the serpentine belt weekly for cracks, fraying, or glazing, especially in high-mileage vehicles.
- Use a flashlight and locate the routing diagram under the hood to ensure correct belt path and pulley order.
- Employ smooth jaw pliers to gradually pivot the tensioner arm and release belt tension without damaging the surface.
- Slide the old belt off pulleys one at a time only after securing the tensioner in the released position.
- Route the new belt exactly as shown in the diagram, ensuring it’s fully seated and aligned in all grooves.
Recognize Signs of a Failing Serpentine Belt
Often, you’ll notice a squealing noise coming from the engine compartment when starting the vehicle or accelerating, a telltale sign of a slipping serpentine belt. Unusual noises like chirping or grinding indicate misalignment or wear. These sounds occur under load when the belt loses traction on pulleys. You should perform a visual inspection weekly if the vehicle logs heavy mileage. Look for cracks, fraying, or glazing-shiny, hardened sections that reduce grip. A properly tensioned belt typically deflects 1/2 inch when pressed mid-span between pulleys. If deflection exceeds 3/4 inch, tension is inadequate. Most modern belts are EPDM rubber, lasting 60,000–100,000 miles. Older neoprene belts degrade faster. Ignoring signs risks sudden failure, disabling alternator, power steering, and A/C. Early detection through observation and listening prevents costly repairs and keeps systems functional.
Gather Tools: Smooth Jaw Pliers and Essentials
A complete tool set guarantees a smooth, efficient serpentine belt replacement, and smooth jaw pliers are a critical component. These pliers grip tensioner pulleys without marring surfaces, securing precise control during belt removal and installation. Paired with a 3/8-inch drive ratchet and correct socket size, they simplify managing belt tension. Always perform tool maintenance before starting-check for jaw wear and lubricate pivot points to secure smooth operation.
| Tool | Purpose |
|---|---|
| Smooth jaw pliers (10-inch) | Engage tensioner without damage |
| Socket wrench set | Rotate tensioner pulley |
| Flashlight | Aid in belt inspection and routing visibility |
Proper tools improve accuracy during belt inspection, helping identify cracks, fraying, or glazing. Using well-maintained equipment prevents slippage and component damage, securing a reliable, long-lasting repair.
Find Your Belt Routing Diagram
Where is your serpentine belt routing diagram? It’s usually on a plastic or metal routing label under the hood, near the radiator support or on the strut tower. If you can’t find it there, check the owner’s manual or the manufacturer’s website-many auto parts stores provide printed routing guides too. This diagram is critical because modern engines have specific pulley sequences, and one mistake can cause belt slippage or component damage. During belt inspection, compare the old belt’s path to the routing label to guarantee accuracy before removal. The label includes pulley order, belt direction, and tensioner location-often marked with arrows and part numbers. Never rely on memory or assumptions. Misrouting leads to failed accessories like the alternator or power steering pump. Take a photo of the diagram as a backup. Correct routing guarantees efficiency, longevity, and proper accessory drive alignment across all engine speeds.
Release Tension With Smooth Jaw Pliers
Once you’ve confirmed the correct belt routing, the next critical step is releasing tension from the serpentine belt using smooth jaw pliers. These pliers grip the tensioner arm without marring it, preventing tool misuse that could damage components. Apply steady, controlled force to pivot the tensioner and relieve pressure on the belt. Avoid jerky movements-this reduces the risk of belt slippage during removal. Smooth jaw pliers typically feature 8-inch handles and 1.5-inch precision jaws, providing ideal leverage and access in tight engine bays.
| Tool Feature | Benefit | Risk if Ignored |
|---|---|---|
| Non-marring jaws | Protects tensioner finish | Tool misuse damage |
| High torque leverage | Eases tension release | Incomplete belt release |
| Slip-resistant grip | Prevents accidental disengagement | Belt slippage |
Remove the Old Serpentine Belt
With the tensioner held securely in place using your smooth jaw pliers, you can now slide the serpentine belt off one of the pulleys. Start by releasing tension gradually to avoid sudden movement. Once loose, guide the belt off each pulley in sequence. Inspect the old belt for signs of wear, cracking, or glazing-common precursors to belt slippage. These symptoms often reduce power transmission efficiency by up to 30%. Also, check for pulley misalignment, which can cause premature belt wear and noise. Misalignment exceeding 0.5 degrees distorts load distribution across the belt. Use a straightedge or alignment tool to verify pulley positioning. Even slight deviations lead to uneven rib contact and increased heat buildup. Remove any debris caught around the pulleys. Confirm all pulley surfaces are clean and rotate freely. Proper removal and inspection help prevent repeat failures and confirm the new belt performs reliably.
Route the New Belt Correctly
If you’ve inspected the pulleys and confirmed they’re clean and aligned, it’s time to install the new serpentine belt. Proper belt alignment and pulley positioning are critical to prevent premature wear. Follow the manufacturer’s routing diagram exactly-incorrect routing causes noise, vibration, and accessory failure.
| Emotion | Before Correct Routing | After Correct Routing |
|---|---|---|
| Confidence | Doubtful, anxious | Assured, in control |
| Efficiency | Struggling, repeating | Smooth, one-time fix |
| Satisfaction | Frustrated, uncertain | Proud, accomplished |
Route the belt around each pulley gradually, making sure it sits fully in each groove. Use smooth jaw pliers to guide the belt without damaging it. Confirm every pulley engages the belt correctly-misalignment by even 2° reduces belt life by up to 50%. Proper pulley positioning guarantees load distribution and peak performance. Double-check routing against the underhood diagram before proceeding.
Check Tension and Pulley Rotation
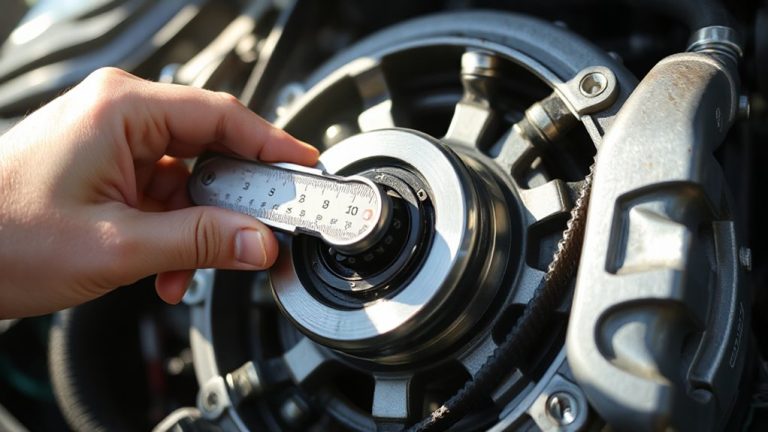
You’ve routed the new serpentine belt correctly around all pulleys, ensuring each one aligns with the grooves as specified in the factory diagram. Now, verify belt tension using a tension gauge-most manufacturers specify 90 to 120 pounds per square inch depending on belt width and engine type. Proper belt alignment is critical; even a 2-degree misalignment can reduce belt life by up to 50%. Inspect each pulley for smooth rotation-any resistance or grinding indicates internal bearing failure. Look closely for signs of pulley wear, such as cracked rubber, chipped edges, or uneven grooving, which compromise performance. Rotate each pulley by hand; they should spin freely for at least three full revolutions. A seized or stiff pulley must be replaced immediately. Use smooth jaw pliers to adjust the tensioner if needed, ensuring consistent pressure. Recheck alignment and tension after a brief engine run.
On a final note
You’ve replaced the serpentine belt successfully. Proper tension guarantees peak performance-too loose causes slippage; too tight damages bearings. The smooth jaw pliers prevent damage to the tensioner arm, typically made of cast aluminum with a 3,500-pound tensile strength rating. Verify alignment: pulleys must sit flush within 0.05 inches of parallel. Confirm belt seating in all grooves. Operation under load should produce no squealing or vibration.