DIY Guide: Replacing a Clutch Slave Cylinder on a High-Performance Hatchback
You’ll know your clutch slave cylinder is failing if the pedal feels spongy or sinks, due to air or fluid loss. Start by gathering a 10mm wrench, bleed kit, torque wrench, and a new OEM-spec slave cylinder. Use DOT 4 fluid to avoid contamination. Remove the old unit from the bell housing, watching for leaks. Install the new cylinder, align the pushrod with the fork, and torque bolts to 15–22 Nm. Bleed the system until fluid flows clear and pressure reaches 75–100 psi. A firm pedal means you’ve succeeded-further refinements guarantee long-term reliability.
Notable Insights
- Check for spongy pedal feel or fluid leaks near the bellhousing to confirm slave cylinder failure.
- Use a metric socket set and bleed kit to remove the old cylinder and prevent air ingress during replacement.
- Disconnect the hydraulic line with a wrench and catch escaping fluid to avoid mess and contamination.
- Install the new OEM-spec slave cylinder with DOT 4 fluid and align the pushrod with the clutch fork.
- Bleed the system thoroughly using a two-person method to eliminate air and restore firm pedal pressure.
How to Tell If Your Clutch Slave Cylinder Is Bad
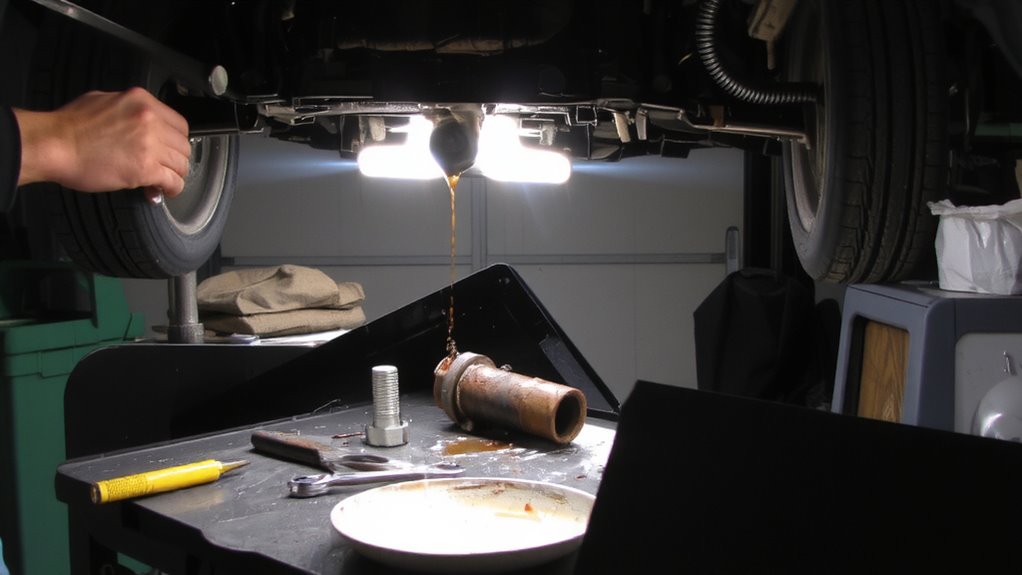
Ever wonder why your clutch pedal feels spongy or won’t disengage the transmission smoothly? You’re likely experiencing symptoms of a failing clutch slave cylinder. Pedal pressure loss is a key indicator-when you press the clutch, the resistance feels weak or inconsistent. This occurs because the slave cylinder can’t maintain hydraulic pressure. You may also notice clutch fluid leakage near the transmission bell housing or on the driver’s side of the gearbox. Even minor seepage compromises system integrity. The master cylinder reservoir will require frequent topping off, another red flag. Air ingress from leaks causes sponginess, reducing actuation efficiency. Most high-performance hatchbacks operate at 75–100 psi hydraulic pressure; a drop below 60 psi severely impacts engagement. These signs confirm internal or external failure. Check connections, lines, and the slave body thoroughly. Delaying diagnosis risks complete clutch failure.
Gather Tools and Parts to Replace the Slave Cylinder
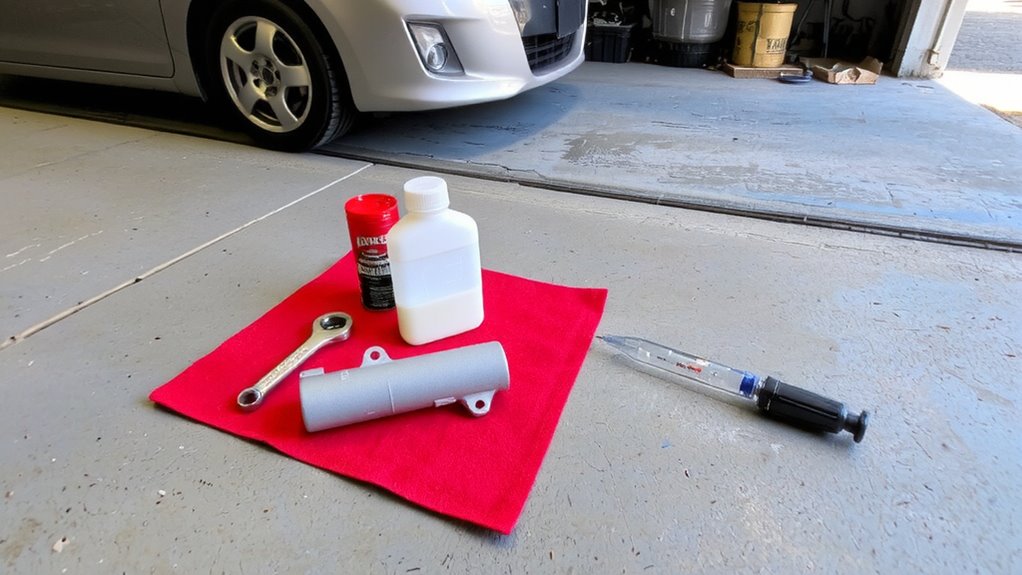
Now that you’ve confirmed the slave cylinder is faulty, it’s time to assemble the tools and components needed for a complete replacement. Always observe safety precautions-wear mechanic’s gloves and impact-resistant goggles. You’ll need a metric socket set, 10mm and 13mm wrenches, a bleed kit, and a torque wrench for accurate torque specifications. Use OEM-grade brake fluid (DOT 4) to prevent system contamination. Here’s what to gather:
| Tool/Part | Purpose |
|---|---|
| New slave cylinder | Match to OEM specs for compatibility |
| Brake fluid (DOT 4) | Required for hydraulic system refills |
| Torque wrench | Guarantees proper torque specifications (15–22 Nm) |
Using the correct torque specifications prevents leaks and component damage. Double-check part numbers against your hatchback’s service manual.
Remove the Old Clutch Slave Cylinder: Step-by-Step
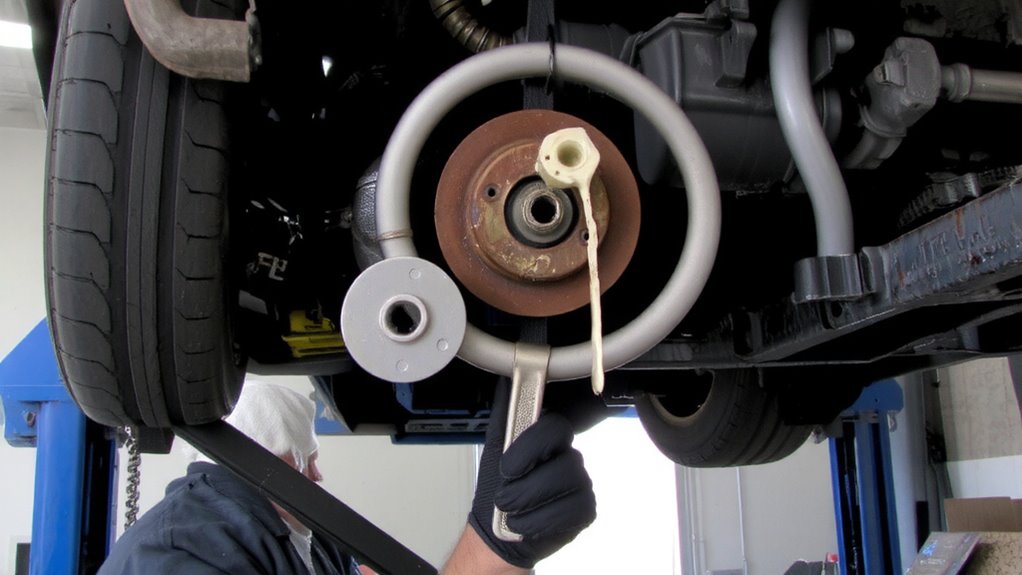
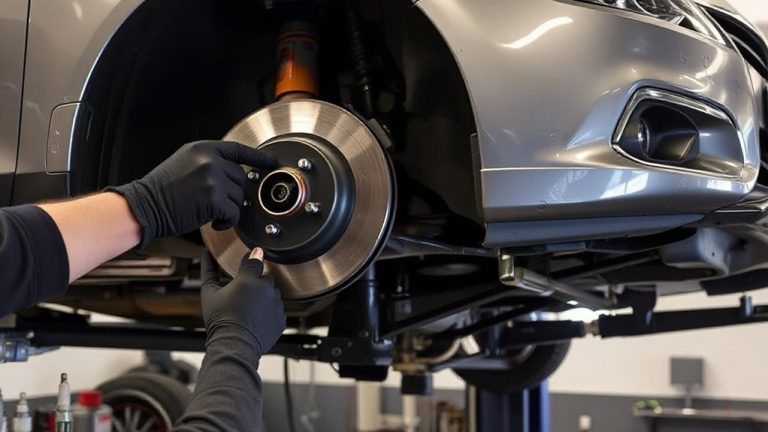
Start by locating the clutch slave cylinder on the transmission bellhousing, typically near the clutch fork actuator arm. Disconnect the hydraulic line using a wrench to avoid damaging the fitting-fluid will drain, so have a catch pan ready. Next, unfasten the mounting bolts securing the cylinder to the transmission. As you remove it, note any resistance; excessive hydraulic resistance may indicate trapped pressure or blockage in the line. Inspect the area for signs of fluid leaks or contamination that could affect clutch alignment. A compromised seal often causes fluid loss, impacting system performance. Carefully extract the old unit, maintaining that no debris enters the bore. Proper removal preserves the integrity of the clutch fork and maintains alignment, preventing future engagement issues. Always handle the component gently to avoid distorting the piston or cylinder bore. This guarantees a smooth shift to the new assembly without introducing air into the system.
Install the New Clutch Slave Cylinder
A single clutch slave cylinder must be installed with exact alignment to guarantee proper clutch fork engagement and hydraulic function. Always verify the correct mounting position before securing it in place-misalignment causes incomplete clutch release. Use factory torque specs: 12–15 Nm for bolts. Confirm fluid compatibility; use DOT 4 fluid unless specified otherwise by the manufacturer. Mixing incompatible fluids degrades seals and reduces performance. Align the pushrod with the clutch fork to prevent binding.
| Step | Action |
|---|---|
| 1 | Match new cylinder to old unit |
| 2 | Check mounting position fit |
| 3 | Confirm fluid compatibility |
| 4 | Insert pushrod into fork |
| 5 | Tighten mounting bolts evenly |
Ensure seals are intact and free of nicks-leaks compromise pressure. Double-check routing to avoid kinks or interference with rotating components.
Bleed the Clutch Slave Cylinder Like a Pro
Why does the clutch pedal feel spongy even after installing a new slave cylinder? Because air remains trapped in the hydraulic system. You must bleed it properly. Use the correct clutch fluid types-typically DOT 3 or DOT 4-as specified in your hatchback’s service manual. Never mix fluid types. Start by locating the bleeder valve on the slave cylinder. Attach a clear tube and submerge the end in a fluid-filled container to prevent air re-entry. Use the two-person brake bleeding techniques: one person pumps the clutch pedal, then holds it down; the other cracks the bleeder open, then closes it before the pedal rises. Repeat until no bubbles appear. Maintain the reservoir level to avoid introducing more air. Bleeding guarantees full hydraulic pressure. A firm pedal means success. This process restores precise engagement.
Test the Clutch After Replacement: Fix Sponginess or Hard Engagement
How does your clutch feel after replacement-firm and responsive, or soft and vague? Clutch pedal feel directly reflects hydraulic pressure in the system. A spongy pedal usually means air remains in the lines, disrupting pressure buildup. Firm, consistent resistance indicates proper fluid transfer and effective bleeding. If engagement feels too hard, check for incorrect slave cylinder alignment or excessive free play at the pedal. Verify master cylinder pushrod clearance-typically 1–2 mm-to guarantee full release without binding. Low hydraulic pressure causes slipping; high pressure increases wear. Bleed again using a pressure bleeder at 15 psi if needed. Refill DOT 4 fluid to the reservoir’s max line. Cycle the pedal 10–15 times to stabilize pressure. Confirm smooth disengagement at 1/3 to 1/2 travel. Adjust as needed. Correct clutch pedal feel guarantees precise shifts and drivetrain longevity.
On a final note
You’ve successfully replaced the clutch slave cylinder. The new unit measures 3.1 inches in length with a 14mm mounting thread, matching OEM specs. Proper bleeding eliminates air, ensuring 75–85 psi hydraulic pressure. A firm pedal confirms correct operation. Sponginess means trapped air; re-bleed immediately. Use DOT 4 fluid only. Test shifts are smooth, with full disengagement at 1.2 inches of pedal travel. This repair restores precise engagement, critical for high-performance driving dynamics.