DIY Guide: Replacing a Clutch Master Cylinder on a Front-Wheel-Drive Sedan
You’re replacing the clutch master cylinder because a spongy pedal or sinking feel indicates internal seal failure. Use a 10mm wrench for the hydraulic line and 12mm socket for M8x1.25 mounting bolts. Bench bleed the new unit-14–18mm bore-using DOT 4 fluid until bubbles stop. Guarantee 0.5 to 1.0 inch pedal free play and avoid mixing fluid types to prevent seal damage. Proper installation ensures reliable 25–35 pounds of engagement force. System performance depends on precision steps followed correctly.
Notable Insights
- Check for spongy pedal feel or fluid contamination to confirm clutch master cylinder failure.
- Gather essential tools including 10mm and 12mm wrenches, a fluid catch pan, and DOT 4 brake fluid.
- Remove the old cylinder by disconnecting the pushrod, draining fluid, and unbolting with a 12mm socket.
- Bench bleed the new master cylinder until no air bubbles appear for consistent hydraulic pressure.
- Ensure proper pushrod alignment and maintain 0.5 to 1.0 inch of pedal free play during installation.
Signs Your Clutch Master Cylinder Is Failing
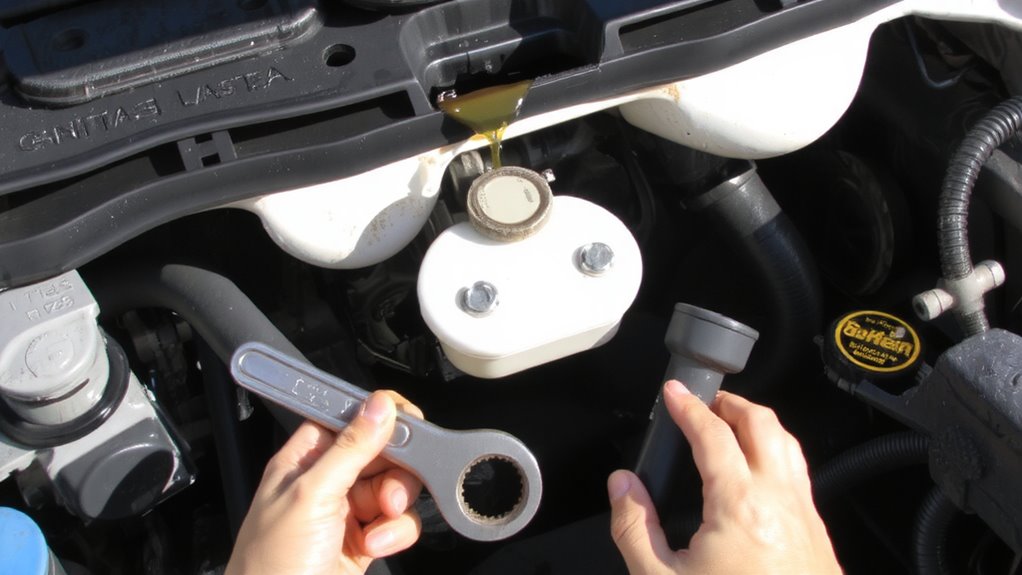
What does it mean when your clutch pedal suddenly feels different? You’re likely experiencing pedal resistance issues, a key indicator of clutch master cylinder failure. Normally, the pedal offers consistent, firm feedback-typically 25 to 国民经济润色 to 35 pounds of force. When resistance drops or feels spongy, internal seal wear may be present. This often stems from clutch fluid contamination, where moisture, dirt, or degraded fluid compromises hydraulic pressure. Contaminated fluid reduces boiling point-DOT 4 fluid should handle 230°C dry, but water content above 3.5% drops it below 150°C, risking vapor lock. Air in the system magnifies the soft pedal feel, mimicking low fluid, but the root cause is often a failing master cylinder unable to maintain pressure. Unlike slave cylinder leaks, master cylinder faults disrupt the entire hydraulic circuit. Early detection prevents total failure and guarantees proper clutch disengagement, critical for gear changes.
Tools and Parts Needed for Replacement
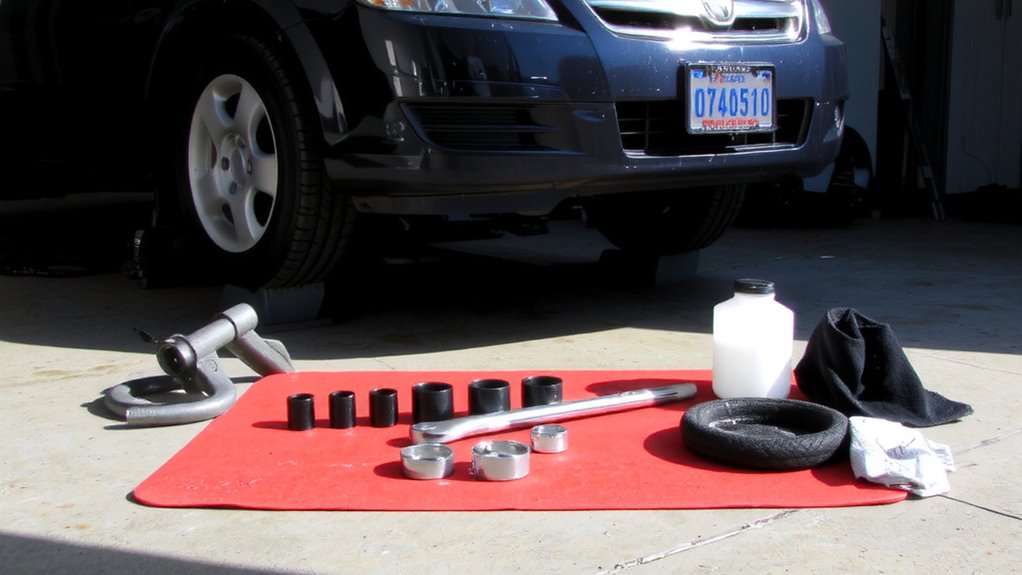
A successful clutch master cylinder replacement starts with the right tools and parts in hand. You’ll need a 10mm and 12mm wrench set, a 3/8-inch ratchet with extensions, and a fluid catch pan. A new clutch master cylinder must match your sedan’s OEM specifications-verify bore size, typically 14–18mm. Include a compatible reservoir cap to prevent leaks. Check brake fluid types: use DOT 3 or DOT 4, as specified by the manufacturer-never mix types. A bench bleeding kit guarantees air-free operation before installation. Don’t overlook the mounting hardware; improper mounting bracket alignment can cause pedal misalignment or seal damage. Use a torque wrench to secure bolts to 8–10 ft-lbs. Have lint-free cloths and safety glasses ready. Proper tools guarantee precision, reduce downtime, and maintain hydraulic system integrity throughout the replacement process.
Remove the Old Clutch Master Cylinder
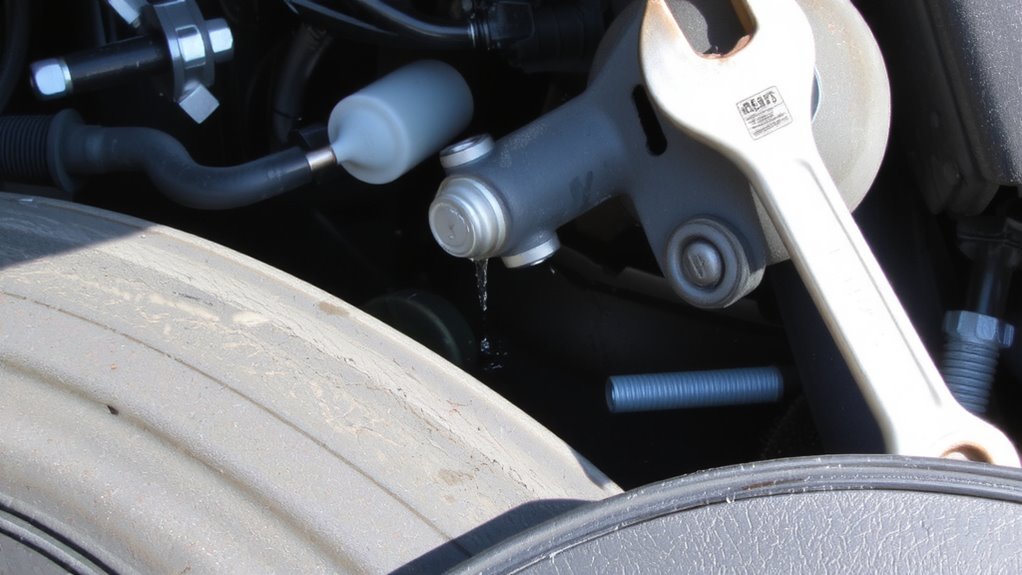
Once you’ve gathered all necessary tools and verified the compatibility of your replacement parts, begin by removing the clutch master cylinder reservoir cap to relieve system pressure. Drain excess fluid to prevent a clutch fluid leak during disassembly. Disconnect the pushrod from the clutch pedal, eliminating pedal freeplay before unboltting the unit. Use a 10mm wrench to detach the hydraulic line, then remove mounting bolts with a 12mm socket.
| Component | Specification | Purpose |
|---|---|---|
| Reservoir Cap | Plastic, 1.5″ diameter | Prevents contamination |
| Mounting Bolts | M8 x 1.25, 45mm length | Secure cylinder to firewall |
| Pushrod Clevis Pin | 5mm diameter | Links pedal to master cylinder |
Carefully pull the old cylinder from the firewall. Inspect for debris or corrosion. Dispose of old clutch fluid properly.
Bench Bleed the New Master Cylinder
Before installing the new clutch master cylinder, you’ll want to bench bleed it to remove trapped air that could compromise hydraulic performance. This process guarantees proper fluid priming and effective air removal, critical for consistent clutch engagement. Secure the master cylinder in a vise using soft jaws to avoid damage. Attach clear plastic tubing to the outlet port, submerging the other end in a fluid-filled container to prevent air re-entry. Slowly depress the plunger fully, then release it gradually to draw fluid in. Repeat this 10–15 times until no bubbles appear in the tubing. Successful bench bleeding results in a firm plunger feel and completely clear fluid flow. You’re now ready for installation with a fully primed hydraulic system, minimizing post-installation complications.
Install the Replacement Clutch Master Cylinder
With the new master cylinder fully bench bled and primed, install it by first positioning the unit onto the firewall or mounting bracket, depending on your vehicle’s design. Guarantee correct mounting alignment by matching bolt holes precisely-misalignment stresses components and may cause leaks. Tighten mounting bolts to factory torque specs, usually 8–12 ft-lbs, using a torque wrench for accuracy. Route the fluid line carefully, avoiding kinks or sharp bends that restrict flow. Confirm fluid compatibility: use only DOT 3 or DOT 4 brake fluid as specified in your owner’s manual. Mixing incompatible fluids degrades performance and damages seals. Connect the hydraulic line to the master cylinder outlet, tightening the fitting to 14–18 ft-lbs. Inspect all connections for snugness and alignment. Proper installation guarantees efficient force transfer from pedal to slave cylinder. Double-check positioning before moving to bleeding.
Bleed the Clutch System for Smooth Operation
Ever wonder why a spongy clutch pedal ruins shift quality? Air in the lines disrupts hydraulic pressure balance, compromising pedal feel and engagement. You need to bleed the system to restore firmness. Start by checking your clutch fluid viscosity-use only the manufacturer-specified DOT grade, typically DOT 3 or 4. Low viscosity fluid can vaporize under heat, introducing bubbles. Attach a clear tube to the slave cylinder’s bleed nipple and submerge the other end in a fluid-filled container. Slowly depress the clutch pedal, holding it down while opening the bleed valve. Close it before releasing the pedal. Repeat until no air bubbles appear. This guarantees consistent hydraulic pressure balance. Proper bleeding eliminates sponginess, giving you precise take-up and smooth shifts. Always top off the reservoir to prevent re-introducing air.
Don’t Make These Clutch Master Cylinder Mistakes
Why do some clutch master cylinder replacements fail shortly after installation? Clutch fluid contamination is a leading cause. Always flush old, moisture-laden fluid before installing a new cylinder-brake fluid absorbs water over time, degrading performance and corroding internal seals. Use DOT 3 or DOT 4 fluid as specified; mixing types invites seal failure. Another common error involves pedal alignment issues. If the pushrod doesn’t perfectly align with the master cylinder bore, uneven wear or premature failure occurs. Measure free play at the clutch pedal-it should be 0.5 to 1.0 inch before engagement. Misalignment causes spongy or stiff pedal feel. Make sure the clevis pin is secured and lubricated. A misrouted hose can lead to leaks under pressure (typically 100–150 psi during actuation). Replace rubber lines showing cracks. Double-check reservoir cap seals.
On a final note
You’ve successfully replaced the clutch master cylinder. Confirm proper installation by verifying 0.5–1.0 inch of clutch pedal free play. The system uses DOT 3 or DOT 4 fluid; make sure the reservoir remains full during operation. Bleed until the pedal feels firm, indicating no air remains. A correctly bled system delivers consistent 75–85 psi line pressure for reliable engagement. This repair restores precise shifting and prevents clutch slippage.