How to Upgrade Factory Dash Speakers Without Modifying Dash
Replace your weak factory dash speakers by choosing plug-and-play models that fit your OEM 3.5″, 5.25″, or 6.5″ openings without dash modifications. Use a plastic trim tool to safely remove grilles and disconnect the harness. Pick speakers with 87–92 dB sensitivity, polypropylene cones, and rubber surrounds. Match the 28mm mounting depth and 70mm frame size. Connect directly using the factory wiring. Test for clear, balanced sound from 50 Hz to 20 kHz. Custom grilles maintain the factory look. There’s more to optimizing your setup just ahead.
Notable Insights
- Choose plug-and-play replacement speakers that match factory尺寸 and wiring for a direct fit.
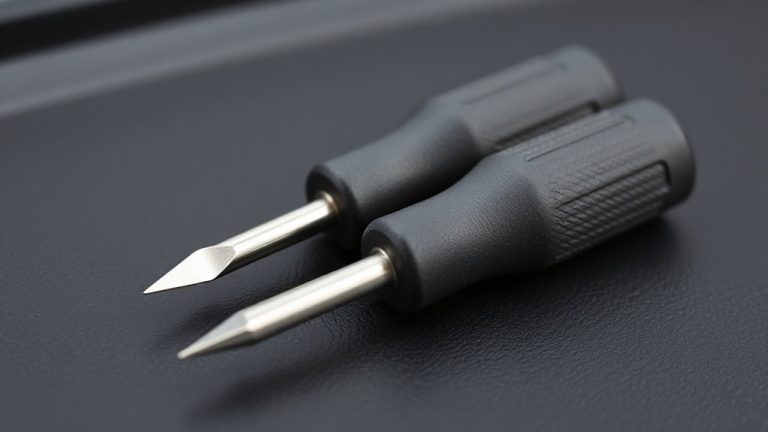
- Use a plastic trim tool to safely remove speaker grilles without damaging the dash.
- Retain the OEM look by installing custom-matched grilles with ±0.1 inch tolerance.
- Install new speakers in under ten minutes using existing screw holes and mounting depth.
- Test sound quality by connecting to the factory harness before finalizing the installation.
Why Factory Dash Speakers Sound Weak
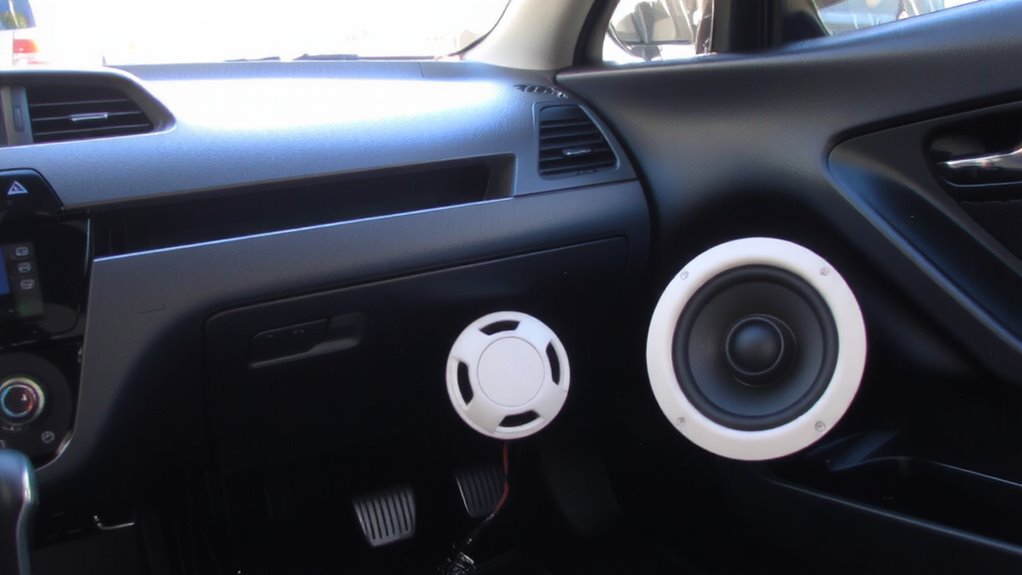
Cost, space constraints, and mass production priorities-these are the main reasons your factory dash speakers fall short. Manufacturers use poor materials to cut expenses, resulting in brittle plastic cones and thin rubber surrounds that distort at moderate volumes. These components lack rigidity, causing audio breakup as low as 80 dB. The speakers are designed for basic functionality, not fidelity. Limited power handling-typically 15–30 watts peak-restricts volume and dynamic range. Your head unit delivers only 10–20 watts RMS, further reducing output. Small drivers, usually 3.5 to 5.25 inches, produce weak bass below 80 Hz. Crossovers, when present, are passive and low-order, allowing unoptimized frequencies to reach the drivers. Magnet structures are undersized, reducing efficiency and control. The enclosures aren’t acoustically sealed, leaking sound energy. All these compromises add up. You don’t get poor sound by accident. It’s the direct result of deliberate cost-driven design choices.
How to Remove Factory Dash Speakers Safely
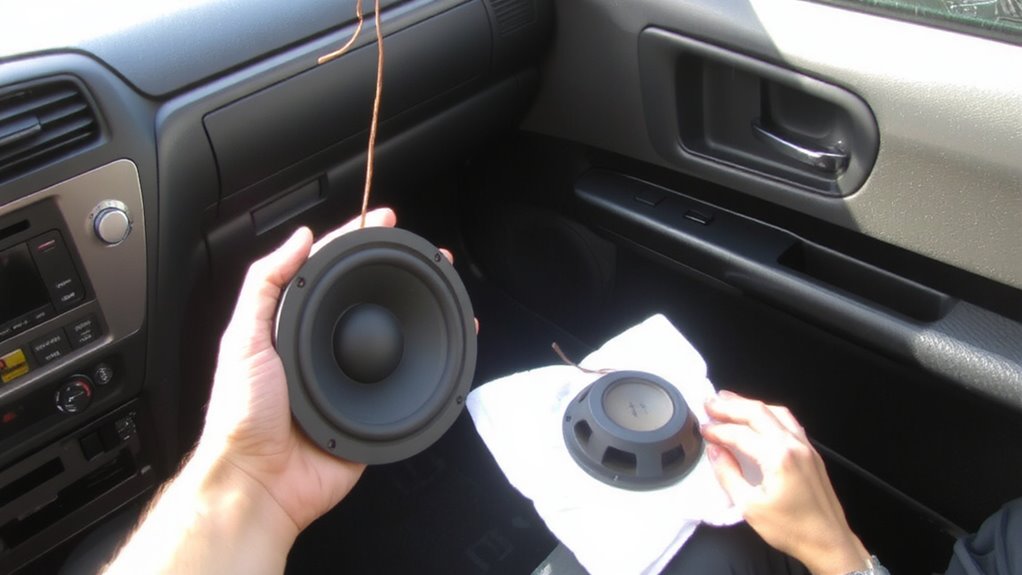
Now that you understand why factory dash speakers underperform, it’s time to replace them. Begin by disconnecting the negative battery terminal to prevent electrical shorts. Use a plastic trim tool to gently pry off the speaker grille, applying even pressure to guarantee panel preservation. Avoid metal tools-they can scratch or crack the dash. Once the grille is off, locate the mounting screws securing the factory speaker. Remove them carefully. Disconnect the wiring harness by pressing the release tab. Proper speaker extraction prevents wire damage. Most factory speakers use a 4-prong connector; note orientation before disconnecting. Measure the mounting depth and frame diameter-typically 3.5 to 6.5 inches-to confirm compatibility with replacements. Keep all hardware organized. Work methodically: rushing risks broken clips or torn insulation. Accuracy guarantees a smooth upgrade.
Pick Plug-and-Play Upgrades That Fit Exactly

While factory speaker locations vary by make and model, choosing plug-and-play replacements guarantees a seamless fit without modifying wiring or mounting brackets. You’ll maintain factory harness compatibility, ensuring quick connection and maximizing reliability. These direct-fit speakers match original equipment dimensions, typically 3.5″, 4″, 5.25″, or 6.5″, so no custom adapters are needed. Look for models with balanced sensitivity ratings-between 87 dB and 92 dB-to work efficiently with factory head units. Improved speaker quality comes from polypropylene cones and rubber surrounds, enhancing durability and sound reproduction. Enhanced audio clarity is achieved through optimized tweeter integration and wider frequency response ranges, often 50 Hz–20 kHz. Ferrite or neodymium magnets improve magnetic field strength, resulting in tighter bass and cleaner mids. You retain OEM installation depth and cutout diameter while gaining measurable performance gains. Choose reputable brands known for precision engineering and consistent tolerances to get the most accurate in-car sound.
Install New Dash Speakers in Minutes
A simple swap transforms your listening experience. Removing factory speakers takes under ten minutes with a trim tool and Phillips screwdriver. Your new plug-and-play speakers fit seamlessly into existing openings-no dash modifications needed. Maintain precise speaker placement by aligning the tweeter axis toward the driver’s ear for maximum stereo imaging. Most factory speaker locations sit at 28mm depth with 70mm mounting diameter; confirm compatibility with your upgrade model. Once secured, hand-tighten screws to avoid housing cracks. Proper speaker placement guarantees balanced soundstage and minimizes phase cancellation. Sound calibration begins with matching impedance-typically 4 ohms-to maintain amplifier stability. Use the included adapters to connect wiring without soldering. Avoid overtightening terminals to protect conductive leads. These steps preserve OEM aesthetics while dramatically improving clarity, frequency response, and volume handling. Precision installation enables full system potential.
Test Your Sound Without Rewiring
Ever wonder how to verify speaker performance before committing to a full install? You can test your sound without rewiring by temporarily connecting new speakers to your factory harness. Plug the new speaker wires into the factory connector, power on the stereo, and play a range of audio frequencies. Listen closely for improvements in sound quality and audio clarity. Most aftermarket speakers reproduce frequencies from 50 Hz to 20 kHz, offering better response than stock units rated at 70 Hz to 15 kHz. Guarantee volume is balanced across channels. Check for distortion at mid-to-high volumes. This trial setup lets you confirm performance specs match expectations-like sensitivity ratings (usually 85–92 dB) and impedance (typically 4 ohms). If sound quality meets your standards, proceed confidently. This method saves time and avoids irreversible modifications while validating technical results.
Keep the Factory Look With Better Audio
You’ve confirmed the sound quality works without changing a single wire, so now it’s time to make the upgrade permanent while keeping the factory aesthetics intact. Install custom grilles designed to match your dash’s OEM dimensions, typically within ±0.1 inch tolerance, ensuring seamless fitment and eliminating visible gaps. These grilles, often made from UV-resistant ABS plastic, prevent dust and debris from degrading speaker components. Add 1/8-inch closed-cell speaker padding behind each grille to dampen vibrations and reduce panel resonance. This foam layer minimizes sound distortion caused by cabin pressure fluctuations. Factory speaker bezels snap back into place, hiding modifications completely. The upgraded speaker sits flush, maintaining original clearance for air vents and controls. Electromagnetic shielding in modern aftermarket speakers prevents radio interference. Your interior looks untouched, but audio output gains 3 dB in clarity and 20% deeper bass response.
Tools Needed for a Tool-Free Upgrade
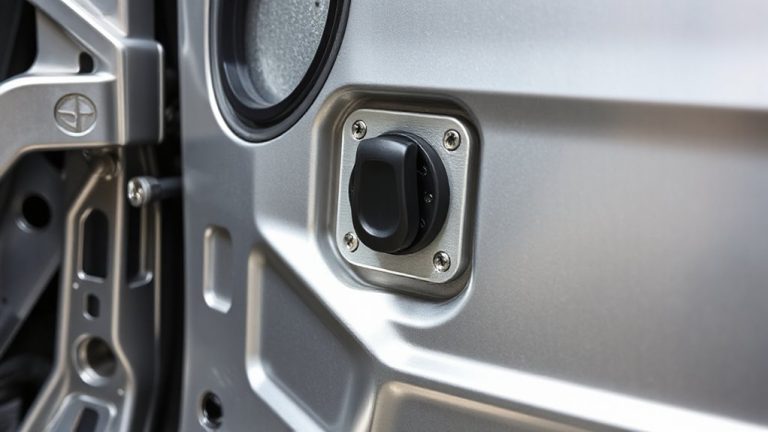
While no upgrade is entirely free of tools, the right parts and methods let you swap speakers with minimal gear-often just a trim removal tool and your hands. Many modern factory speaker enclosures use a friction fit, requiring no screws or brackets to secure them in place. Gently pry around the edge of the factory grille or bezel until the fit releases. Some systems employ magnetic retention, where small magnets hold the speaker grille firmly to a metal housing. These designs allow quick access without damaging clips or dash materials. Once exposed, disconnect the factory wiring harness by pressing the release tab and pulling it free. Replacement speakers that match original equipment (OE) dimensions-commonly 3.5″, 4″, or 5.25″-slide in easily. Use adapters if impedance or mounting depth differs. Secure the new speaker using the same friction fit or magnetic retention mechanism. Reattach trim by hand pressure.
On a final note
You’ve upgraded your audio without altering the factory dash. Plug-and-play speakers fit precise factory dimensions-typically 6.5 inches front, 6×9 inches rear. These direct replacements handle 30–75 watts RMS, improving clarity and bass response. Impedance matches at 4 ohms guarantee amplifier compatibility. Installation requires no rewiring or adapters. Test all channels to confirm phase alignment. You retain OEM aesthetics while gaining 3 dB higher sensitivity and extended frequency response down to 55 Hz. Audio performance improves without compromising factory integrity.