DIY Guide to Flushing Automatic Transmission Fluid Without a Machine
You don’t need a machine to flush your transmission. Perform three drain-and-fill cycles using a socket wrench, jack stands, and a 12-quart drain pan. Each cycle replaces 40–50% of the fluid. Use 8–12 quarts total of manufacturer-specified fluid like Dexron-VI or Mercon LV. Drain the 3/8- to 1/2-inch plug, refill through the dipstick tube, and check levels with the engine running. Proper capacity and fluid type guarantee peak performance. The full process reveals why precision matters.
Notable Insights
- Safely raise the vehicle with a jack and secure it on jack stands before starting the fluid drain.
- Drain old transmission fluid by removing the pan’s drain plug and collect 4–6 quarts in a drain pan.
- Refill with 6 quarts of manufacturer-specified fluid through the dipstick tube using a funnel.
- Check fluid level with the engine running and transmission warmed, using the dipstick correctly.
- Repeat drain and refill cycles three times to replace over 90% of the old transmission fluid.
Do You Need a Machine to Flush Your Transmission?
Why do most shops insist on using a machine for transmission flushes? They prioritize speed and complete fluid exchange, claiming machines replace up to 100% of old fluid. But you don’t need one. Most consumer vehicles allow effective flushes manually. Your transmission type determines capacity and method. For example, a 6-speed automatic typically holds 7–9 quarts; a CVT may need specialized procedures. Fluid compatibility is critical-using the wrong type, like substituting Dexron for Mercon, risks internal damage. Always consult your owner’s manual. Machines push new fluid in under pressure, mixing old and new if not fully drained first. A gravity drain and fill, repeated multiple times, achieves near-complete exchange. It’s slower but avoids risks of high-pressure systems. You maintain control over fluid type and process. Machines aren’t essential. Knowledge of your transmission type and strict fluid compatibility are.
Gather Your Tools and Fluids
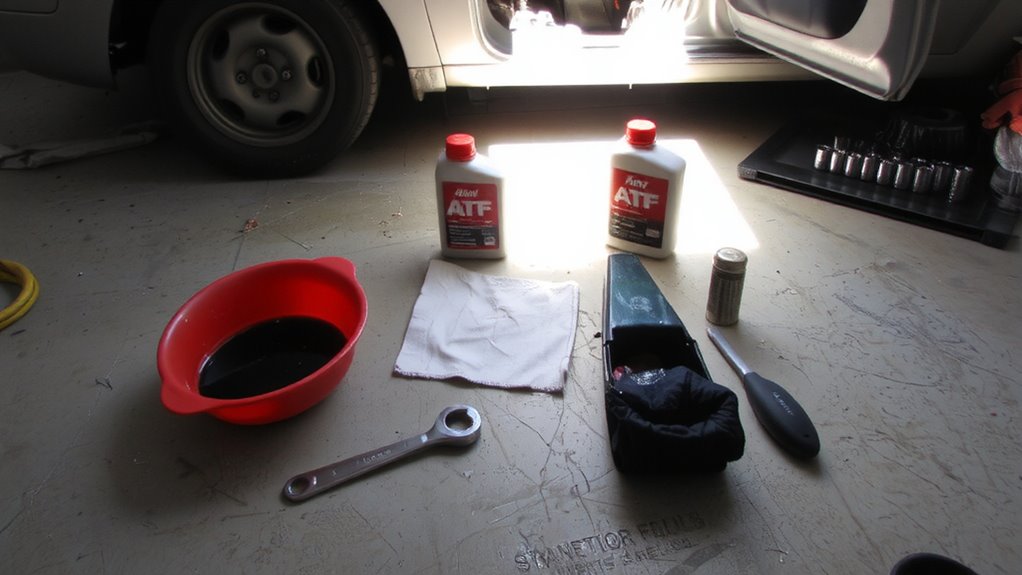
Before you begin, make sure you have the right tools and fluids on hand-this step is critical to a successful transmission flush. You’ll need a socket wrench, drain pan, funnel, jack and jack stands, and gloves. Always wear proper safety gear, including gloves and safety glasses, to protect against hot or caustic fluids. Use a drain pan with at least a 12-quart capacity to contain spills. Check your owner’s manual for compatible fluid types-using the wrong transmission fluid, such as Dexron-VI instead of Mercon LV, can damage internal components. Most modern automatic transmissions require 8 to 12 quarts of fluid for a complete flush. Use only manufacturer-specified fluid to guarantee proper viscosity, friction characteristics, and thermal stability. Double-check fluid ratings and API designations before purchasing. Accuracy here prevents costly repairs.
Drain the Old Transmission Fluid
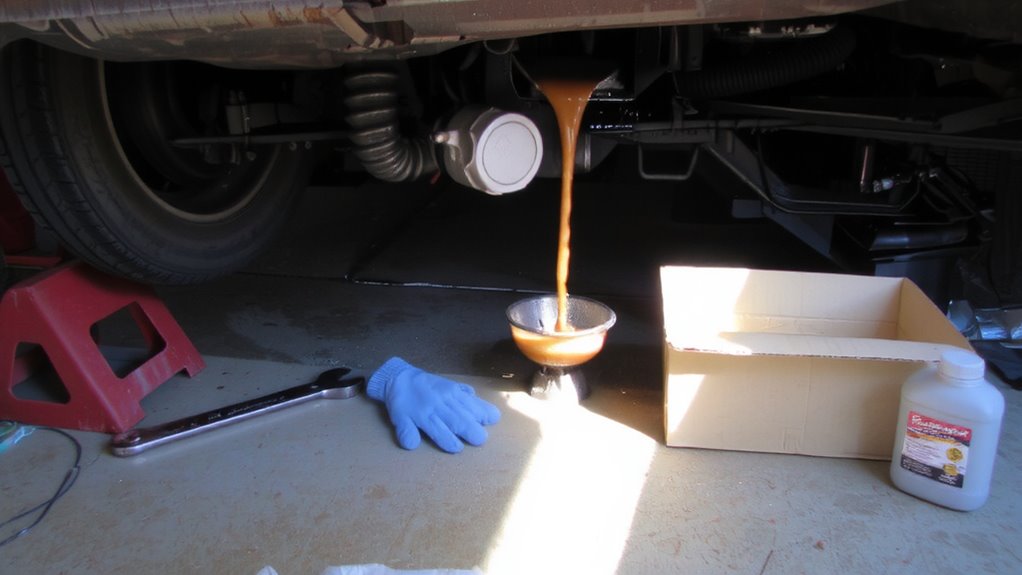
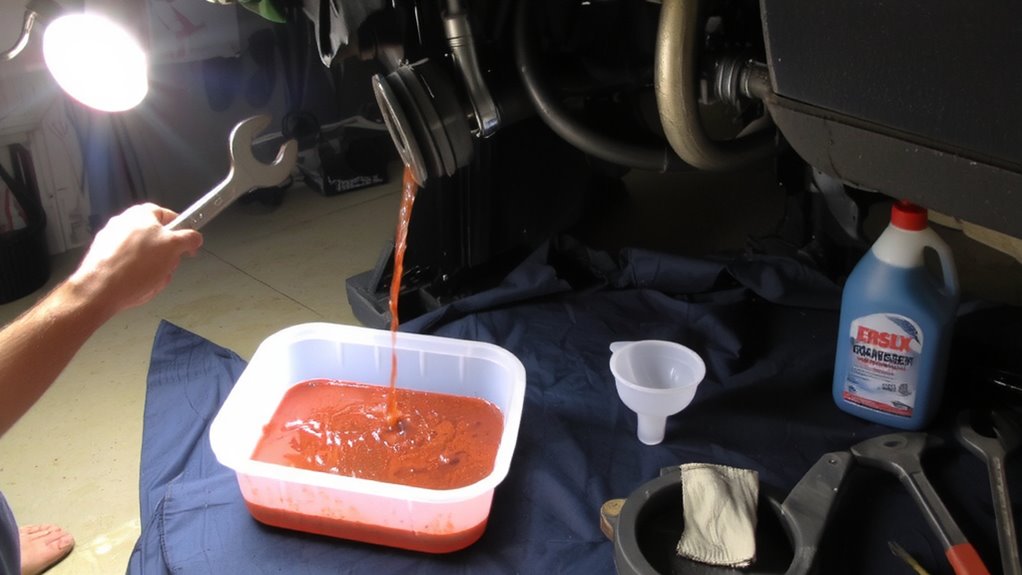
Once you’ve assembled all necessary tools and fluids, start by safely raising your vehicle using a jack and securing it with jack stands placed under reinforced frame points to prevent movement or collapse. Locate the transmission pan and identify the drain plug, typically a 3/8- to 1/2-inch hex bolt along the pan’s edge. Place a drain pan underneath to catch approximately 4–6 quarts of old fluid. Remove the drain plug carefully to avoid damaging the threads. Allow the fluid to drain completely, which may take 10–15 minutes. Inspect the drained fluid for metal particles or a burnt smell-both indicate internal wear. Confirm your vehicle’s required fluid type using the owner’s manual, as using the wrong type risks transmission damage. Replace the drain plug gasket if needed, then reinstall the plug and tighten to manufacturer specifications, usually 20–30 ft-lbs, to prevent leaks.
Refill and Check Levels the Right Way
How do you guarantee your transmission gets the right amount of clean fluid? Use the correct type specified by your manufacturer-typically Dexron VI or Mercon LV-to assure proper fluid viscosity. Start by adding about 6 quarts through the dipstick tube. With the engine running and transmission warmed, check the level using the transmission dipstick. Wipe it clean, reinsert fully, then pull it out to read the mark. The fluid should be between “Cold” and “Hot” range indicators. Add fluid gradually, waiting 30 seconds between pours for accurate levels. Overfilling causes pressure issues; underfilling risks overheating and poor lubrication. Fluid viscosity directly affects shift performance and hydraulic pressure. Maintain accuracy-transmissions are sensitive to fluid volume and quality. Use only manufacturer-approved fluids to avoid internal damage. Check frequently during refill to assure precision.
Perform 3 Cycles for a Complete Flush
You need to cycle the transmission fluid three times to guarantee a complete flush, replacing nearly all old fluid trapped in the torque converter and cooler lines. Each cycle drains about 40–50% of the total fluid, so three iterations replace over 90% of the fluid. Perform fluid cycles with the engine running and transmission in all gears for 10 seconds each, starting in Park and ending in Reverse. This guarantees internal components are lubricated during flushing. Use a funnel to refill the transmission with manufacturer-specified fluid after each drain. Incorrect fluid volume-overfilling or underfilling-can degrade shift quality and harm transmission health. Proper fluid cycles prevent sludge buildup and maintain hydraulic pressure. Over time, clean fluid preserves clutch integrity and valve body function. Consistent fluid exchange intervals support long-term transmission health and extend drivetrain service life.
Avoid These Common DIY Mistakes
Skipping steps during a DIY transmission fluid flush can lead to costly damage, even if the previous cycles were completed correctly. Always use the manufacturer-specified fluid type-using the wrong viscosity or standard can cause fluid foaming and reduce lubrication efficiency. Overfilling by even one quart risks pressurization and fluid foaming, which impairs hydraulic function and cooling. Underfilling compromises pressure, leading to clutch slippage and transmission overheating. Never exceed 2,500 RPM during each cycle; higher revs increase heat exponentially and may trigger thermal shutdown. Allow the engine to idle for two minutes after shifting through all gears to stabilize fluid distribution. Inspect the dipstick at operating temperature-typically between 175°F and 225°F-for accurate level verification. Use a torque wrench on the drain plug (usually 20–25 ft-lbs). Cutting corners risks internal damage that mimics pump failure.
On a final note
You’ve completed a thorough transmission fluid flush without machinery. This method replaces approximately 70% of old fluid per cycle. Perform three complete drive-and-cool cycles to exchange over 90% of total fluid. Use manufacturer-specified fluid-typically Mercon LV or Dexron VI-to guarantee proper viscosity and friction tolerances. Check levels with the transmission at operating temperature, usually 160–200°F. Avoid overfilling; excess fluid causes foaming, reducing hydraulic efficiency and potentially damaging solenoids.