How to Locate and Identify All Fuse Boxes in Your Vehicle
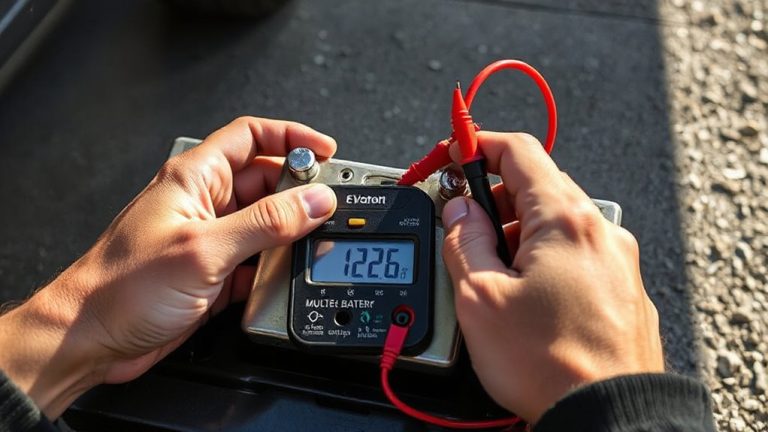
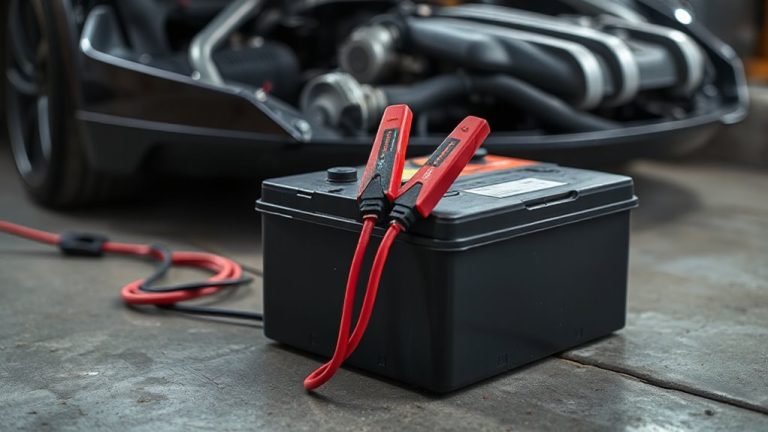
Start by checking your engine bay near the battery or driver’s side fender well for the main fuse box-a black, 8- to 10-inch rectangular enclosure housing 5A to 40A blade-type fuses like ATO, ATC, or maxi. Look under the dashboard or steering column for a second box powering wipers and instruments, typically with 15–30 fuses rated 5A to 30A. Another may sit left of the glove compartment, accessible via a release tab, controlling HVAC and interior lights. Each box has a labeled diagram identifying circuits and amperage. Use your owner’s manual to confirm all locations, as layouts vary by make and model. Always disconnect the battery and turn off the ignition before inspection. A plastic puller is included for safe fuse removal. Check fuses visually for a broken filament or test with a multimeter set to ohms-0 ohms means good, “OL” means blown. Replace only with identical amperage-rated fuses to prevent damage. Common circuits include ECU (10A), cooling fans (20A), and radio (15A). Color coding correlates to amperage: yellow for 30A, red for 15A, and so on. Missteps can cause shorts or fire hazards. Knowing your system guarantees fast diagnosis during electrical failures. There’s more to learn about testing and replacements.
Notable Insights
- Check the engine compartment near the battery or fender for the main fuse box, typically a black rectangular enclosure.
- Look under the dashboard near the steering column for an interior fuse box behind a removable panel.
- Inspect to the left of the glove compartment for a fuse box behind a clip-in panel.
- Consult the owner’s manual for exact fuse box locations, diagrams, and amperage ratings.
- Use the fuse box cover diagram to identify fuse functions, types, and correct replacement amperage.
Check the Engine Bay for the Main Fuse Box
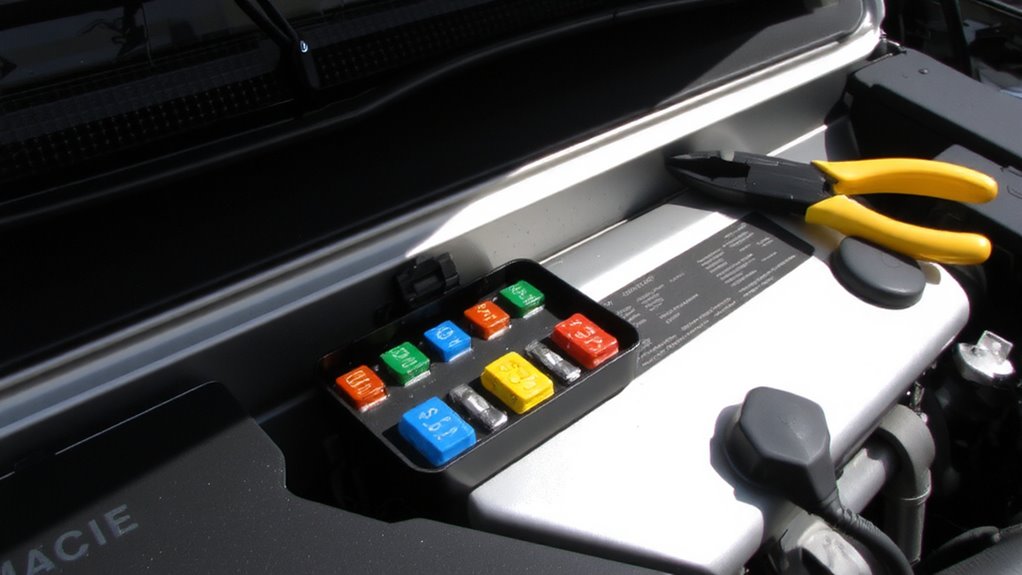
The main fuse box is typically the first place you should look when troubleshooting electrical issues. It’s usually located in the engine compartment, near the battery or on the driver’s side fender well. This black, rectangular enclosure protects essential electrical components and fuses rated between 5 to 40 amps. Most modern vehicles use a standardized blade-type fuse system (ATO/ATC or mini fuse variants). Open the lid to find a diagram labeling each fuse’s function and amperage. The box safeguards circuits for the alternator, ECU, cooling fans, and other critical systems. Damage or blown fuses here often result in no-start conditions or failed electrical components. Check for corrosion, moisture, or loose connections. Use a fuse puller and multimeter to test continuity. If a fuse is blown, replace it with the same amperage. Never exceed the specified rating.
Look Under the Dashboard and Steering Column
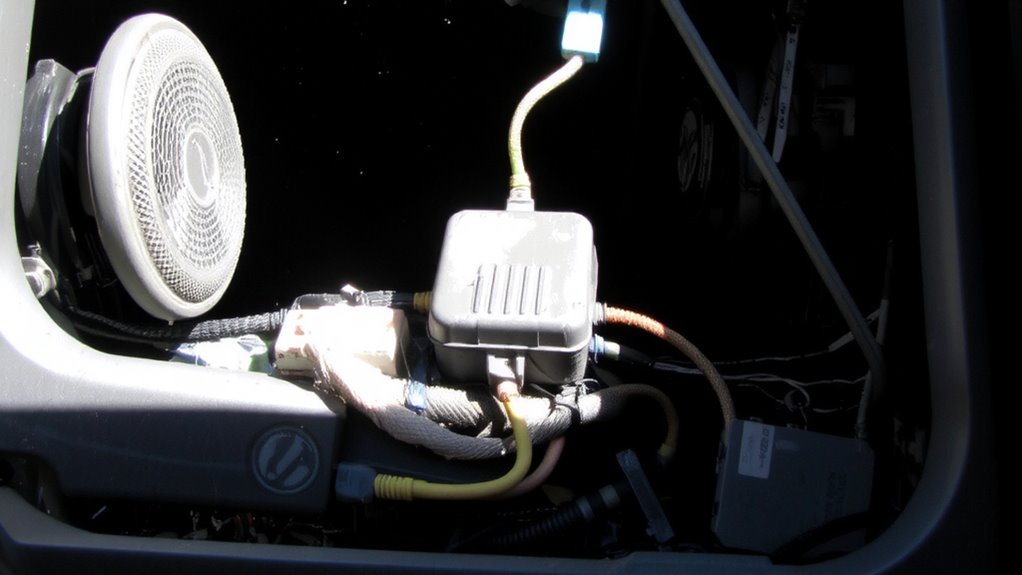
Where else could hidden electrical issues stem from if not the engine bay? Look under the dashboard and steering column. Interior fuse boxes often reside here, powering critical components like the radio, wipers, and instrument cluster. A dashboard inspection reveals a removable panel, typically on the driver’s side near the kick panel. Remove it using a plastic pry tool to avoid cosmetic damage. Fuse boxes in this area usually measure 6 to 8 inches wide and contain 15–30 fuses. Verify its presence by checking your owner’s manual-some models require steering column access to expose the cover. These fuses range from 5A to 30A, protecting circuits tied to convenience and safety systems. Always disconnect the battery before servicing. This location simplifies troubleshooting interior electrical faults without relying solely on underhood diagnostics.
Check Around the Glove Compartment
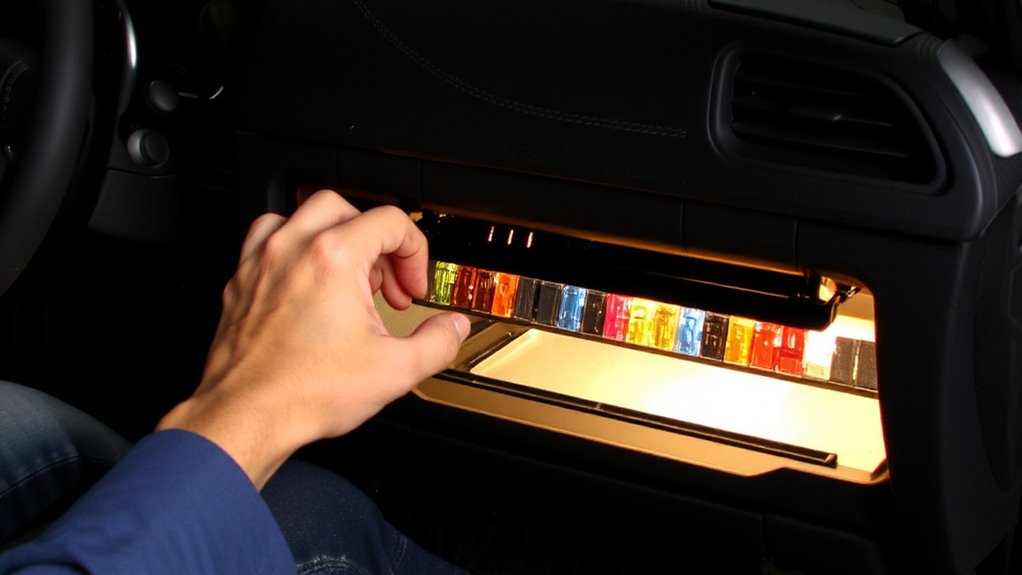
You’ve already inspected under the dashboard-now shift focus to the area around the glove compartment. Many vehicles house a fuse box to the left of the glove compartment storage bin, typically behind a removable panel. Access is straightforward: apply light pressure on the side tab and pull the panel free. This fuse box manages circuits like the HVAC system, interior lights, and power accessories. If you’re experiencing compartment lighting issues, check this box first-fuse #14 (often a 10-amp mini fuse) commonly controls that circuit. Standard configurations include a plastic puller and diagram label on the cover. The box usually measures 6 x 4 inches, with color-coded fuses ranging from 5 to 30 amps. Always verify the amperage with a multimeter before replacement. Referencing the label inside the cover guarantees correct circuit identification. This location provides quick access without tools.
Use Your Owner’s Manual to Find Every Fuse Box
A well-organized owner’s manual is your most reliable resource for locating every fuse box in your vehicle. It provides exact positions, typically listing primary and secondary locations such as under the dashboard or within the engine bay. You’ll find diagrams and labels specifying fuse types, including mini, regular, and maxi variants, each rated in amperes-usually between 5A and 30A. Using the correct fuse type guarantees electrical safety and prevents circuit damage. The manual also outlines replacement procedures and specifies color codes tied to amperage ratings. Ignoring these guidelines risks short circuits or fire. Always turn off the ignition and disconnect power before inspecting fuses. The manual’s specifications align with OEM standards, so following it guarantees compatibility and performance. Relying on manufacturer data minimizes errors and supports proper maintenance.
Read the Fuse Box Diagram to Identify Circuits
Why do some fuses control critical systems while others manage minor accessories? The fuse box diagram explains this by mapping each fuse’s role. Inside the cover, you’ll find circuit labels that identify what each fuse protects-like headlights, ABS, or power windows. These labels follow standardized naming conventions, so you can quickly locate circuits. Fuse types vary by amperage, physical size, and application-common ones include blade (ATO/ATC), mini, and cartridge styles. Each has a specific current rating, usually printed on top. Matching the correct fuse type to its designated slot prevents malfunctions. The diagram also shows spare fuse positions and their ratings. Reading this chart carefully guarantees you understand which circuit connects to which fuse, minimizing guesswork during troubleshooting. Always refer to it before replacing any fuse to maintain safe, accurate repairs.
Check Fuses for Damage and Test if Blown
Once you’ve matched each fuse to its circuit using the diagram, the next step is inspecting them for damage and verifying if any are blown. Begin with a visual fuse inspection-remove each fuse and examine the metal strip inside. A broken or discolored filament indicates a blown fuse. Use a digital multimeter for accurate continuity testing. Set it to the ohms (Ω) setting and touch the probes to each metal end. A reading near 0 ohms means the fuse conducts electricity; over 1 ohm or “OL” means no continuity. Standard blade fuses (ATM, ATO, MAXI) range from 1 to 40 amps. For low-current circuits, even slight resistance matters. Always test suspect fuses-even if they look intact. Continuity testing confirms what visual checks miss, preventing misdiagnosis. This step guarantees only faulty fuses get replaced, maintaining system integrity.
Replace a Blown Fuse in 5 Simple Steps
Replacing a blown fuse keeps your vehicle’s electrical systems running safely and efficiently. Proper fuse replacement guarantees reliable operation and maintains electrical safety. Follow these five steps:
| Step | Action |
|---|---|
| 1 | Turn off the ignition and remove the key. |
| 2 | Locate the correct fuse box using your owner’s manual. |
| 3 | Identify the blown fuse by its charred filament or discolored appearance. |
| 4 | Use fuse pullers or tweezers to remove the damaged fuse. Match the amperage rating (measured in amps, labeled on top) exactly. |
| 5 | Insert a new fuse of the same rating. Never exceed the specified amperage. |
This process prevents circuit overload. Electrical safety depends on correct fuse specifications. A mismatch can damage components or create fire hazards. Always carry spare fuses rated for your vehicle’s system.
On a final note
You’ve located all fuse boxes-engine bay, under dash, near glove compartment-using the manual and labels. Each fuse box protects circuits with specific amperage ratings, typically 5 to 30 amps. A blown fuse disrupts its circuit, often due to overload or short. Visually inspect fuses; a broken metal strip means failure. Replace only with the correct amperage fuse to prevent damage. Always diagnose the cause before replacing.