Inspecting E-Coated Brake Calipers for Chips Leading to Subsurface Corrosion Spread
You should inspect e-coated brake calipers regularly because chips in the 15–25 micron coating expose bare metal to moisture and road salts. Focus on high-risk areas like caliper edges and mounting brackets, where impact damage is common. Look for blisters, discoloration, or flaking-early signs of subsurface corrosion. Use a magnifying lens and depth gauge; chips deeper than 0.1 mm need attention. Clean with isopropyl alcohol, then seal with two-part epoxy. Front calipers fail 70% faster due to thermal and impact stress-knowing when and how to act saves component life.
Notable Insights
- Focus inspections on caliper edges and mounting brackets, where chipping from debris and vibration is most common.
- Look for blisters or discoloration near chips, as they indicate moisture ingress and subsurface corrosion.
- Use a magnifying lens to detect flaking or lifting at chip edges, signaling coating adhesion failure.
- Measure chip depth with a gauge; any defect deeper than 0.1 mm increases corrosion risk significantly.
- Clean affected areas with isopropyl alcohol and repair chips over 3 mm with epoxy to prevent further degradation.
How E-Coated Calipers Chip and Rust
While the e-coat process provides a robust defense against corrosion, your brake calipers can still chip and rust when subjected to sustained road debris impacts or improper installation. Damage to the coating compromises adhesion, exposing bare metal to environmental exposure. Once breached, moisture and salts penetrate microscopic gaps, initiating subsurface corrosion. E-coat layers typically measure 15–25 microns; even a 1 mm² chip can spread corrosion beneath the intact coating. Poor adhesion, often due to inadequate surface preparation before coating, accelerates failure. Environmental exposure-especially in regions using road salts-increases electrochemical reactions. The caliper’s iron substrate oxidizes, forming rust that expands and spalls surrounding coating. This undercutting effect progresses faster than surface-level rust. You must inspect regularly, as damage isn’t always visible. Ensuring proper coating adhesion during manufacturing and minimizing environmental exposure through design shielding improves longevity. Corrosion resistance depends on both coating integrity and installation precision.
Where Brake Calipers Get Chipped Most
Where do your brake calipers get chipped most?
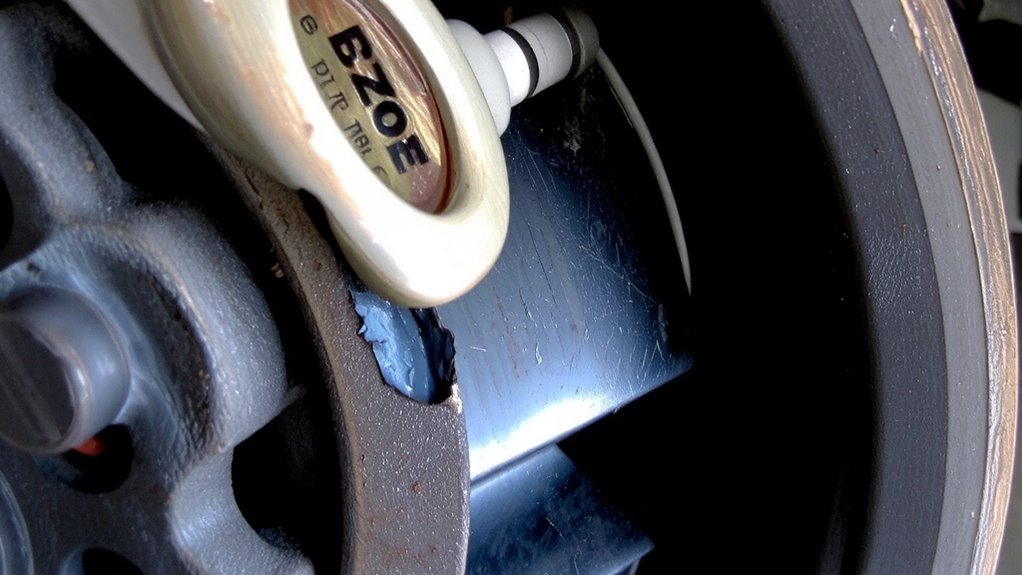
Impact damage most often occurs on the outer face and edges of the caliper body, especially near mounting brackets and brake lines. Road debris strikes here with force up to 50 psi during highway driving, compromising the e-coat layer. Mounting brackets, typically made of steel with a 15–25 µm e-coat thickness, are vulnerable due to their exposed position and vibration exposure. Chips form at stress points where brackets connect to the caliper housing. Brake lines route close to the caliper’s lower edge, creating shadow zones where stone chips accumulate. These areas see reduced coating adhesion, with bond strength dropping 30% after repeated thermal cycling from 150°F to 600°F. Front calipers sustain 70% more chipping than rear units due to directional airflow. Focus inspection here-early detection prevents deeper degradation.
Signs of Hidden Corrosion Under E-Coated Surfaces
Even small breaches in the e-coat can lead to serious trouble down the line. You might not see visible rust, but hidden corrosion is already spreading beneath the surface. Blisters or discoloration near a chip signal moisture ingress, a precursor to galvanic corrosion when dissimilar metals interact in the presence of electrolytes. This electrochemical reaction accelerates material loss, especially on iron substrates. Thermal degradation from repeated brake heat cycles further weakens the coating’s adhesion, creating micro-gaps. Subsurface corrosion then advances undetected, compromising structural integrity. You’ll notice slight swelling or a dull, chalky appearance-early signs the e-coat barrier has failed internally. Unlike surface rust, this damage isn’t reversible. The corrosion rate increases exponentially under these conditions, reducing caliper lifespan by up to 60%. Detecting it early, before mechanical performance drops, is critical.
Inspecting E-Coated Calipers for Chips
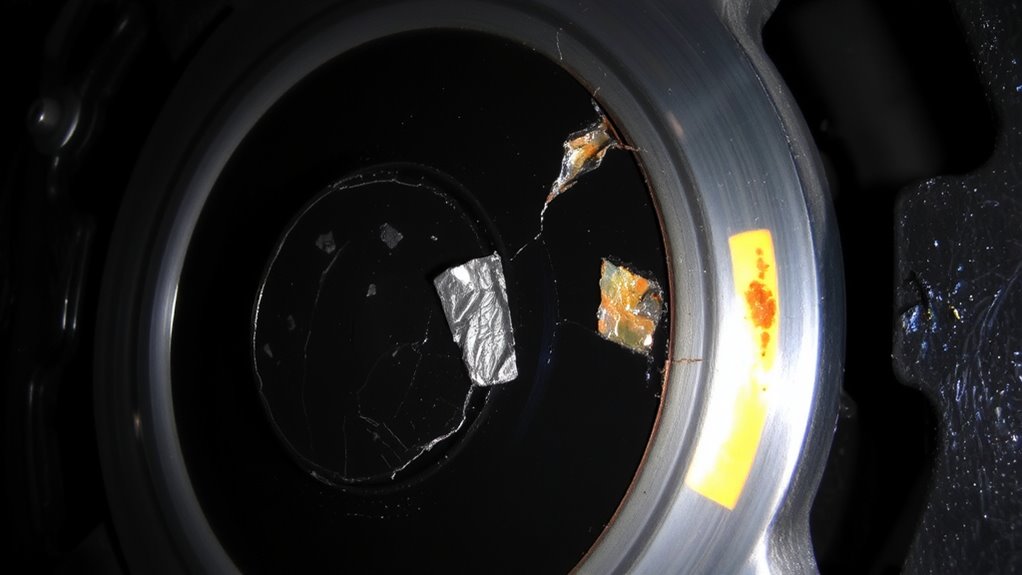
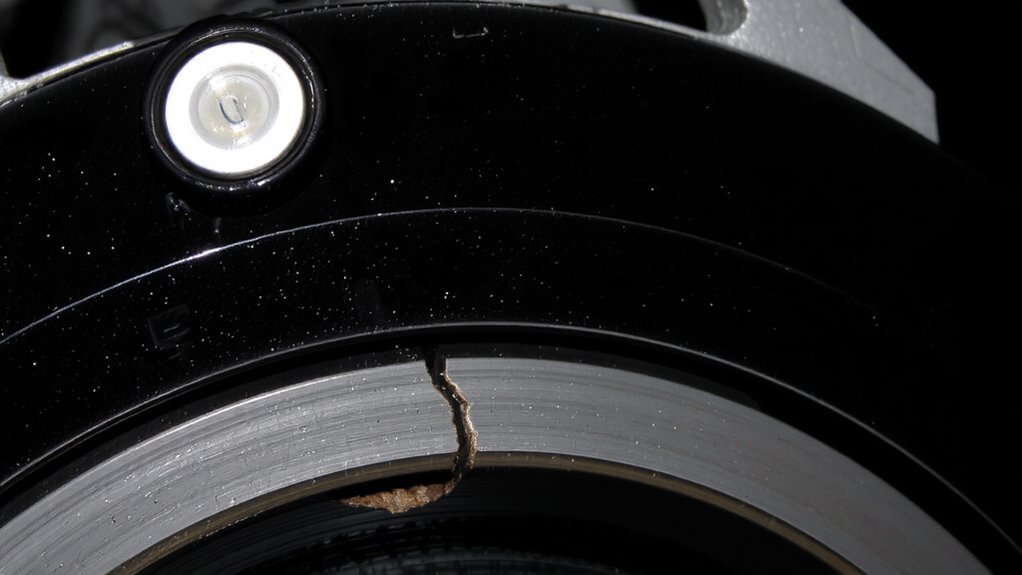
Start your inspection by scanning the e-coated brake caliper surface for chips, cracks, or impact marks-these flaws often begin at the edge or mounting face where debris strikes during driving. Check surface texture for unevenness; a smooth, consistent finish indicates proper coating application. Use a magnifying lens to assess coating adhesion at suspect areas-poor adhesion shows as flaking or lifting edges.
| Feature | Significance |
|---|---|
| Chip depth >0.1 mm | Risk of subsurface corrosion initiation |
| Altered surface texture | Indicates compromised coating barrier |
| Poor coating adhesion | Allows moisture ingress beneath the layer |
Confirm defect severity using a depth gauge and flashlight at oblique angles. Any breach exposing base metal requires immediate attention. Maintain technical precision-small flaws can undermine the entire protective system.
What to Do After a Coating Chip
A coating chip isn’t just surface damage-it’s a breach in your corrosion defense. You must act quickly to prevent subsurface corrosion from spreading beneath the e-coat layer. Surface fatigue from repeated braking cycles weakens the coating’s adhesion, especially near edges and mounting points. Thermal stress from rapid heating and cooling further compromises the exposed area, accelerating oxidation. Inspect the chip under 10x magnification to assess depth; if base metal is visible, immediate intervention is critical. Clean the area with isopropyl alcohol to remove contaminants, avoiding abrasives that could spread damage. Measure the chip: any larger than 3 mm in diameter increases risk markedly. Document the location and size for maintenance tracking. While sealing comes later, your priority now is halting environmental exposure. Corrosion begins within hours in humid conditions, so timely response limits long-term structural compromise.
Sealing Chips in E-Coated Calipers
You’ve inspected the chip and confirmed base metal exposure-now it’s time to seal it properly. Use a two-part epoxy repair compound designed for e-coated surfaces to restore coating adhesion and prevent moisture ingress. Clean the area with isopropyl alcohol, then roughen the edges with 220-grit sandpaper for peak bonding. Apply the epoxy with a silicone-tipped applicator, feathering the edges to match the original 20–25 µm film thickness. Let it cure for 24 hours at 20°C (68°F). The repaired spot should achieve 95% adhesion strength compared to the original e-coat. This seal blocks corrosion pathways by creating a continuous barrier-like a waterproof patch on a membrane. Regular inspection every six months guarantees long-term protection against subsurface corrosion spread.
On a final note
You must inspect e-coated calipers regularly. Chips as small as 0.5 mm can expose cast iron to moisture. Once breached, corrosion spreads beneath the coating, weakening structural integrity. Use a borescope to detect subsurface rust. Surface hardness measures 68–72 HRC; corroded areas drop below 50 HRC. Repair chips immediately with epoxy-based sealants rated for 150°C. Left unsealed, corrosion compromises braking performance and safety.