How to Replace Front Brake Pads and Rotors on a 2018 Honda Accord With Basic Hand Tools
You’ll need a socket set, torque wrench, and floor jack to replace your 2018 Honda Accord’s front brake pads and rotors. Lift the car safely using the front pinch weld and support it with jack stands. Remove the wheel, then inspect the 12.3-inch rotor for warping or thickness below 22.0 mm. Replace if worn past minimum specs. Install new ceramic pads and rotors, using high-temperature grease on slide pins. Torque caliper bolts to 22 ft-lbs and lug nuts to 80 lb-ft. Perform a proper break-in with five moderate stops from 40 mph to 10 mph, then two aggressive stops from 50 mph to 5 mph, cooling between each to prevent glazing. A precise bedding process guarantees peak friction transfer and braking performance. Key details on hardware prep and alignment will help you avoid common installation errors.
Notable Insights
- Loosen lug nuts before lifting the car, then use a floor jack and jack stands at recommended points for safe access.
- Remove wheels and inspect rotors for thickness, scoring, and warping; replace if below 22.0 mm or damaged.
- Use a socket set and torque wrench to remove caliper bolts, then detach caliper to access old pads and rotor.
- Install new rotors and ceramic brake pads, applying high-temperature grease to contact points and anti-squeal compound on pad backs.
- Torque caliper bolts to 22 ft-lbs and perform a proper break-in with five moderate and two aggressive stops to bed the brakes.
Gather Tools and Parts
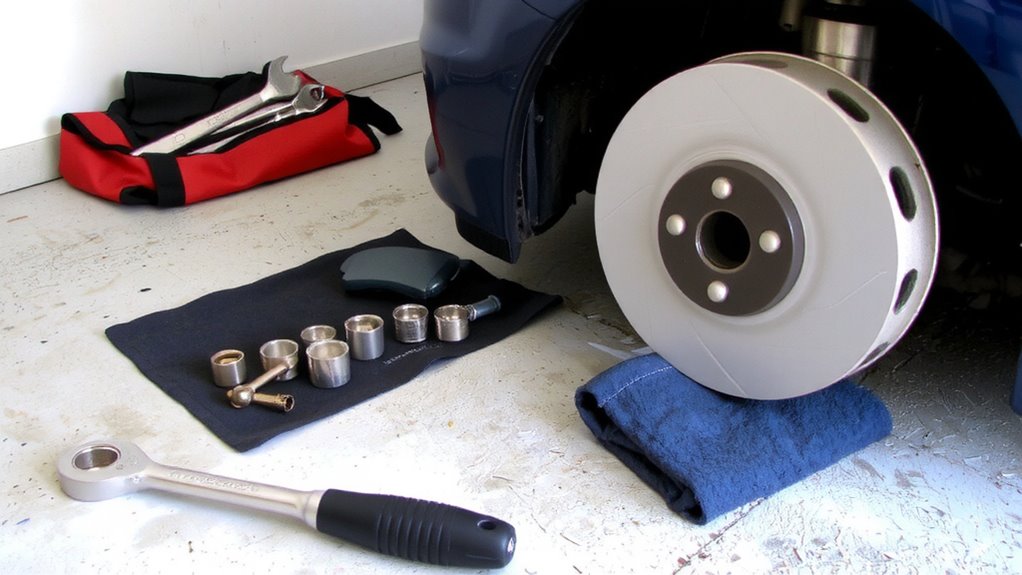
Before you begin, make sure you have all the necessary tools and parts on hand to avoid delays. You’ll need a socket set, torque wrench, C-clamp, and lug wrench. Purchase OEM-spec front brake pads and rotors for your 2018 Honda Accord; rotors should be 12.3 inches in diameter with a minimum thickness of 0.87 inches. Confirm the required brake fluid type-Honda specifies DOT 3 or DOT 4. You’ll need it later for system maintenance. Inspect caliper slide pins during disassembly; they must move freely to prevent uneven pad wear. Replace them if corroded or stiff. Include high-temperature brake grease for lubricating the caliper slide pins and pad-to-caliper contact points. Use thread locker on caliper bolts if reinstalling originals. Gather wire brushes, brake cleaner spray, and gloves. Organize parts to maintain efficiency. Having everything ready streamlines the process and guarantees a safe, effective brake job.
Lift and Secure the Car Safely
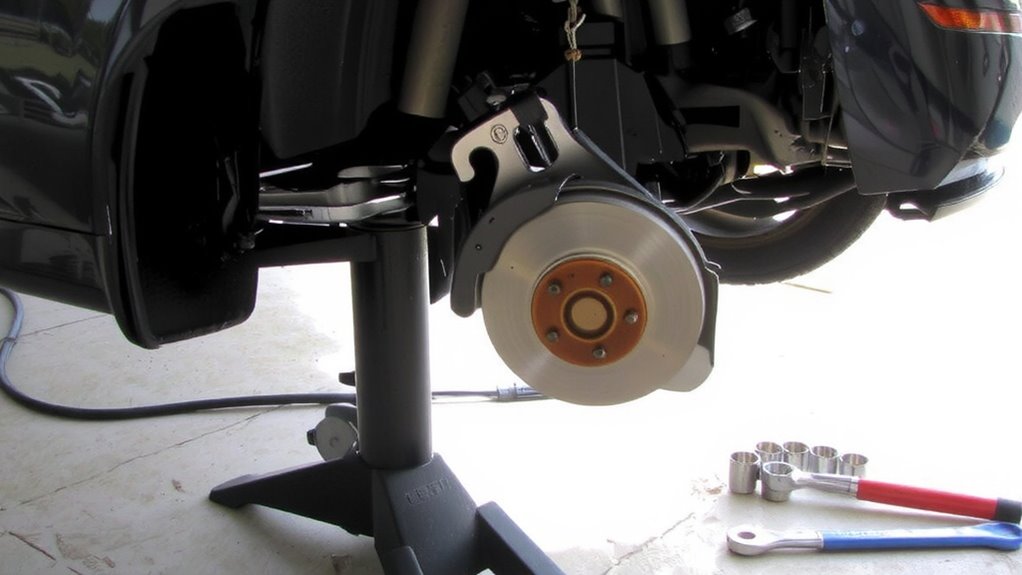
With the vehicle parked on a flat, dry surface, engage the parking brake and shift into first gear (or park for automatics) to prevent rollaway. Loosen the lug nuts slightly before lifting-don’t remove them yet. Use a floor jack at the manufacturer-recommended front jacking point, usually behind the front wheels near the pinch weld. Lift slowly and steadily, maintaining jack safety by keeping your body clear. Once the wheel is off the ground, support the car with jack stands rated for at least 3 tons, positioned under strong chassis points. Never rely on the jack alone. Always double-check stability before working underneath. Follow torque specifications when reinstalling wheels later-Honda specifies 80 lb-ft for the 2018 Accord’s lug nuts. This guarantees even clamping force and prevents rotor warping. Proper lift and support are critical-your safety depends on it. When reassembling trim pieces after repairs, securing them with a high-quality car trim adhesive ensures a durable and factory-like finish.
Remove Wheel and Inspect Brakes
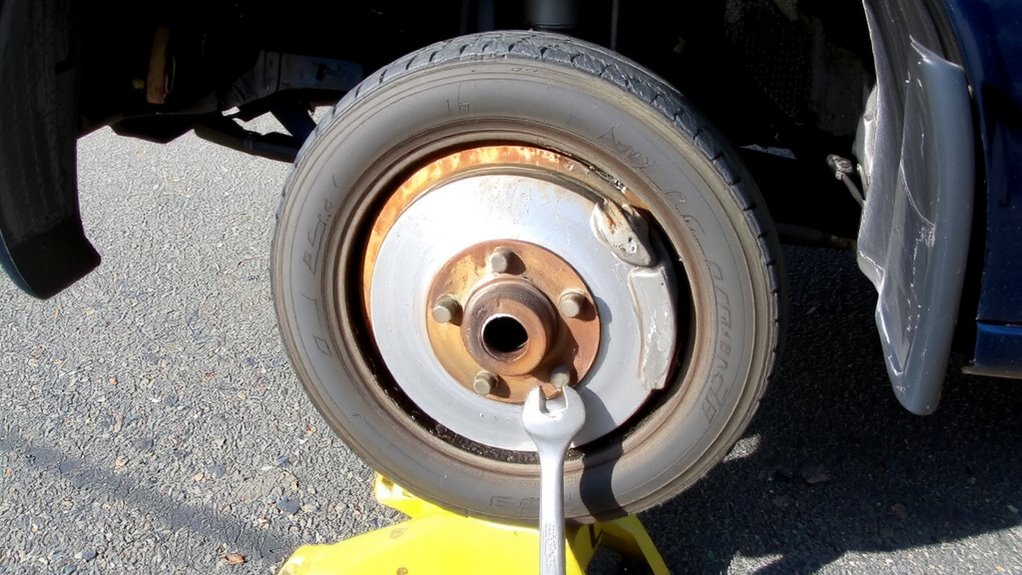
Now that the car is securely lifted and supported on jack stands, finish loosening the lug nuts the rest of the way and remove them by hand. Pull the wheel straight off and set it aside. With the brake assembly exposed, inspect for excessive brake dust accumulation around the caliper and pads. Heavy buildup can indicate worn friction material or degraded performance. Examine the rotor face closely for signs of rotor surface scoring-deep, uneven grooves typically over 0.8 mm deep mean the rotor must be replaced. Check factory specs: minimum rotor thickness is 22.0 mm; measure at multiple points using a micrometer. Even slight thickness variation beyond 0.015 mm can cause pedal pulsation. Also, look for thermal cracks, corrosion, or warped surfaces. If scoring exceeds manufacturer tolerance or pad material is down to 3 mm, replacement is required. Document findings before proceeding.
Install New Brake Pads and Rotors
If the inspection shows worn pads or damaged rotors, you’ll need to install new components to restore braking performance. Always check rotor surface finish before installation-smooth, non-grooved surfaces guarantee peak contact. Verify brake pad alignment during mounting; misalignment causes uneven wear and noise.
| Component | Specification |
|---|---|
| Rotor Thickness | 28.0 mm (minimum 26.0 mm) |
| Pad Material | Ceramic, low dust |
| Rotor Type | Vented, dual-piston caliper |
| Torque Spec | 22 ft-lbs (caliper bolts) |
| Alignment Check | Pad fits snugly in bracket |
Install rotor first, then pads. Use anti-squeal compound on backing plates. Guarantee hardware is clean and secure. Proper rotor surface finish and brake pad alignment are critical for safety and longevity.
Test and Break In New Brakes
You’ve installed the new brake pads and rotors, and all components are properly seated and torqued. Now, perform the bedding procedure to guarantee peak brake performance. This process, also known as friction burn in, conditions the pad and rotor surfaces to work together efficiently. Begin with five moderate stops from 40 mph to 10 mph, allowing 30 seconds of driving between each to dissipate heat. Follow with two aggressive stops from 50 mph to 5 mph, again cooling between stops. Avoid dragging brakes. This bedding cycle transfers a uniform layer of pad material onto the rotor surface. It enhances bite, reduces noise, and prevents uneven wear. Skipping this step risks glazing pads and poor initial response. Always complete the full bedding procedure before normal driving.
Avoid These Common Brake Mistakes
While replacing brake pads and rotors may seem straightforward, skipping critical steps can compromise safety and performance. Proper brake pad lubrication prevents noise and guarantees smooth caliper movement. Always apply high-temperature brake grease to pad contact points-never on friction surfaces. Rotor surface preparation is equally essential; clean new rotors with brake cleaner to remove preservative oils. Resurface or replace warped rotors exceeding 0.002-inch runout. Torque lug nuts to 80 ft-lbs in a star pattern for even clamping. Reusing old hardware or neglecting anti-rattle clips leads to vibration.
| Mistake | Solution |
|---|---|
| Skipping brake pad lubrication | Apply grease to backing plate edges |
| Ignoring rotor surface preparation | Clean with brake cleaner, check runout |
| Over-tightening guide pins | Torque to 22 ft-lbs |
| Reusing old bolts | Replace with new hardware |
| Not inspecting caliper slides | Clean and lubricate with silicone grease |
On a final note
You’ve successfully replaced your Accord’s front brake pads and rotors. Always torque lug nuts to 80 lb-ft using a star pattern. New rotors must be clean and free of coating; wipe with brake cleaner. Bed-in the pads with 10 moderate stops from 50 mph. Avoid heavy braking for 24 hours. Properly installed, this setup delivers consistent stopping power and reduced noise, extending service life and maintaining factory braking performance.