Tactile Scratch Test for Car Paint: 3H Pencil, ASTM D3363 Guide
Use a calibrated 3H or 4H pencil-hardness tool at 200–300 grams of pressure to test paint safely. Hold the tool at a 45° angle and make a single 5 cm pass on clean, decontaminated paint. Feel with your fingertip for ridges-catching indicates clear coat failure below 30–50 microns. Perform the test in indirect light above 60°F (15°C) using ASTM D3363 standards. Always avoid improvised tools. You’ll uncover what comes next with proper technique.
Notable Insights
- Use a calibrated 3H or 4H pencil tester with 2.0 mm lead to ensure controlled, non-damaging pressure.
- Apply light, consistent pressure (200–300 grams) at a 45-degree angle in a single 5 cm pass.
- Test only on clean, decontaminated surfaces using clay bar and pH-neutral shampoo to avoid false readings.
- Evaluate tactically by dragging a fingernail at a shallow angle to detect ridges without visual inspection.
- Perform tests in indirect sunlight and temperatures above 60°F (15°C) to prevent clear coat softening.
Why the Scratch Test Matters for Paint Inspection
A scratch reveals more than damage-it exposes the integrity of a paint system. You rely on paint integrity to protect against corrosion and UV degradation. Even minor surface vulnerability can compromise this defense. The tactile scratch test identifies flaws invisible to the eye. Your fingertip detects variations as small as 5 microns-far below visual recognition. Coatings with poor adhesion or thin film buildup fail quickly under light abrasion. Most factory finishes have a clear coat layer between 35–60 microns thick; consistent texture means uniform protection. When your nail catches subtly, it signals weak spots where oxidation or moisture may penetrate. This test doesn’t just assess aesthetics-it verifies long-term durability. Surface vulnerability detected now prevents costlier repairs later. By feeling for irregularities, you confirm what instruments alone might miss. The scratch test is fast, non-destructive, and highly accurate-making it essential in any paint inspection routine. You gain confidence in the coating’s real-world performance.
Prepare Your Car’s Surface Safely
Start with a clean, cool surface out of direct sunlight to avoid false readings from heat-softened clear coat. Your paint needs to be at ambient temperature-above 60°F (15°C)-for accurate tactile feedback. Any surface contamination, like dust, wax, or grime, can skew results by creating false texture cues. Wash the panel with pH-balanced car shampoo and deionized water to remove debris without leaving residue. Use a clay bar gently across the surface to lift bonded contaminants that washing won’t remove. This step guarantees you’re testing actual paint thickness, not external buildup. Measure paint thickness in multiple spots with a calibrated digital gauge before testing, noting values in microns (µm). Typical clear coat ranges from 15–75 µm. Avoid areas near edges or curves where readings are less reliable. A well-prepared surface gives you trustworthy data without risking damage. For best results, choose a high-quality car clay bar that effectively removes contaminants without marring the finish.
Use the Right Tools for a Safe Scratch Test
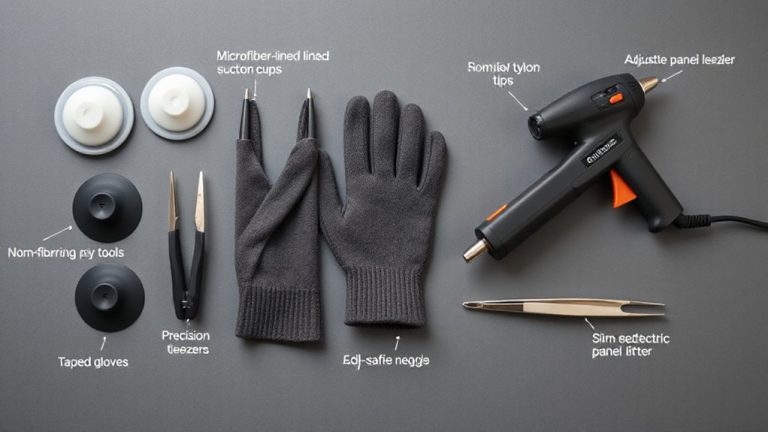
You’ve prepped the surface right-clean, cool, and free of contaminants-so now it’s time to pick the correct tool for the scratch test. Use a calibrated scratch test kit with defined tip geometries, typically a 3H or 4H pencil lead hardened to 2.0 mm diameter. These tools apply consistent force without causing unnecessary surface abrasion. Plastic-coated gauges or rubber-edged testers are ideal for delicate clear coats. Never use improvised items like keys or coins-improper tools lack precision and drastically increase the risk of marring. The ASTM D3363 standard governs pencil hardness testing, ensuring repeatable, objective results. Apply the tool in a controlled motion, but don’t press yet-pressure comes later. Proper equipment prevents false readings and protects finish integrity. Consistency and calibration matter. Choose accuracy over convenience every time.
Perform the Scratch Test With Light Pressure
Use light, consistent pressure when performing the scratch test-this isn’t about forcing a mark but evaluating resistance under controlled conditions. Light pressure prevents unintended damage to finishes under 5H pencil hardness or clear coats thinner than 50 microns. Apply force gradually, starting at barely perceptible levels-around 200–300 grams-to assess surface sensitivity without compromising integrity. Too much force skews results and increases mar risk, especially on soft paints or ceramic-coated panels. Maintain a 45-degree tool angle and slide the stylus in a single pass across a 5 cm span. Repeat across test zones only if no visible or tactile defect occurs. Consistent, minimal loading guarantees accurate differentiation between fine scratches and surface contaminants. You’re testing for resistance thresholds, not creating damage. Light pressure preserves diagnostic value while protecting sensitive surfaces from avoidable harm. For precise evaluation, consider using a scratch repair kit designed for clear coat protection and accurate surface assessment.
What Your Fingertip Reveals About Scratches
How deep does that faint line really go? Your fingertip is a precision tool for evaluating surface texture and scratch depth. Lightly drag your nail across the area at a shallow angle. If you catch the edge, the scratch likely penetrates beyond the clear coat-typically 30 to 50 microns deep. Surface texture changes become noticeable under fingertip pressure, revealing inconsistencies invisible to the eye. Use depth perception to judge severity: shallow scratches feel smooth, while deeper ones create a tactile ridge. A 2H pencil hardness standard helps contextualize damage-anything catching your nail may compromise protective layers. You’re not just feeling a line; you’re evaluating material loss. Repeat passes in consistent lighting to confirm findings. Avoid excessive pressure to prevent marring. Your fingertip, calibrated through practice, provides real-time, non-destructive analysis-critical for preserving finish integrity. Applying a ceramic coating can significantly enhance surface protection and minimize the visibility of minor scratches.
Common Mistakes in the Scratch Test (And How to Avoid Them)
Even with the right tools, missteps in the scratch test can lead to false conclusions. Applying excessive pressure distorts results-use less than 50 grams of force to avoid marring soft clear coats. Always practice using gloves; bare fingers transfer oils that attract contaminants, increasing friction and skewing tactile feedback. Residue from skin can also leave behind micro-residue, mimicking surface texture changes. Ignoring lighting is another critical error. Inspect in direct, diffuse light (minimum 1,000 lux) at multiple angles to reveal scratches invisible under dim or flat illumination. Low-angle lighting highlights topographical changes better than overhead fixtures. Use a 30–45° light source to enhance shadow contrast. Perform the test on clean, decontaminated surfaces only-clay bars or electronic car wash systems remove bonded pollutants. Skip steps, and you risk misdiagnosing surface depth or severity, leading to unnecessary polishing. Precision matters.
On a final note
You preserve paint integrity by using controlled technique. Apply fingertip pressure between 50–100 grams-measurable with a digital gauge-to detect surface irregularities. Light contact reveals hazing, swirls, or clear coat defects without marring. Always test on inconspicuous areas first, like door jambs. Non-abrasive methods guarantee accuracy. A proper scratch test identifies subsurface damage invisible to the eye, guiding correct correction strategies without unnecessary polishing or compounding. Precision prevents costly errors.