How to Replace Front Struts on a 2012 Ford Focus With Tower Inspection
You’ll need a complete strut kit with 148 lb/in springs, a dual-claw spring compressor, and a 24mm strut nut socket. Lift your 2012 Focus safely on jack stands and remove the 18 mm pinch bolt and sway bar link. Extract the strut, then inspect the tower for cracks and measure the 538 mm ±2 mm bolt spacing. Install new struts with OEM-style mounts, torque the upper nut to 40 ft-lbs and pinch bolt to 65 ft-lbs, then verify alignment settings-there’s more to guarantee long-term performance.
Notable Insights
- Use a complete strut kit matching the factory 148 lb/in spring rate for proper ride quality and performance.
- Secure the vehicle on jack stands after lifting with a floor jack, ensuring stability before beginning work.
- Remove the front strut by disconnecting the sway bar link and loosening the 18 mm pinch bolt at the steering knuckle.
- Inspect strut towers for cracks or deformation and verify top mount bolt distance is 538 mm ± 2 mm.
- Torque the upper strut nut to 40 ft-lbs and align front toe to 0.04–0.10° positive and camber within ±0.75°.
Get the Tools and Strut Kit You’ll Need
You’ll need the right tools and a complete strut kit to do the job safely and correctly. A proper strut kit includes new struts, mounts, and dust boots, designed specifically for your 2012 Ford Focus. Strut compatibility is critical-use only components rated for the SE, SEL, or Titanium trims to guarantee correct fit and performance. The factory spring rate is 148 lb/in, so matched replacement springs must meet this spec. You’ll need a spring compression tool rated for coil-over struts; these springs are under high tension and can be dangerous if mishandled. Always use a professional-grade compressor with dual claws to evenly distribute pressure during spring compression. Include torque specs: mount bolts require 18–22 ft-lbs. A torque wrench, socket set, and strut nut socket (24mm) are essential. Skip shortcuts-you need precision, not speed.
Secure Your Focus on Jack Stands
Begin by positioning your 2012 Ford Focus on a level concrete surface to guarantee stability during lifting. Engage the parking brake and chock the rear wheels to prevent movement. Lift the front of the car using a floor jack rated for at least 3 tons. Place jack stands under the front subframe at the manufacturer-recommended lift points-never rely on the jack alone. Improper support risks damage and injury. Inspect for strut noise and wheel play now; these signs indicate worn components. Addressing them early prevents unsafe conditions.
| Condition | Indicates | Risk Level |
|---|---|---|
| Excessive wheel play | Loose ball joints or bearings | High |
| Clunking strut noise | Worn strut mounts or bushings | Medium |
| Fluid leaks | Failed strut assembly | High |
| Tire cupping | Damaged suspension | Medium |
Wait five minutes after lifting to confirm stability before proceeding.
Remove the Front Strut
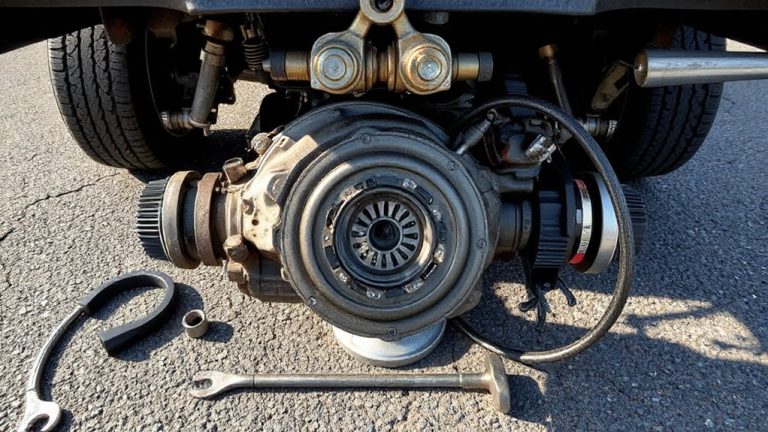
With the vehicle safely supported on jack stands and stability confirmed, start removing the front strut by accessing the components at the steering knuckle. Disconnect the sway bar link and loosen the lower strut-to-knuckle bolt, then remove the nut and bolt securing the strut assembly. Strut removal requires separating the knuckle from the strut without damaging the brake hose or suspension components. Support the knuckle to prevent stress on connected parts. Next, move to the engine compartment and remove the upper strut mount nuts-typically three 10mm or 13mm fasteners. Carefully extract the entire strut assembly from the wheel well. Before disassembling the strut, use a spring compressor for proper spring compression. Compress the spring evenly to relieve tension-this is critical for safety. Never attempt strut disassembly without spring compression; stored energy in the coil spring can cause severe injury.
Check the Strut Towers for Damage
Inspect the strut towers carefully-these critical mounting points bear the full load of the front suspension and must remain structurally sound. Look for cracks, deformations, or signs of corrosion around the mounting flanges and surrounding sheet metal. Even minor damage can compromise strut tower alignment, leading to incorrect suspension geometry. Measure the distance between towers at the top mount bolts; it should match factory specs: 538 mm ± 2 mm. Misalignment affects camber, caster, and toe settings, accelerating tire wear and reducing handling. Use a straightedge and tape measure to verify symmetry side to side. Bent towers often result from prior impacts or worn struts transferring excessive force. If damage is present, repair before proceeding-new struts won’t correct underlying structural issues. Proper strut tower alignment guarantees peak suspension geometry and long-term ride quality.
Install the New Struts
Once you’ve confirmed the strut towers are in good condition, it’s time to mount the new struts. Align the new strut assembly with the steering knuckle and secure it using the 18 mm pinch bolt-torque to 65 ft-lbs. Reconnect the sway bar link and upper mount, ensuring the strut’s top hat is seated properly in the tower. Proper strut calibration is critical; incorrect torque on the upper nut (40 ft-lbs) can alter camber and disrupt handling. New struts provide improved noise reduction by damping road vibrations more effectively than worn units. Use OEM-recommended spring seats and insulators to prevent squeaks. Double-check all fasteners and rubber bushings for correct positioning. Each new strut should sit vertically without lateral tilt. Misalignment affects suspension geometry and accelerates tire wear. Install both sides before moving forward. The new components enhance ride control and maintain consistent contact with the road surface.
Test Drive Your Focus and Verify Alignment
Why risk uneven tire wear or compromised handling after replacing your struts? You must verify alignment to guarantee a smooth ride and accurate tracking. Drive at 35 mph on a level road. Your Focus should hold a straight line without steering input. Pulling to one side indicates misalignment. Check for vibrations or wandering, which suggest incorrect toe or camber settings. Factory specs require front toe between 0.04 and 0.10 degrees positive. Camber should be ±0.75 degrees. Use a professional alignment rack to confirm. Misaligned wheels increase tire wear by up to 30%. After confirming alignment, test braking and cornering response. A properly aligned vehicle stops straight and responds evenly to inputs. Retest after 50 miles. Suspension components settle slightly. Accurate tracking guarantees maximum tire contact and predictable handling. This step isn’t optional-it’s critical.
On a final note
You’ve completed the strut replacement with precision. Always use a torque wrench-front strut bolts require 85–95 ft-lbs. Your 2012 Focus now rides on fresh Monroe or KYB struts, improving handling and ride height. The tower inspection ruled out frame damage, ensuring structural integrity. Post-repair alignment is critical; misalignment over 0.10 degrees causes uneven tire wear. Test drive confirms smoother response over bumps. Safe driving depends on these exact steps.