Inspecting Lower Ball Joints on a 2016 Toyota 4Runner
You should check for clunking noises over bumps and uneven front tire wear, as these signal lower ball joint wear on your 2016 Toyota 4Runner. Inspect the rubber boot for splits or grease leaks, which allow contamination. With the suspension loaded, use a pry bar to test for more than 0.05 inches of play. Lift safely using frame rails and support with jack stands. Worn joints often exceed OEM’s 0.030-inch vertical play limit, requiring replacement-especially since both sides typically wear evenly. Sealed units can’t be relubed, but aftermarket options offer zerk fittings and corrosion-resistant coatings. Signs like slop or noise mean it’s time to act-details on proper inspection follow.
Notable Insights
- Inspect the lower ball joint boot for tears, splits, or grease leakage to detect early signs of wear.
- Check for clunking noises over bumps, which often indicate excessive ball joint play.
- Use a pry bar under the control arm to test for more than 0.05 inches of vertical movement.
- Lift the vehicle safely using frame rails and support with jack stands for accurate loaded suspension inspection.
- Replace both lower ball joints if one shows failure, as they typically wear evenly on the 2016 Toyota 4Runner.
Check Lower Ball Joint Symptoms Early
Why wait for a failure when you can catch it early? You should monitor lower ball joint symptoms before they compromise safety. A worn ball joint affects steering precision and accelerates tire wear. Historically, ball joint history shows gradual degradation due to load stress and lack of lubrication in sealed designs like your 2016 Toyota 4Runner’s. The lower ball joint supports the vehicle’s weight and handles dynamic lateral forces. Early signs include clunking noises over bumps or uneven front tire wear. Misalignment often follows, disrupting factory vehicle alignment specs: the 4Runner’s camber and toe angles deviate beyond ±0.5° tolerance. This reduces tire life and impairs handling. Inspect for play exceeding 1.5 mm vertical movement, which exceeds OEM service limits. Early detection prevents suspension damage and maintains control under braking. Address issues before they affect steering response or cause roadside failure.
Use Basic Tools to Inspect Ball Joints
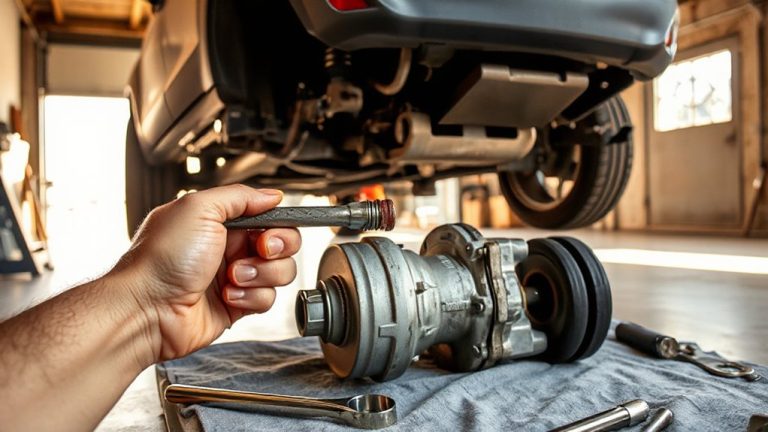
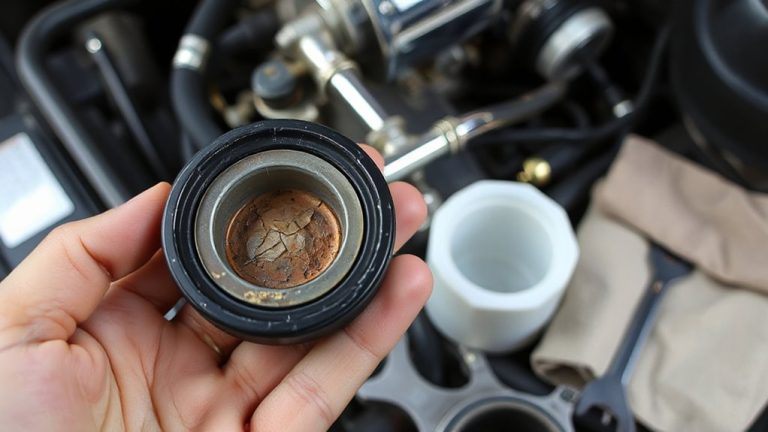
How do you know if your lower ball joints are nearing the end of their service life? Use basic hand tools to inspect them closely. Start by examining the rubber boot on each ball joint. If you see grease leakage, the seal is compromised, which leads to accelerated wear. A healthy boot should remain intact and free of splits or soft spots. Next, check for corrosion buildup around the stud and housing-excessive rust can restrict movement and weaken structural integrity. Use a pry bar to test for play; movement exceeding 0.05 inches indicates failure. Perform this check with the suspension loaded but without lifting the vehicle. Combine visual and mechanical inspection to confirm joint condition. These simple steps give you accurate, real-time feedback on ball joint health. Early detection prevents costly damage.
Lift and Secure Your 4Runner Safely
Now that you’ve completed the initial inspection using basic tools, it’s time to lift the vehicle for a more thorough evaluation. Use a floor jack rated for at least 3,500 pounds to raise the front of your 4Runner at designated lift points near the frame rails. Proper lifting maintains suspension geometry and prevents false readings during inspection. Once lifted, support the vehicle securely on jack stands placed under reinforced crossmembers. Never rely solely on a hydraulic jack. Raising the wheels allows the suspension to hang freely, replicating real-world load conditions critical for accurate axle alignment assessment. This position lets components settle naturally, revealing true wear patterns. Guarantee the 4Runner is level to maintain correct suspension angles. A stable, properly lifted platform is essential for precise diagnostics. For heavy-duty performance, consider a floor jack rated for trucks with a high weight capacity and durable construction.
Inspect Lower Ball Joints for Play
You’ll want to start by checking for excessive movement in the lower ball joints, as this is a reliable indicator of wear. Grasp the tire at the 12 and 6 o’clock positions and rock it gently. Any detectable play-more than 0.05 inches-means the joint is compromised. Use a pry bar under the control arm and lift upward to confirm movement; visible slop suggests internal clearance beyond OEM specs. Excessive wear often correlates with ball joint noise, like clunking over bumps, especially at low speeds. You might also notice steering vibration during highway driving, which worsens over time. These symptoms stem from lost clearance in the joint’s socket, allowing unintended suspension movement. The 2016 4Runner’s lower ball joint design uses a press-in bearing with a greaseable fitting; if the boot’s torn, contamination accelerates wear. Inspect both sides thoroughly-uneven wear is common.
Respond If Ball Joints Are Failing
A failing lower ball joint on your 2016 Toyota 4Runner demands immediate action-continued driving risks complete separation, loss of steering control, and potential accidents. You’ll likely hear ball joint noise, such as clunking or popping over bumps, caused by excess play in the socket. This wear compromises suspension alignment, leading to uneven tire wear, especially on the inner or outer tread edges. The OEM ball joint specs allow only 0.030 inches of vertical play; exceeding this means failure. Ignoring symptoms accelerates damage to control arms and steering components. Your 4Runner’s front suspension relies on precise geometry-any deviation affects handling and braking stability. The ball joint connects the steering knuckle to the lower control arm, bearing constant load and articulation. When wear occurs, it disrupts wheel camber and toe angles. These changes reduce tire life and compromise safety. Stop driving if clunking worsens or steering feels loose.
Replace or Monitor Worn Lower Ball Joints
When wear exceeds the OEM tolerance of 0.030 inches of vertical play, replacement-not monitoring-is the only safe option for the lower ball joints on your 2016 Toyota 4Runner. Exceeding this limit increases steering instability and accelerates tire wear. Factory-installed ball joints are sealed units with no provision for ball joint lubrication, meaning relubing isn’t an option. Once internal grease is depleted, metal-to-metal contact causes rapid degradation. Corrosion prevention is limited to the factory-applied zinc coating, which may degrade in humid or road-salted environments. Aftermarket replacements often include greasable designs with zerk fittings, allowing periodic ball joint lubrication and extended service life. They may also feature improved seals and enhanced corrosion prevention coatings, like Dacromet. These upgrades support durability under off-road stress. Replacing worn joints proactively guarantees safer handling and prevents damage to related suspension components. Choosing the right best ball joint grease can further extend the life of greasable aftermarket joints.
Know When to Replace Your 4Runner’s Ball Joints
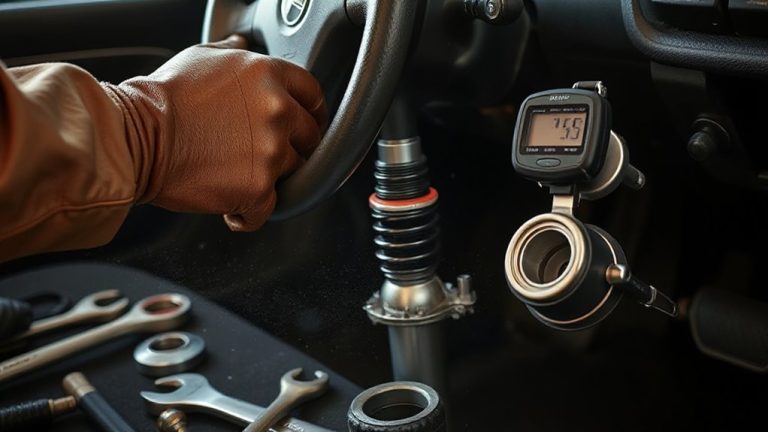
How do you know when it’s time to replace the lower ball joints on your 2016 Toyota 4Runner? Check for excessive play-more than 0.1 inches of movement indicates wear. Your 4Runner’s ball joint lifespan averages 70,000 to 100,000 miles, but harsh driving conditions shorten it. Frequent off-roading, pothole-ridden roads, or towing stress the suspension. You may hear clunking noises when turning or braking. Vibration through the steering wheel or uneven tire wear also signals trouble. The ball joint boot should stay intact; tears let in dirt and moisture, accelerating failure. Toyota specifies zero tolerance for vertical or horizontal play. Use a pry bar and dial indicator for accurate measurement. Ignoring symptoms risks separation, leading to loss of control. Replace both lower ball joints if one fails-they usually wear evenly.
On a final note
You should inspect your 2016 Toyota 4Runner’s lower ball joints annually or every 30,000 miles. Factory specs allow no more than 0.050 inches of vertical play. Excess movement indicates wear and requires replacement. Use a pry bar and dial indicator for accurate measurement. Worn joints compromise steering and safety. Replace both sides simultaneously with OEM or upgraded aftermarket units rated for 100,000-mile durability.