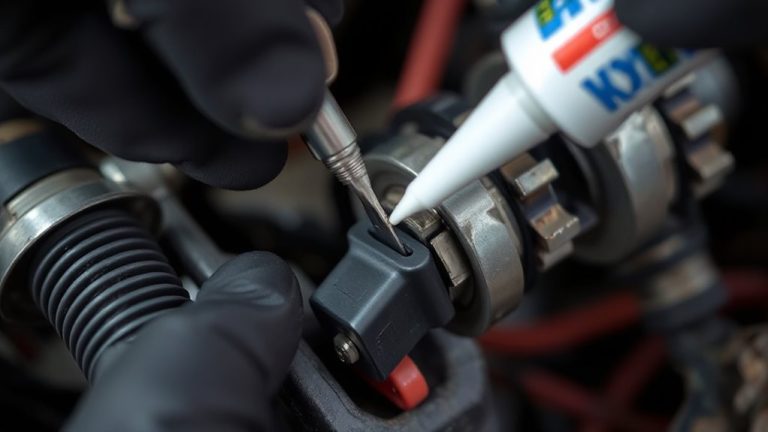
How to Lubricate Steering Column Slip Joint on a 2012 Chevrolet Silverado
You’ll need a lithium-based NLGI #2 grease and a precision grease gun to service your 2012 Silverado’s steering slip joint. Locate the 3-inch ridged sleeve behind the firewall, where the column meets the steering gear. Clean the area first, then apply 5–7 pumps of molybdenum-enriched grease to avoid overpressurizing the boot. Work the joint by turning the wheel lock-to-lock. Proper lubrication maintains the 0.002–0.005-inch clearance, preventing clunking and wear-there’s more to get right.
Notable Insights
- Locate the slip joint at the base of the steering column behind the firewall, identifiable as a 3-inch ridged sleeve.
- Turn off the vehicle and remove the key to prevent accidental airbag deployment during service.
- Clean the slip joint area thoroughly with a lint-free cloth to remove dirt and debris before lubrication.
- Apply 5–7 pumps of molybdenum disulfide NLGI #2 grease using a precision grease gun, avoiding overgreasing.
- Cycle the steering lock-to-lock and compress/extend the joint to evenly distribute grease and check for smooth operation.
How to Lubricate the Silverado’s Steering Slip Joint
Your Silverado’s steering slip joint plays a critical role in transmitting torque from the steering column to the steering gear. Over time, joint wear can develop due to vibration, debris, and lack of lubrication, compromising steering precision. A dry or worn slip joint may cause binding, excessive play, or steering shudder. Maintaining proper lubrication minimizes friction and extends component life. While lubrication itself doesn’t directly adjust steering alignment, unaddressed joint wear can indirectly affect alignment stability by introducing slack in the steering system. The slip joint operates within tight tolerances-typically 0.002 to 0.005 inches clearance-and relies on molybdenum disulfide grease for maximum performance. Guarantee compatibility with NLGI #2 grease, which provides sufficient viscosity and pressure resistance. Address wear signs early-such as clunking noises or misaligned wheels-to prevent cascading damage. Proper maintenance preserves steering accuracy and mechanical integrity under load.
What You Need to Grease the Slip Joint
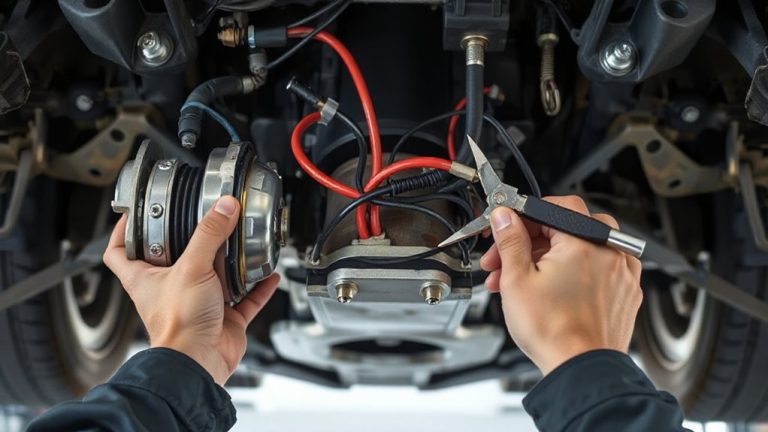
A dry slip joint can lead to poor steering response and premature wear, so having the right tools and materials on hand guarantees the job’s done correctly. You’ll need a high-quality lithium-based grease with a NLGI grade 2 rating-this grease type offers ideal viscosity and temperature resistance for automotive joints. Use a precision grease gun with a flexible hose to apply lubricant evenly without spillage. Include a clean lint-free cloth for wiping debris during joint inspection. Inspect the slip joint closely for play, corrosion, or boot damage before greasing. A functional joint should show minimal axial movement-no more than 0.030 inches. Replace damaged components before lubrication. Wear nitrile gloves to protect your hands and prevent contamination. Make certain the vehicle is off and the key removed to prevent accidental airbag deployment during service.
Where to Find the Slip Joint
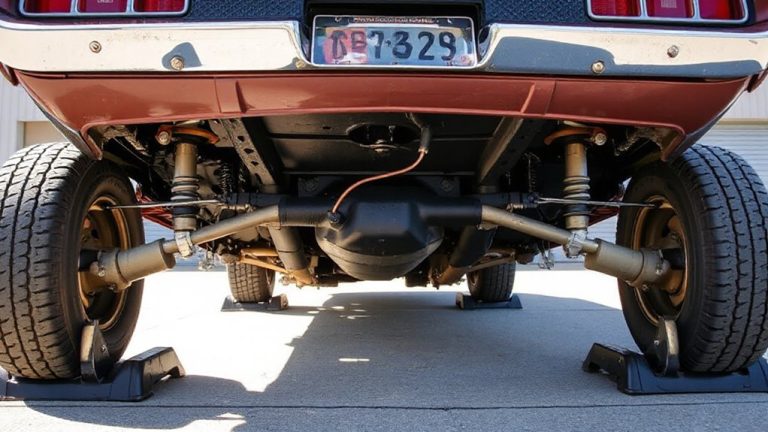
Look under the dashboard near the base of the steering column to locate the slip joint. It’s typically a telescoping metal coupling just behind the firewall, allowing flexibility between the steering column and intermediate shaft. You don’t need steering wheel removal to access it-just unfasten the lower dash shield. The joint appears as a ridged, greasable sleeve approximately 3 inches long with a small zerk fitting on some models. For vehicles with tight cabin space, slight undercarriage access may help verify alignment and joint condition. This slip joint compensates for chassis flex and suspension movement, critical in maintaining steering responsiveness. On the 2012 Chevrolet Silverado, it’s positioned where the column passes through the firewall into the engine compartment. Confirm the truck is off, keys removed, and wheels straight before inspection. Proper identification prevents misapplication of lubricant elsewhere.
Lubricate the Steering Slip Joint in 5 Steps
Once you’ve confirmed the slip joint’s location and condition, lubrication can begin to guarantee smooth operation and prevent binding. First, clean the joint area thoroughly using a lint-free cloth to remove dirt and old grease. Apply a high-quality molybdenum disulfide grease-rated NLGI #2-with a precision grease gun or small brush directly to the splines. Second, extend and compress the slip joint slowly to guarantee even lubricant distribution. Third, rotate the steering wheel lock-to-lock to work the grease into the system, minimizing friction. Fourth, inspect for signs of joint wear, such as rough movement or excessive play, which could compromise steering alignment. Finally, recheck steering play and center position to confirm proper function. Proper lubrication reduces metal-on-metal contact, extending service life. Perform this process every 24,000 miles or during routine maintenance to maintain ideal performance.
Fix These 3 Slip Joint Lube Mistakes
Why do some slip joints still bind or wear prematurely despite regular lubrication? Overgreasing components is a common error. Excess grease increases internal pressure, distorting rubber boots and accelerating seal failure. GM specifies only 5–7 pumps of NLGI #2 lithium-based grease for the 2012 Silverado slip joint. Second, using the wrong grease type-like high-temperature chassis grease-reduces slip joint flexibility and promotes binding. Always use OEM-specified lubricant. Third, ignoring dust cover damage compromises protection. A torn boot allows dirt and moisture ingress, leading to rapid spline corrosion. Inspect the cover during each lubrication. Even minor cracks permit contaminants that degrade performance. Replace damaged boots immediately. Each mistake undermines lubrication effectiveness. Correct application guarantees smooth operation and extends joint life. Prevent premature wear with precise maintenance. Follow factory guidelines exactly.
When to Call a Mechanic for Steering Noise
You’ve kept up with lubrication and fixed common slip joint mistakes, but now you’re hearing clunks or squeaks when turning the wheel. These noises may signal deeper issues beyond routine maintenance. Steering vibration felt through the wheel often indicates worn U-joints, a misaligned shaft, or damage to the intermediate bearing. If the vibration increases with speed or during turns, it demands immediate inspection. A visible fluid leak near the steering column or under the vehicle could mean power steering system compromise-check the reservoir for low fluid levels. Leaks reduce hydraulic efficiency, leading to stiff steering and potential pump damage. Ignoring these symptoms risks complete steering failure. While some noise may stem from dried splines, persistent clunks after lubrication suggest mechanical wear. At this stage, professional diagnosis with a lift and torque specifications check is critical. Don’t wait-address steering vibration and fluid leak promptly to guarantee safety and drivability.
On a final note
You’ve fixed common lube mistakes. Now your slip joint runs smoothly. The 2012 Silverado’s joint requires NLGI #2 lithium-based grease. Use a hand-operated grease gun for controlled application. Apply 4–6 pumps max. Over-greasing causes boot swelling. The rubber boot measures 3.5 inches wide. It connects the steering column to the intermediate shaft. Proper lubrication reduces wear. It prevents ticking or popping during turns. Inspect every 15,000 miles. Replace if cracks appear.