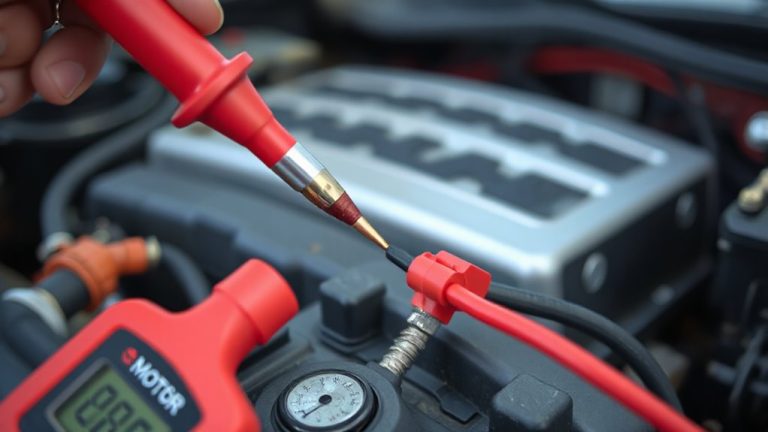
Diagnosing a Dead Cigarette Lighter Socket Using a Test Light
You can diagnose a dead cigarette lighter socket by first locating the 15- or 20-amp fuse in the dashboard or engine compartment fuse box. Use a test light with the ignition on to check both ends of the fuse; illumination means it’s good. Test the socket’s center contact for 12 volts in accessory mode. Verify ground by probing the housing with power applied. Issues like corrosion or loose wiring often cause failure-further inspection reveals the exact fault.
Notable Insights
- Check the cigarette lighter fuse using a test light with the ignition on; illumination on both ends means the fuse is good.
- Replace a blown fuse with one of the same amperage rating, typically 15 or 20 amps.
- Test for 12 volts at the socket’s center contact using a test light with ignition in accessory mode.
- Verify ground continuity by connecting the test light to power and probing the socket’s metal housing.
- Inspect for corrosion, loose wires, or damaged contacts, and clean or repair as needed for proper function.
Find the Cigarette Lighter Fuse
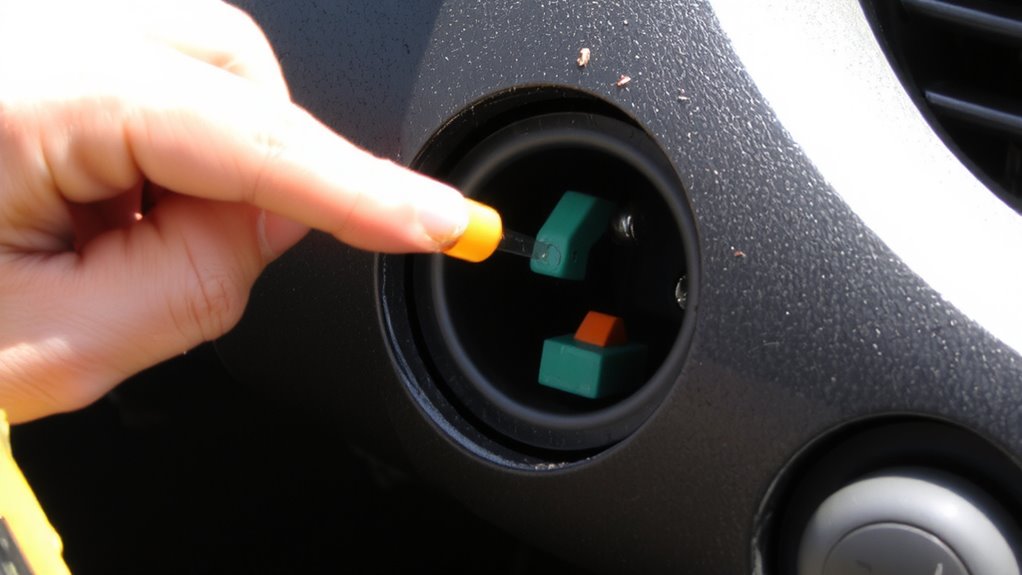
How do you know if a fuse is the culprit behind a dead cigarette lighter socket? Start by locating the fuse box, typically under the dashboard or in the engine compartment. Refer to your vehicle’s owner’s manual to identify the specific fuse for the cigarette lighter, usually a 15- or 20-amp blade-type fuse. A blown fuse often results from a circuit overload, where current exceeds the fuse’s rating, breaking the internal filament. This interrupts power flow, causing a complete voltage drop at the socket. Visually inspect the fuse-look for a broken or discolored metal strip inside. If the filament is intact, the issue may lie elsewhere. Circuit overload protection prevents wiring damage, but repeated failures suggest a downstream short. Always match replacement fuses to the original amperage rating-using a higher rating risks fire; a lower one may blow prematurely under normal load.
Test the Fuse With a Test Light
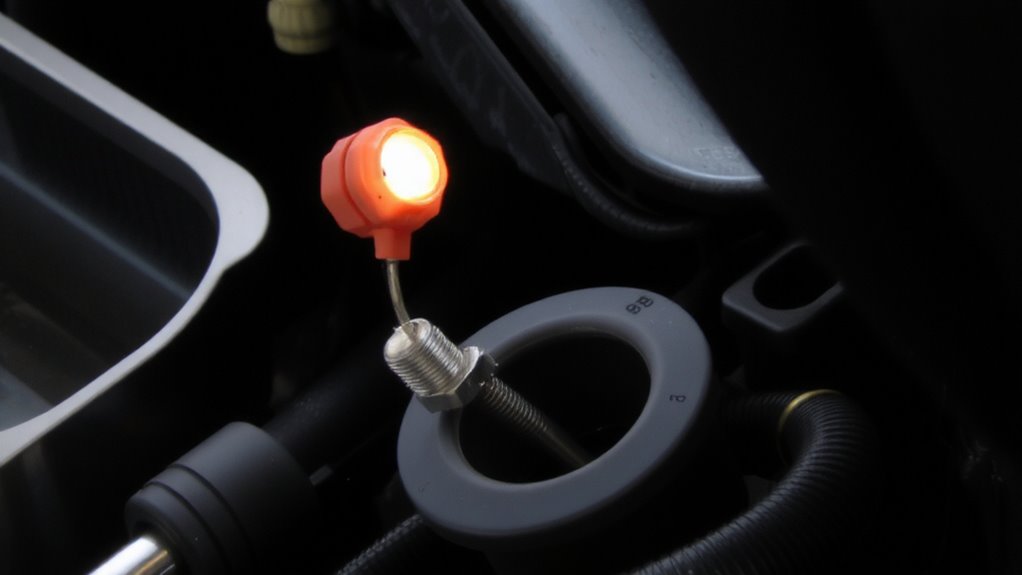
Once you’ve visually inspected the fuse, testing it with a test light confirms whether it’s truly conducting power. Begin by identifying the fuse location in your vehicle’s fuse box-usually labeled in the owner’s manual or on the box lid. The cigarette lighter fuse is typically a 15- or 20-amp blade-type. For the test procedure, set your test light: connect the alligator clip to a known ground, like the vehicle’s chassis. With the ignition on, carefully touch one probe to each metal end of the fuse. If the test light illuminates on both sides, the fuse conducts electricity properly. No light means a blown fuse, even if it looks intact. This simple test reveals continuity failure invisible to the eye. Always replace a bad fuse with the same amperage rating. A reliable automotive test light ensures accurate diagnosis and safe electrical testing.
Check the Socket for Power
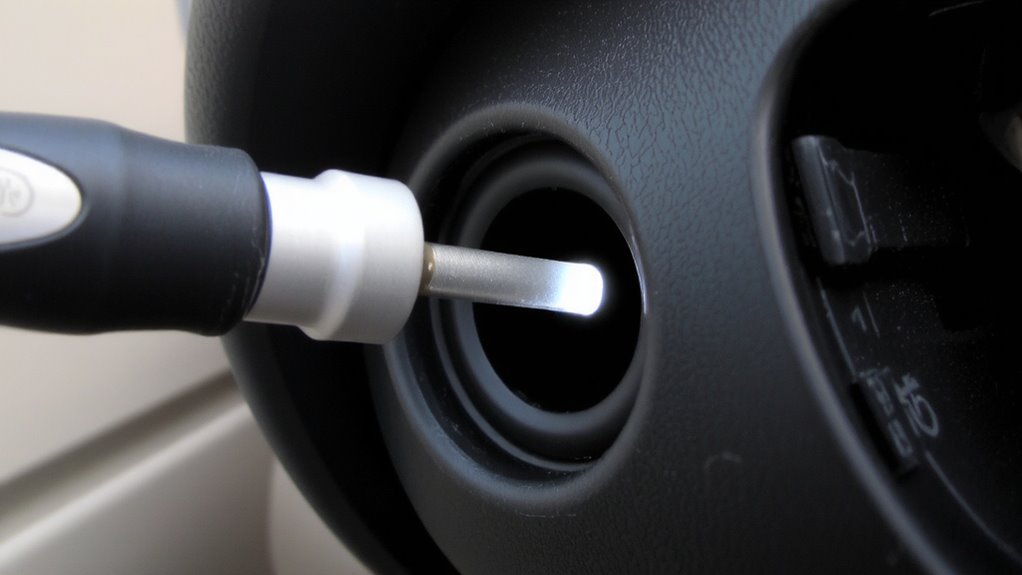
With the fuse confirmed good or replaced, it’s time to verify power at the cigarette lighter socket itself. Perform a voltage check using your test light. Insert the probe into the center contact of the socket while grounding the test light’s clip to bare metal on the vehicle’s chassis. Turn the ignition to the “accessory” position. If the test light illuminates, 12 volts are present, confirming circuit integrity. No illumination suggests a break in power delivery. This isn’t a continuity test-don’t probe for resistance with power applied. Voltage check results determine whether current reaches the socket. If no voltage is detected, inspect wiring leading to the socket for damage or loose connections. Confirm connector security at the back of the socket. Avoid probing too deeply to prevent short circuits. Accurate diagnosis hinges on this step before moving forward.
Test the Socket’s Ground Connection
Start by verifying the ground connection at the cigarette lighter socket, since a solid ground is just as critical as power for proper operation. Poor ground integrity can mimic a dead circuit. Use your test light: connect the clip to a known-power source and touch the probe to the socket’s metal housing. If the light doesn’t illuminate, the ground path is compromised. Check for socket corrosion, as oxidized contacts disrupt continuity and resistance. Clean any buildup with electrical contact cleaner and a small brush.
| Test Point | Expected Result | Action if Failed |
|---|---|---|
| Outer socket shell | Test light on | Inspect ground wire |
| Center contact | No illumination | Confirm power separately |
| Ground wire connection | Firm, no corrosion | Tighten or replace |
| Resistance measurement | <0.5 ohms | Repair ground path |
| Visual inspection | No socket corrosion | Clean or replace socket |
Common Causes of Socket Failure
Even when power and ground appear intact, the cigarette lighter socket can still fail due to internal or environmental factors you might overlook. Electrical corrosion is a leading cause, especially in humid climates or vehicles exposed to moisture. It forms on metal contacts, increasing resistance and blocking current flow. You’ll often see green or white crust around terminals-this impedes conductivity even if voltage tests seem normal. Loose wiring is another frequent culprit. Vibration from driving can loosen connections at the socket’s base or fuse panel, interrupting power. A wiggling socket or intermittent operation usually points to this issue. Internal spring contacts inside the socket degrade over time, losing tension and failing to grip plugs securely. The standard 12V socket should maintain 10–14V under load; deviations suggest connection faults. These failures occur silently, without blown fuses, making visual and physical inspection critical.
Know When to Call a Mechanic
You’ve checked the fuse, tested for power, and inspected the socket for corrosion or loose connections, but the issue persists. This is when electrical safety becomes critical. Tampering with wiring without proper knowledge risks short circuits, blown fuses, or even fire. If you’re unsure about tracing voltage drops or interpreting circuit diagrams, stop. Modern vehicles have complex power distribution systems, often sharing circuits with other accessories. A malfunction here could point to a deeper issue in the fuse box or wiring harness. That’s where a professional diagnosis is essential. Certified technicians use multimeters, wiring schematics, and diagnostic tools to pinpoint faults accurately. They understand amperage ratings, circuit loads, and proper grounding points. Don’t risk damage or injury. When basic troubleshooting fails, expert help guarantees the repair is safe, reliable, and up to manufacturer specifications.
What You Need to Test the Socket
Before diving into diagnostics, gather the right tools-accuracy hinges on proper equipment. You’ll need a digital multimeter to measure voltage drop and assess electrical resistance in the circuit. Set it to DC voltage, with a range of at least 20 volts. Use a fused test light rated for 12V automotive systems; it verifies power delivery quickly. Insulated test probes with sharp tips guarantee clean contact with the socket’s center and ground. You’ll also need a known-good accessory plug to check for physical blockages or poor contact. A wiring diagram of your vehicle’s accessory power circuit helps identify fuse locations and expected voltage points. Always disconnect the battery before probing wires. Check fuses first-many issues stem from blown fuses, not the socket. Low voltage drop means efficient current flow; excessive electrical resistance indicates corrosion or damaged wiring.
On a final note
You now know how to diagnose a dead cigarette lighter socket. First, verify the fuse using a test light-typically a 15-amp or 20-amp blade-type fuse in the cabin fuse box. Confirm power at the socket: 12 volts direct current during ignition. Check ground continuity with less than 0.5 ohms resistance. Most failures stem from blown fuses or poor grounding. Replace faulty components. Persistent issues suggest wiring defects-seek professional diagnostics.