Maximizing Wax Application Effectiveness Through Correct Buffing Pads Selection and Techniques
Choose the right buffing pad to maximize wax adhesion and finish clarity. Use soft foam pads (18–22 PCF) for delicate paint and microfiber for speed on large areas. Match pad density to paint condition-25–30 PU for smooth finishes, 35–40 PU for light defects. Apply wax in 2×2 foot sections with a 5.5-inch foam pad at 1,200–1,800 OPM and 3–5 PSI. Let it haze 5–10 minutes before wiping with a 300–400 g/m² microfiber towel. The right technique improves durability and depth-and there’s more to get right.
Notable Insights
- Choose softer foam pads (18–22 PCF) for delicate paint to enhance wax adhesion and prevent marring.
- Use 5-inch pads for tight areas and 6-inch pads for flat surfaces to improve application precision and efficiency.
- Match pad material to wax type: low-density foam (18–22 PPI) for liquids, high-density (30–35 PPI) for paste waxes.
- Apply wax with light pressure (3–5 PSI) at 1,200–1,800 OPM to ensure even distribution without heat buildup.
- Allow 5–10 minutes of hazing time before removing with a 300–400 g/m² microfiber cloth for maximum durability.
Choose the Right Buffing Pad for Your Wax
A good buffing pad choice directly impacts wax performance and finish quality. You need a pad that maximizes wax adhesion without marring the paint. Softer foam pads with a density of 18–22 PCF work best for standard waxes, preserving delicate surface texture. Firm pads over 25 PCF risk uneven distribution and can dull color depth. Pad diameter matters-5-inch pads suit tight contours, while 6-inch variants cover flat panels efficiently. Microfiber layers bonded to foam enhance wax release and prevent loading. Surface texture compatibility guarantees even sheen and full curing. A mismatched pad causes patchiness, reducing gloss and protection. Pore structure in foam dictates wax saturation; open-cell designs spread wax more uniformly. You’ll achieve deeper color depth and a smoother finish when pad hardness aligns with wax viscosity. Always match pad specs to your wax type and paint condition for best results.
Foam or Microfiber? Pick the Best Pad for Your Car
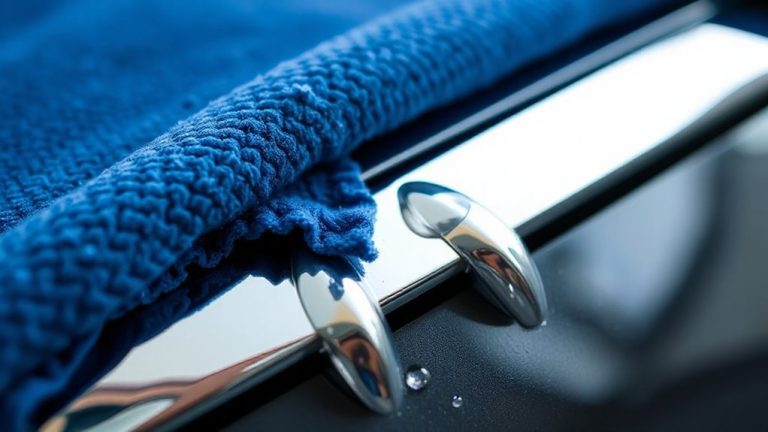
You’ve picked the right pad density and size for your wax type-now it’s time to decide on the material. Foam pads use varying foam density levels, typically 18–35 PPI (pounds per inch), to control wax spread and absorption. Lower density (18–22 PPI) suits liquid waxes, offering soft, even application. Higher density (30–35 PPI) works best with paste waxes, ensuring minimal residue. Microfiber pads rely on a tightly woven microfiber weave-usually 70% polyester, 30% polyamide-with split fibers trapping wax efficiently. They provide a lint-free finish and are easier to clean than foam. Foam offers precision; microfiber delivers speed. Choose foam for controlled, detailed waxing. Pick microfiber for quick, uniform coverage on large panels. Both materials maintain orbital or rotary compatibility. Pad thickness averages 2.5 inches, with Velcro backings securing them firmly. Your final choice hinges on workflow efficiency and material compatibility. For best results, consider using high-quality microfiber towels specifically designed for car care to avoid introducing contaminants during application.
Match Your Buffing Pad to Your Paint Condition
Paint imperfections dictate pad selection-choosing the wrong one can worsen defects or reduce wax adhesion. If your paint texture is smooth with minimal flaws, use a soft foam pad (density 25–30 PU) to safely apply wax without marring. These pads conform slightly to the surface, guaranteeing even wax distribution without disturbing the finish. For moderate swirl marks or light oxidation, opt for a microfiber pad with a density of 35–40 PU. Microfiber offers better cutting power while remaining gentle on clear coat. Heavy swirl marks require a progressively finer compounding step first-don’t wax over severe defects. Match pad aggressiveness to existing condition: aggressive pads on flawless paint cause unnecessary micro-scratching. Always inspect under direct lighting to assess true paint texture. A correct match guarantees maximum wax adherence, durability, and optical clarity-critical for long-term protection and finish depth.
Buff Wax Like a Pro: A Step-by-Step Guide
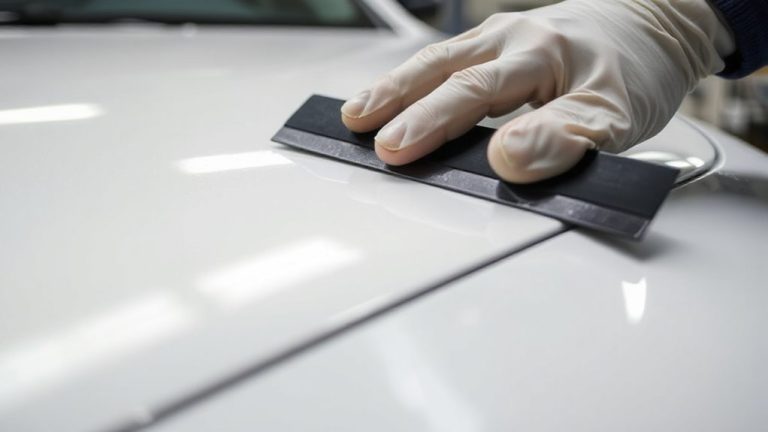
When applying wax with a machine buffer, precision and technique determine the final gloss and protection level. Start with a clean surface and apply wax in 2×2 foot sections. Use a foam applicator pad rated for wax products-typically 5.5 inches in diameter with 7/8-inch thickness. Your wax consistency should be creamy, not runny, guaranteeing even spread without pooling. Set your rotary or dual-action polisher to speed 2–3 (1,200–1,800 OPM) for maximum control. Apply light buffing pressure-no more than 3–5 pounds per square inch-to prevent heat buildup and swirls. Overlap each pass by 50% for uniform coverage. Let the wax haze for 5–10 minutes, then remove with a microfiber towel. This method guarantees a deep, durable shine and maximizes wax adhesion across all paint types. For optimal results, choose a best car buffer that matches your skill level and detailing goals.
Stop Buffing Mistakes That Kill Your Shine
Using the right technique guarantees a flawless finish, but common errors during buffing can ruin even the most careful prep and wax application. Applying too much pad pressure burns through wax and stresses the paint, inviting swirls and holograms. Use light, consistent pressure-1 to 2 pounds per square inch-for ideal material transfer without surface damage. Excessive buffing speed, especially above 1,500 orbital RPMs, generates heat that degrades wax integrity and destabilizes application. Keep speed between 1,000 and 1,200 RPM for even dispersion. Match pad hardness to paint type: medium foam for standard clear coats, soft for delicate finishes. Overlapping passes by 50% assures full coverage while preventing missed areas. Let the machine do the work-don’t press. Proper control of pad pressure and buffing speed preserves wax film and maximizes reflectivity. Mistakes here cost you shine and protection. Investing in a high-quality car buffing kit can significantly improve your results by providing durable, purpose-designed pads and tools tailored to different stages of wax application.
Make Your Wax Last: Proven Buffing Techniques
While many focus on wax quality alone, how you buff it in directly affects longevity and performance. Proper buffing techniques are essential for maximizing wax longevity and shine retention. Apply wax in thin, even layers using a foam applicator pad-typically 3 inches thick with medium density (25–35 kg/m³). When removing residue, use a clean, microfiber cloth with a 70/30 polyester-to-cotton blend and a weight of 300–400 g/m². Buff in straight-line motions, not circles, to evenly distribute oils and prevent micro-scratches. Maintain light, consistent pressure-about 2–3 pounds per square inch-to avoid heat buildup that degrades carnauba wax above 140°F. Let wax haze for 5–10 minutes before buffing; this curing time enhances film formation. These precise methods guarantee durable protection and long-lasting gloss.
On a final note
Choose the right buffing pad to maximize wax effectiveness. Foam pads, typically 5–7 inches in diameter with densities of 25–60 PPI, work best for finishing and light wax application. Microfiber pads, with nylon-polyester blends and open-loop construction, offer superior wax release and are ideal for sealants. Match pad hardness to paint condition-softer pads prevent marring on delicate finishes. Buff in overlapping 2×2-foot sections using 1,200–1,800 OPM for best results.