Step-by-Step Guide to Performing a Complete Oil and Filter Change at Home
Use the correct oil viscosity-like 5W-30 or 10W-40-based on your engine and climate, following the SAE and API specs in your manual. Choose a compatible filter and gather tools: 3/8-inch drive ratchet, proper socket, and torque wrench. Jack the car securely on level ground using jack stands. Locate the 14mm–17mm drain plug at the oil pan’s lowest point. Place a 6-quart drain pan underneath. Remove the plug with a wrench and let warm oil drain fully-5 to 10 minutes. Warm oil flows better but don’t use a hot engine; risk of burns is high. Remove the old filter with an oil filter wrench. Clean the mounting surface. Pre-fill the new filter slightly and coat the rubber gasket with fresh oil. Hand-tighten the filter, then turn an extra 3/4 to one full turn. Reinstall the drain plug, hand-tighten first, then torque to 25–35 ft-lbs. Add new oil slowly through the fill cap. Wait a minute, then check the dipstick. Top off if needed to reach the full mark. Properly seal used oil in a clean container and drain the old filter for 24 hours before bagging it for recycling-most auto shops accept both. One quart of used oil can contaminate a million gallons of water. You’ll find exact torque values and filter models matter more than expected.
Notable Insights
- Select the correct oil viscosity and filter based on your vehicle’s make, model, and manufacturer specifications.
- Safely jack up the car using proper lift points and support it with jack stands on a level surface.
- Remove the oil drain plug and let the old oil fully drain into a suitable catch pan.
- Replace the oil filter by hand, ensuring the gasket is lubricated and properly seated.
- Recycle used oil and filter at an approved facility to prevent environmental contamination.
Choose the Right Oil and Tools for Your Oil Change
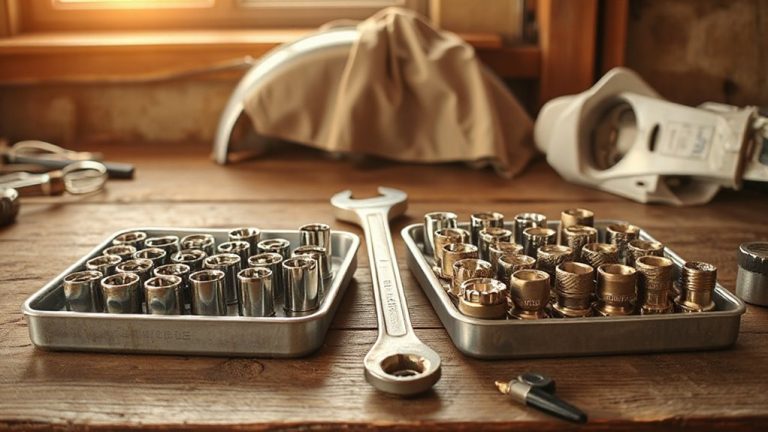
While your car’s engine type determines the oil you need, ignoring the manufacturer’s specs can lead to costly damage. You must use the correct oil viscosity-often 5W-30 or 10W-40-based on your vehicle’s requirements and climate. This number guarantees best flow at cold start and protection at operating temperature. Check your owner’s manual for the exact SAE rating and API certification. Filter compatibility is just as essential; the wrong filter may not seal properly or could restrict oil flow. Use a filter that matches your engine’s make, model, and year. Guarantee it meets ISO 2941 standards for burst resistance and efficiency. A mismatched filter or incorrect viscosity compromises lubrication, increases wear, and may void warranties. Use only tools rated for automotive service: a 3/8-inch drive ratchet, proper socket size, and a calibrated torque wrench.
Jack Up the Car and Find the Drain Plug
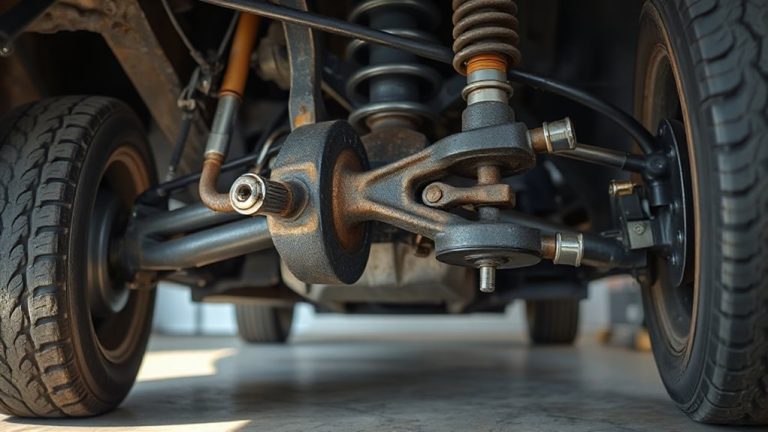
Before lifting your vehicle, make sure it’s on a level surface with the parking brake engaged and the engine cool to avoid burns or shifting. Use a floor jack rated for your car’s weight, typically placed at factory-recommended lift points to maintain car stability. Never rely on jack stands alone-position them under reinforced frame sections after lifting. Proper safety precautions include wearing impact-resistant gloves and safety glasses. Once raised, secure the vehicle so it doesn’t wobble or shift. Check your owner’s manual to locate the oil drain plug underneath the engine-it’s usually a 14mm to 17mm bolt on the oil pan’s lowest point. Guarantee you have clear access. Stability and correct jack placement prevent accidents. Always double-check lift security before sliding under the car. Upgrading to high-performance best spark plugs for better fuel efficiency can enhance engine combustion and potentially improve gas mileage over time.
Drain the Old Oil and Remove the Filter
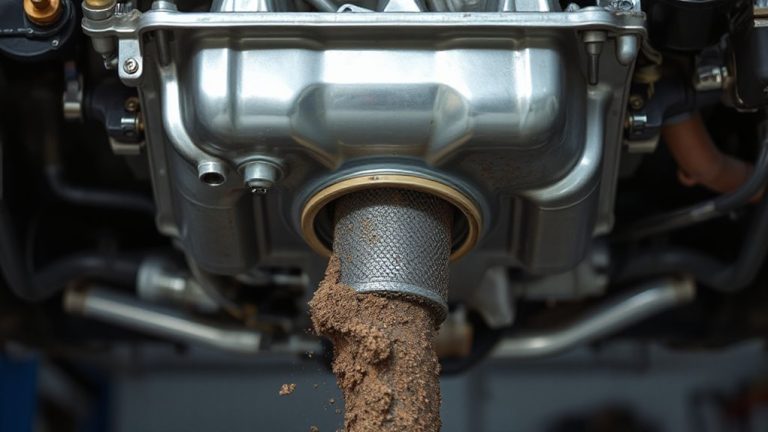
Once the car’s securely raised and you’ve located the drain plug, place a large oil drain pan-rated for at least 6 quarts-centered beneath the oil pan to catch the full volume of used oil. Remove the plug with a wrench, allowing gravity to fully drain the oil. The oil flows faster when warm, so check engine temperature before starting-ideally, the engine should be warm but not hot to avoid burns. High engine temperature reduces oil viscosity, helping it drain completely. After the oil stops flowing, let it sit for 5–10 minutes to guarantee maximum drainage.
| Condition | Viscosity Flow | Drain Efficiency |
|---|---|---|
| Cold Engine | High | Poor |
| Warm Engine | Moderate | Good |
| Hot Engine | Low | Best |
| Overheated Engine | Too Low | Risk of Burns |
Remove the old filter carefully using an oil filter wrench. Upgrading to a high-performance oil filter can significantly improve engine protection and oil flow, especially under extreme conditions, making high-performance oil filters a smart choice for enhanced longevity and performance.
Fit the New Filter and Secure the Drain Plug
After the old oil has fully drained, it’s time to reinstall the drain plug and install the new filter-critical steps that guarantee your engine stays sealed and lubricated. Hand-tighten the drain plug first, then use a torque wrench to secure it to the manufacturer’s specification, typically 25–35 ft-lbs. Over-tightening can strip the threads; under-tightening risks leaks-proper plug torque guarantees a reliable seal. Clean the filter mounting surface to prevent debris from interfering with the seal. Apply a light coat of fresh oil to the new filter’s rubber gasket to help create an airtight bond. Screw the filter on by hand, turning it until the gasket makes contact. Then, follow the manufacturer’s instructions-usually an extra three-quarters to one full turn after contact. Correct filter alignment prevents cross-threading and maintains full flow to the engine. For optimal performance and compatibility, choose a high-quality Best Oil Filters for Subaru.
Pour in Fresh Oil and Check the Level
Start by locating the oil filler cap on top of the engine and remove it to begin adding fresh oil. Use the oil viscosity recommended in your owner’s manual-typically 5W-30 or 10W-40-measured in quarts, to guarantee proper lubrication across temperatures. Pour slowly to avoid overflow. Most engines require 4 to 6 quarts, but capacity varies by make and model. After pouring, wait 30 seconds for the oil to settle. Check the dipstick: pull it out, wipe it clean, reinsert fully, then pull it again. The oil level should rest between the “low” and “full” marks. If low, add oil in small increments. Using the correct filter type guarantees efficient flow and debris capture. Never overfill-excess oil can damage seals and increase pressure. Accuracy matters: correct volume and viscosity directly affect engine longevity and performance.
Recycle Used Oil and Filter the Right Way
You’ve changed your oil and double-checked the level, but that dirty oil and the old filter aren’t trash-they’re hazardous materials that demand proper handling. Improper disposal harms ecosystems; used oil can contaminate up to one million gallons of water per quart. Recycling reduces environmental impact and conserves resources. Used motor oil is re-refined into new lubricants or processed into fuel. Most auto parts stores and service centers accept used oil-call ahead to confirm drop-off policies. Pour oil into a clean, sealable container like a plastic milk jug; never mix it with solvents or antifreeze. The oil filter holds about eight ounces of residual oil. Drain it for 12–24 hours, then seal it in a plastic bag before transport. Many facilities recycle steel filters into new metal products. Always follow local regulations for proper disposal. Recycling isn’t optional-it’s a responsible necessity for every vehicle owner.
On a final note
You’ve completed a proper oil and filter change. Always use the manufacturer-recommended viscosity, typically 5W-30 or 5W-20 for most vehicles. Torque the drain plug to 25–30 ft-lbs to prevent leaks. The new filter should seal at about 3/4 turn past contact. Check the dipstick: oil level must sit between min and max marks. Dispose of used oil and filter at a certified recycling center-never in trash or drains.