Step-by-Step Guide to Installing High-Performance Speakers in Trucks
Choose truck-specific speakers with UV-treated polymers, butyl rubber surrounds, and 80–200W RMS aluminum voice coils. Use 12-gauge oxygen-free copper wire for runs over 10 feet. Disconnect the battery before removing old speakers with a trim tool. Secure new speakers using industrial adhesive and reinforce mounting points. Position front drivers 30–36 inches apart, angled toward you. Match impedance to your amp and set crossovers at 80 Hz for subs, 3–5 kHz for tweeters-proper setup reveals hidden detail in every track.
Notable Insights
- Choose weather-resistant, truck-specific speakers with reinforced baskets and UV-treated materials for durability.
- Disconnect the battery and carefully remove door panels to safely access and replace old speakers.
- Use 12- to 16-gauge oxygen-free copper wire and proper tools for secure, low-resistance electrical connections.
- Route wiring away from sharp edges, insulate all connections, and ensure correct polarity to prevent shorts.
- Mount speakers at ear level, angle toward the driver, and tune crossover, EQ, and volume for optimal sound.
Choose Speakers Built for Trucks
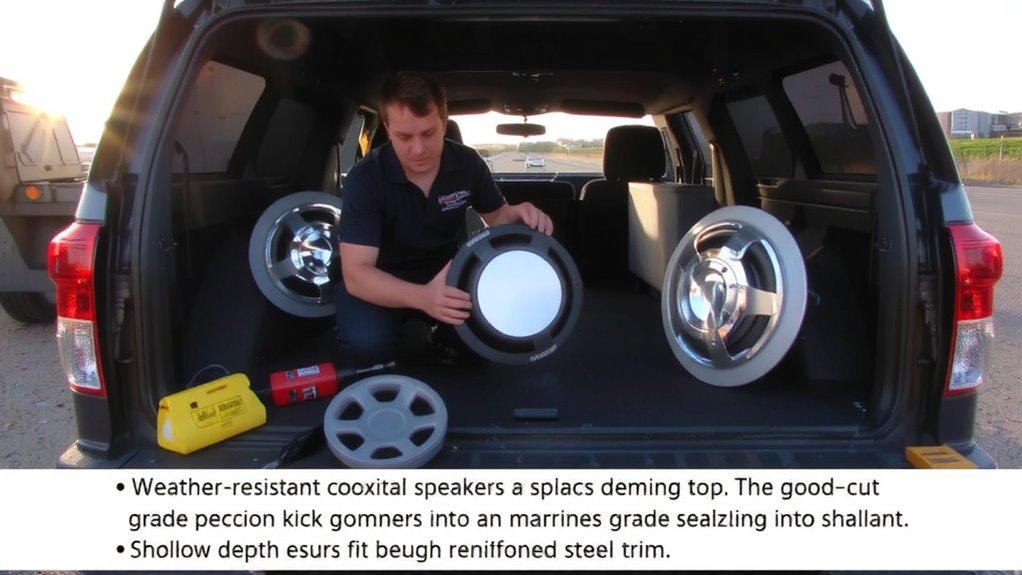
Durability starts with design-choose speakers engineered specifically for trucks. Standard car speakers fail under harsh conditions, but truck-specific models deliver extreme weather resistance and vibration durability. These speakers use UV-treated polymers and rubber surrounds to resist cracking in direct sun or subzero cold. Cones withstand 100+ hours of salt spray testing, ensuring performance in corrosive environments. Reinforced baskets minimize flex from constant frame flex and road shock. Look for models with butyl rubber surrounds and aluminum voice coils rated for 80–200 watts RMS. They handle thermal stress and maintain output during long hauls. Mounting brackets are powder-coated to resist rust. Voice coils are often edgewound copper for precise control and reduced distortion under vibration. The motor structure is secured with industrial adhesives to survive 5–20G of sustained vibration. This isn’t just audio-it’s engineered endurance. For balanced sound without breaking the bank, consider the best mid-range car speakers that combine quality materials with truck-rated durability.
Grab the Right Tools and Wires
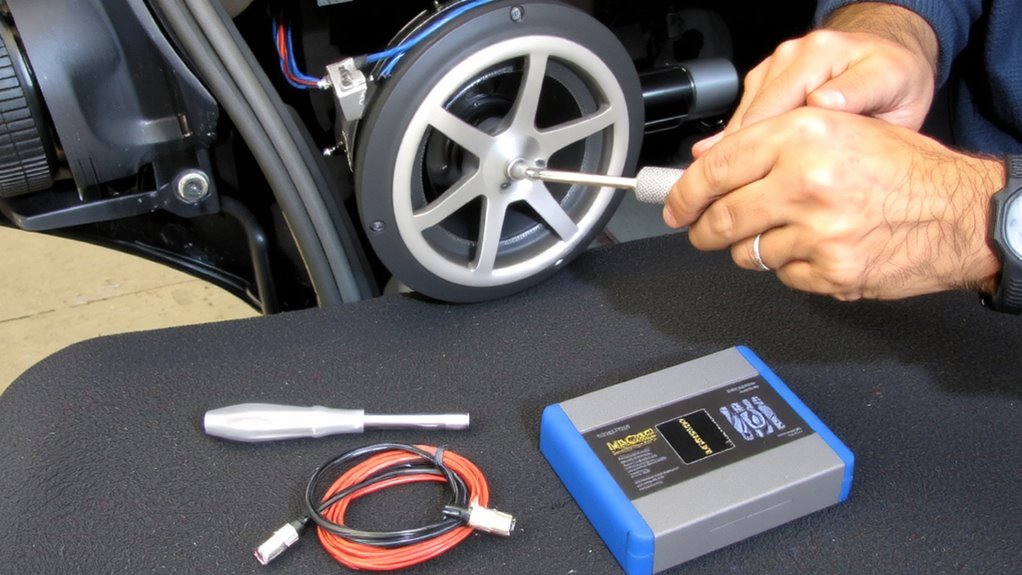
The right gear makes all the difference when installing high-performance truck speakers. You’ll need wire strippers, crimping tools, and a multimeter to guarantee clean, secure connections. Use 16- to 12-gauge speaker wire-12-gauge is best for long runs or powerful systems to minimize resistance. Wire gauge directly affects performance; too thin, and you lose power and clarity. Match your amplifier’s output to your speakers’ speaker impedance, typically 4 or 2 ohms. Mismatched impedance can overheat equipment or reduce lifespan. Oxygen-free copper (OFC) wiring improves signal flow and durability. Include butt connectors and heat shrink tubing for reliable joins. Never rely on factory wiring for high-power setups-it usually uses undersized conductors. Quality tools and proper wire gauge prevent voltage drop and guarantee stable speaker impedance management. This foundation guarantees your system delivers clean, distortion-free sound under real-world conditions.
Remove Old Speakers Safely
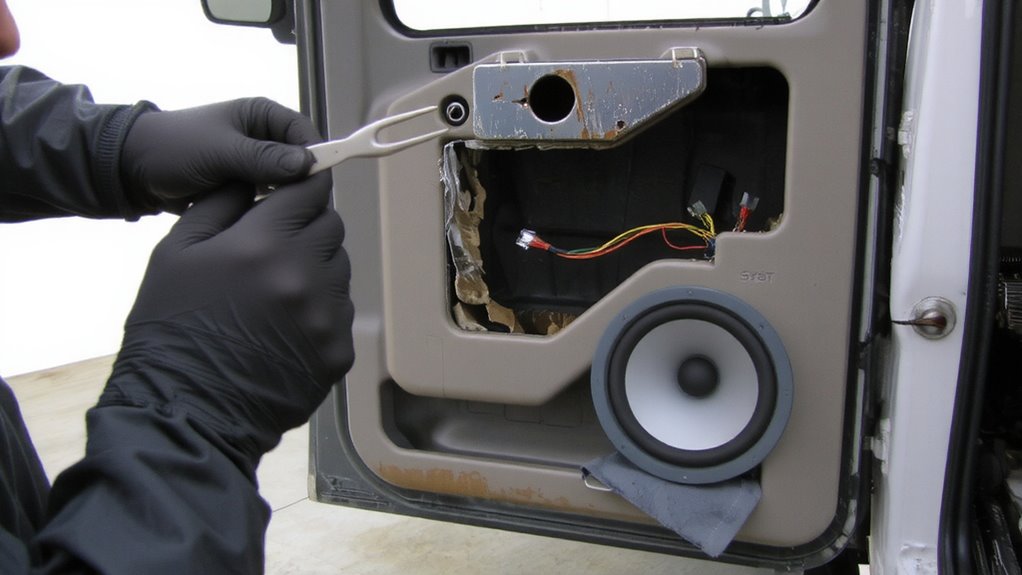
You’ve gathered the right tools and wiring, so now it’s time to clear the path for your new high-performance speakers by removing the old ones safely. Begin by disconnecting the truck’s battery to prevent electrical shorts or shocks. Old speakers often suffer from speaker degradation, reducing sound quality over time due to worn cones or misaligned coils. Carefully remove door panels using a trim removal tool to avoid damaging clips. Locate the speaker mounting screws-typically 4–6 screws at 25–30 mm length. Unscrew them completely. Disconnect the wiring harness from the back of each speaker. Inspect the wires for electrical corrosion, especially green or white residue around terminals. Corros游戏副本 increases resistance and can damage new components. Gently clean affected terminals with electrical contact cleaner. Handle fragile speaker frames with care. Remove each old speaker straight out to avoid tearing the moisture barrier. Upgrading to best truck speakers ensures powerful, distortion-free audio tailored for noisy driving environments.
Install New Speakers Without Shorts
Before connecting anything, double-check the impedance and power handling of your new speakers to guarantee compatibility with your truck’s amplifier or head unit. Mismatched specs risk overheating or distortion. Use 16–18 gauge oxygen-free copper wire for reliable signal transfer and reduced resistance. Proper wire routing prevents chafing against metal edges-route wires away from sharp surfaces and moving parts. Secure them with plastic ties every 12–18 inches to limit vibration damage. Apply heat-shrink tubing or electrical tape at connection points to guarantee solid speaker insulation and avoid accidental shorts. Strip only 1/4 inch of insulation from wire ends to prevent stray strands from contacting adjacent terminals. Match polarity: connect positive to positive, negative to negative. Reverse polarity degrades sound coherence. Verify all connections are tight and isolated before powering the system. Double-check for stray wires touching the truck’s chassis-this causes shorts.
Place Them for Clear Stereo Imaging
How can you achieve crisp, lifelike sound in your truck? Proper speaker placement is critical. You need accurate stereo separation to create a realistic soundstage. Position left and right speakers at equal distances from the driver’s ear level, ideally 30–36 inches apart. Angling the speakers toward the driver improves imaging by directing sound waves precisely. Front speakers should be mounted high in the doors or dash, not low where bass waves interfere with midrange clarity. Avoid asymmetrical placement-it distorts the stereo image. Time alignment isn’t adjustable here, so physical positioning must compensate. Use foam or rubber isolation pads to reduce panel vibrations that muddy detail. Even high-sensitivity speakers (90+ dB) won’t image well if placement ignores acoustical principles. Keep tweeters at ear level for ideal high-frequency dispersion. Precision in mounting guarantees phase coherence and balanced output-foundational for clear stereo imaging. For optimal high-frequency performance, consider pairing your setup with high-quality car audio tweeters.
Tune Your System for Balanced Sound
Proper speaker placement sets the foundation, but achieving balanced sound requires precise system tuning. You need accurate sound calibration to match your truck’s acoustic environment. Start by setting all speakers to the same reference level using a decibel meter at ear position-typically 75 dB at 1 kHz. Use your head unit or digital signal processor (DSP) for frequency adjustment. Apply equalization to correct peaks and dips; reduce bass around 60–80 Hz if boomy, and cut midrange harshness near 2–4 kHz. Time alignment delays should compensate for front-rear speaker distances-usually 0.5–1.2 ms per foot. Phase settings must guarantee all drivers move in unison. Fine-tune crossover points: 80 Hz for subwoofers, 3–5 kHz for tweeters. This systematic approach guarantees clarity, depth, and a cohesive soundstage across all listening positions.
On a final note
You’ve upgraded your truck’s audio effectively. High-performance speakers deliver 87–92 dB sensitivity and 30–100W power handling for clear, dynamic sound. Proper placement guarantees a balanced stereo image, with tweeters aligned at ear level. Sealed enclosures reduce distortion by minimizing air leakage. Impedance matching at 4 ohms protects your amplifier. Use 16-gauge OFC cabling for clean signal transfer. Final tuning optimizes crossover settings and bass response for your cab’s acoustics.