DIY Guide: Replacing a Clutch Master Cylinder on a Rear-Wheel-Drive Vehicle
You’ll need a 10mm wrench, 13mm wrench, torque wrench (±2% calibrated), brake bleeder wrench, fluid catch pan, and a small flathead screwdriver. Disconnect the battery, then remove the clevis pin and mounting bolt securing the old clutch master cylinder. Inspect the firewall and pedal assembly for damage. Bench bleed the new unit-verify bore diameter (0.75–0.87 in) and pushrod length-before installing. Torque mounting bolts to 12–15 ft-lbs and hydraulic fitting to 8–10 ft-lbs. Use clean DOT 3 or DOT 4 fluid. Bleed the system using the pump-and-hold method until the pedal feels firm halfway through travel; sponginess means air remains. Confirm free play is 0.06–0.08 in at the pushrod. A properly bled system guarantees reliable engagement and long-term performance under repeated use.
Notable Insights
- Disconnect the battery and remove the clevis pin with a 10mm wrench before unbolting the old master cylinder from the firewall.
- Inspect the new master cylinder for defects and verify bore diameter and pushrod length match OEM specifications.
- Bench bleed the new unit by cycling the piston until no air bubbles appear in the fluid-filled tubing.
- Mount the new cylinder securely and torque bolts to 12–15 ft-lbs, ensuring proper pushrod free play of 0.06–0.08 inches.
- Bleed the system using the pump-and-hold method until fluid flows clear, then test for firm pedal feel halfway through travel.
Gather Tools and Parts
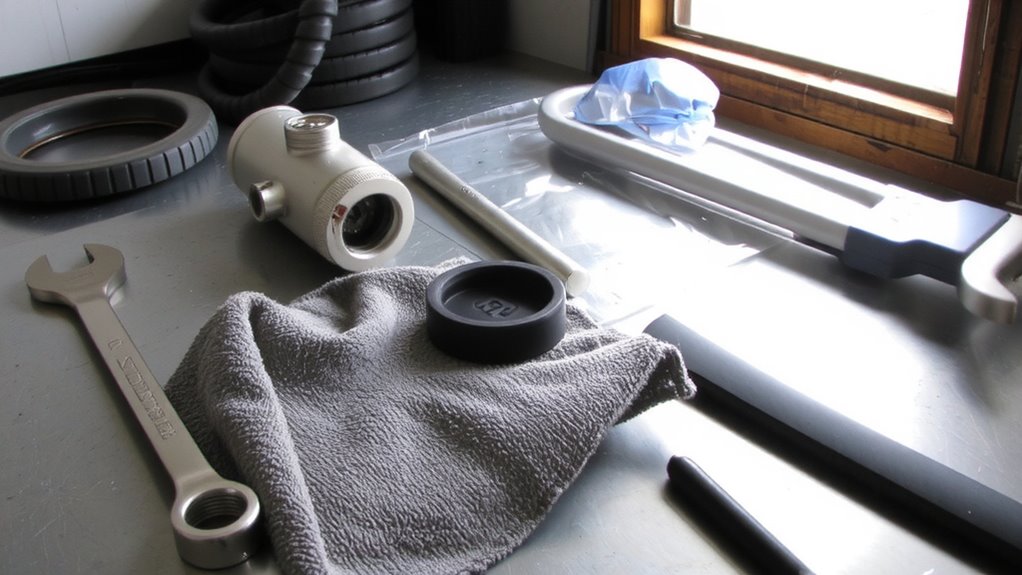
A complete tool and parts checklist is essential before starting the job-skip this step, and you’ll likely face delays or mistakes. Begin with proper tool selection: you’ll need a 10mm and 13mm wrench, a torque wrench (calibrated to ±2%), a brake bleeder wrench, and a fluid catch pan. A small flathead screwdriver helps remove retaining clips. For part inspection, examine the new clutch master cylinder for cracks, warping, or casting defects. Verify the bore diameter matches OEM specs-typically 0.75 to 0.87 inches. Check the pushrod length; incorrect dimensions cause improper pedal travel. Confirm rubber seals are pliable and free of tears. Use DOT 3 or DOT 4 fluid, per manufacturer specs. Inspect brake line fittings for corrosion or stripped threads. Proper tool selection and thorough part inspection guarantee safety, performance, and a successful repair-don’t proceed without them.
Remove the Old Clutch Master Cylinder
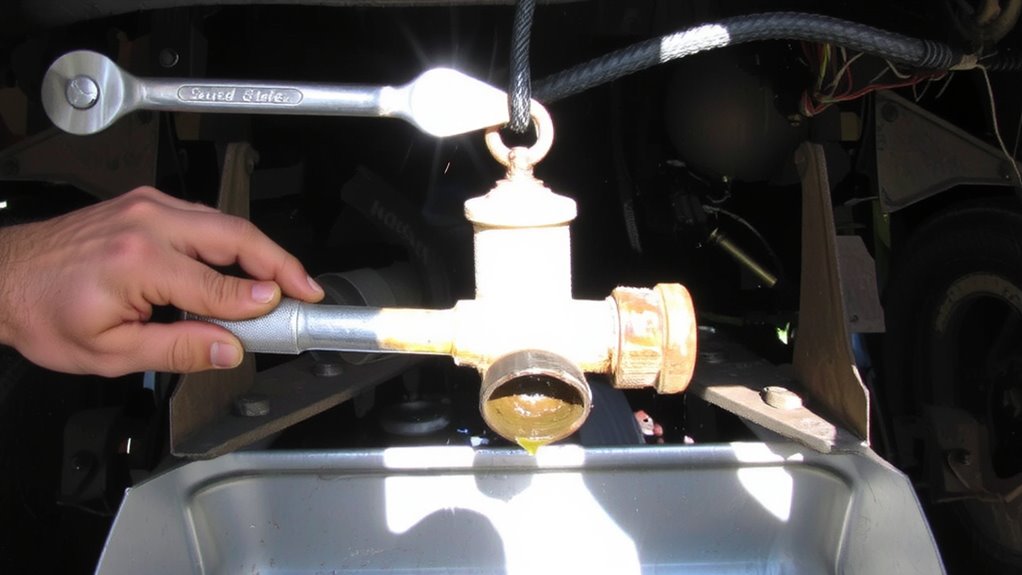
You’re ready to take out the old clutch master cylinder, and doing it right starts with safety and precision. Disconnect the negative battery terminal to prevent electrical issues. Under the dash, perform a clutch pedal inspection-ensure the pushrod isn’t stuck or worn before removal. Use a 10mm wrench to detach the clevis pin connecting the master cylinder to the pedal. Next, locate the master cylinder on the firewall. Drain residual fluid into a catch pan. Remove the 13mm bolt securing it to the firewall. Carefully pull the unit free. Conduct a firewall damage check-inspect for rust, cracks, or warping that could compromise the new installation. Corrosion here can lead to leaks or brake failure. Clean the mounting surface with a wire brush. Confirm the pushrod’s free play measures 1–3mm for proper engagement. Document any irregularities before proceeding.
Bench Bleed the New Master Cylinder
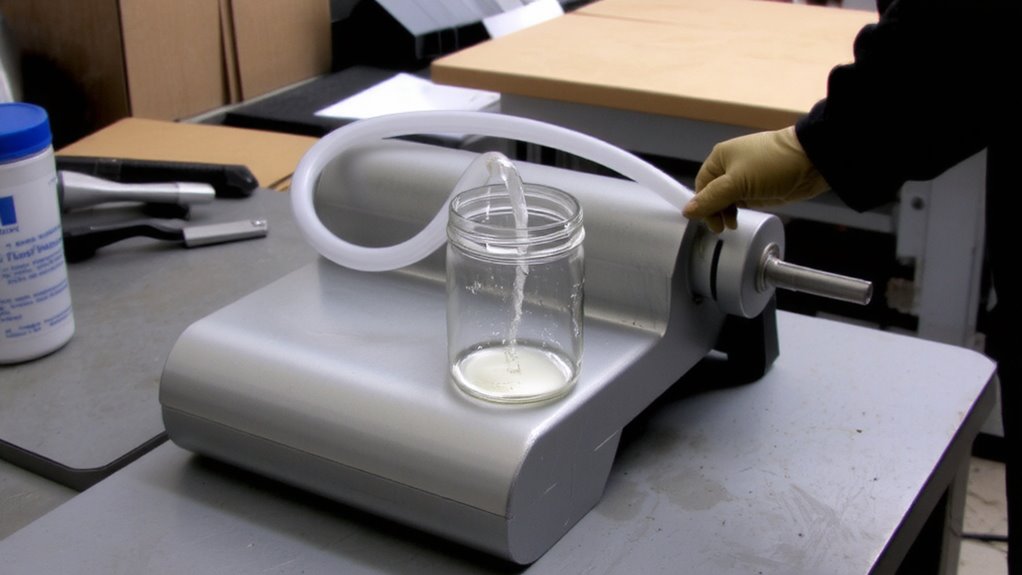
With the old unit out and the mounting area prepped, it’s time to prepare the new clutch master cylinder for installation. Bench bleeding removes air trapped in the bore and reservoir, ensuring clutch safety and maximizing hydraulic efficiency. Clamp the master cylinder in a vise using soft jaws to protect the finish. Attach clear plastic tubing to the bleeder port, submerging the other end in a container filled with fresh DOT 3 or DOT 4 fluid. Slowly depress the piston with a blunt tool, then release-repeat 10–15 times until no air bubbles emerge. Solid resistance on the final stroke confirms proper internal priming. Always use clean, manufacturer-specified fluid to protect seals and maintain compliance with hydraulic system tolerances. Pre-bleeding prevents vapor pockets that reduce pedal feel and compromise engagement. A properly bled unit delivers consistent stroke volume-approximately 0.75 to 1.10 cubic inches, depending on bore size-critical for reliable clutch disengagement.
Install the New Master Cylinder
Begin by positioning the new master cylinder onto the mounting bracket, aligning the bolt holes precisely. Secure it with the mounting bolts torqued to 12–15 ft-lbs to guarantee proper clutch alignment and prevent stress on the reservoir. Reconnect the clutch pushrod, adjusting its length to manufacturer specs-usually 0.06–0.08 in. of free play. Proper adjustment maintains correct hydraulic pressure and prevents premature release bearing wear. Attach the hydraulic line with a flare-nut wrench and tighten to 8–10 ft-lbs to avoid leaks.
| Component | Torque Spec (ft-lbs) | Tolerance (in) |
|---|---|---|
| Mounting Bolts | 12–15 | ±0.02 |
| Hydraulic Fitting | 8–10 | ±0.01 |
| Pushrod Free Play | – | 0.06–0.08 |
| Reservoir Cap | 4–6 | – |
| Clevis Pin Locknut | 6–8 | ±0.01 |
Verify secure connections before proceeding.
Bleed the Clutch Hydraulic System
Once the new master cylinder is properly mounted and all linkages are set, it’s time to remove air from the hydraulic system to guarantee consistent clutch engagement. Air bubbles compress, reducing hydraulic pressure and leading to a spongy pedal. Use the clutch fluid types specified in your vehicle’s manual-typically DOT 3 or DOT 4-since incorrect fluids can damage seals or boil under high heat. Begin bleeding using the correct bleeding techniques: gravity, pump-and-hold, or vacuum. Most DIYers prefer the pump-and-hold method for precision. Crack open the bleeder valve slightly and depress the clutch pedal slowly. Close the valve before the pedal reaches the floor to prevent backflow. Repeat until fluid flows clear and free of bubbles. Flush the system every 24 months to maintain peak performance. Proper bleeding guarantees full hydraulic function and reliable clutch response.
Test Clutch Operation and Fix Issues
How does your clutch feel after a fresh bleed and reassembly-crisp and responsive, or still spongy and inconsistent? A proper clutch pedal feel should be firm, with resistance starting about halfway through the pedal’s travel. If it’s soft or goes to the floor, you likely have trapped air or a leak. Perform a hydraulic pressure check: press the pedal slowly while observing the master cylinder and slave cylinder. Any fluid seepage or delayed engagement means a faulty seal. Confirm the pedal returns fully-failure here affects disengagement. Check pushrod clearance; most RWD systems require 1.0–1.5 mm free play. Re-bleed if needed. A solid pedal with smooth release guarantees full clutch disc disengagement, critical for clean shifts and transmission protection. Address issues now-prevent costly damage later.
On a final note
You’ve completed the clutch master cylinder replacement. The system must hold 50–75 psi hydraulic pressure for proper disengagement. Confirm no fluid leaks at the 10mm banjo bolt, tightened to 8–10 Nm. A fully bled system guarantees smooth pedal feel with 1.2–1.6 inches of free play. Air bubbles cause sponginess, so bleed thoroughly. Test drive under low torque first. Correct function preserves the 0.030-inch clutch disc clearance.