DIY Guide: Replacing a Clutch Slave Cylinder on a Compact SUV
You’ll need a metric socket set, torque wrench, and brake bleeder kit to replace your clutch slave cylinder. Remove the old unit from the transmission bell housing by disconnecting the hydraulic line and unbolting the 10mm mounting bolts. Install the new cylinder, aligning the flange and torquing bolts to 12 lb-ft. Use a new copper washer on the banjo bolt and torque to 18 lb-ft. Bleed the system using clear hose and fresh DOT 3 or DOT 4 fluid until no air remains. A spongy pedal or fluid leak near the bell housing often means failure. Internal leaks may disrupt clutch release even without visible drips. The system operates at 85–120 psi under normal conditions. Maintaining proper fluid levels prevents air ingress during replacement. Signs of malfunction include stuck pedals and inconsistent disengagement. Correct installation guarantees smooth shifting and reliable engagement. Performance depends on precise torque and contamination-free hydraulic fluid. You’ll find exact specifications and step-by-step visuals in the following section.
Notable Insights
- Gather a metric socket set, torque wrench, brake bleeder kit, and fresh DOT 3 or DOT 4 fluid before starting the replacement.
- Locate the slave cylinder near the transmission bell housing and disconnect the hydraulic line using a flare wrench.
- Remove mounting bolts, extract the old cylinder, and inspect for leaks or damage to the bracket and release lever.
- Install the new cylinder by aligning the flange, torquing bolts to 12 lb-ft, and using a new copper washer on the banjo bolt.
- Bleed the system using a clear hose submerged in fluid, repeating pedal pumps until no air bubbles remain.
Gather Your Tools and Supplies
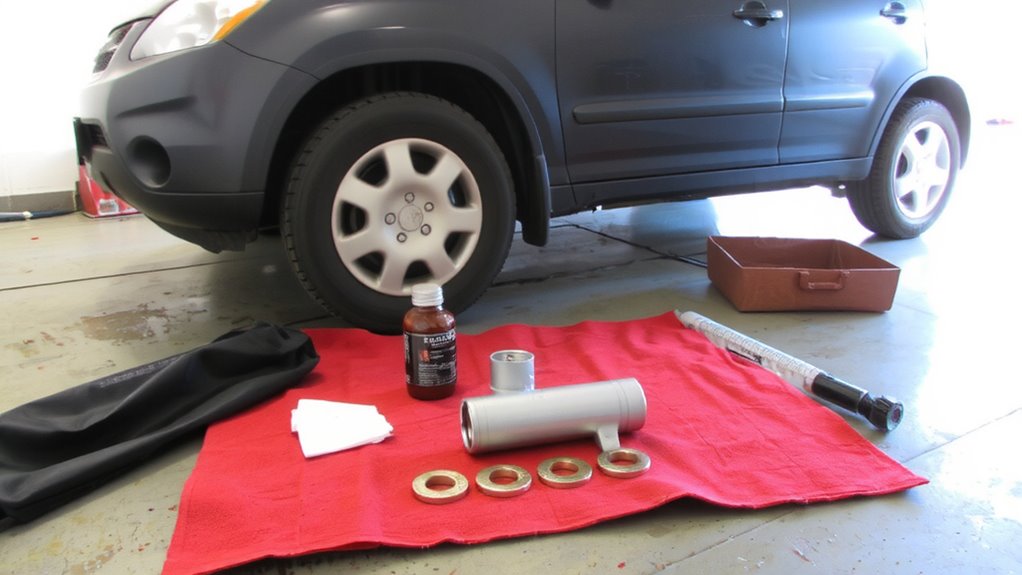
Before you begin, make sure you have all the necessary tools and supplies on hand to avoid delays mid-job. You’ll need a metric socket set, torque wrench, brake bleeder kit, and clean rags. A replacement clutch slave cylinder specific to your compact SUV’s make and model is essential-verify fitment using the manufacturer’s specifications. Don’t forget fresh hydraulic fluid compatible with your system, typically DOT 3 or DOT 4. Check fluid levels in the master cylinder reservoir to prevent air ingress. During preliminary clutch inspection, examine for leaks or contamination around current components. Use protective gloves and safety glasses. Keep a drain pan nearby to catch residual fluid. Proper tool organization reduces error and increases efficiency. Verify all specifications in your service manual-accuracy guarantees reliability.
Remove the Old Clutch Slave Cylinder
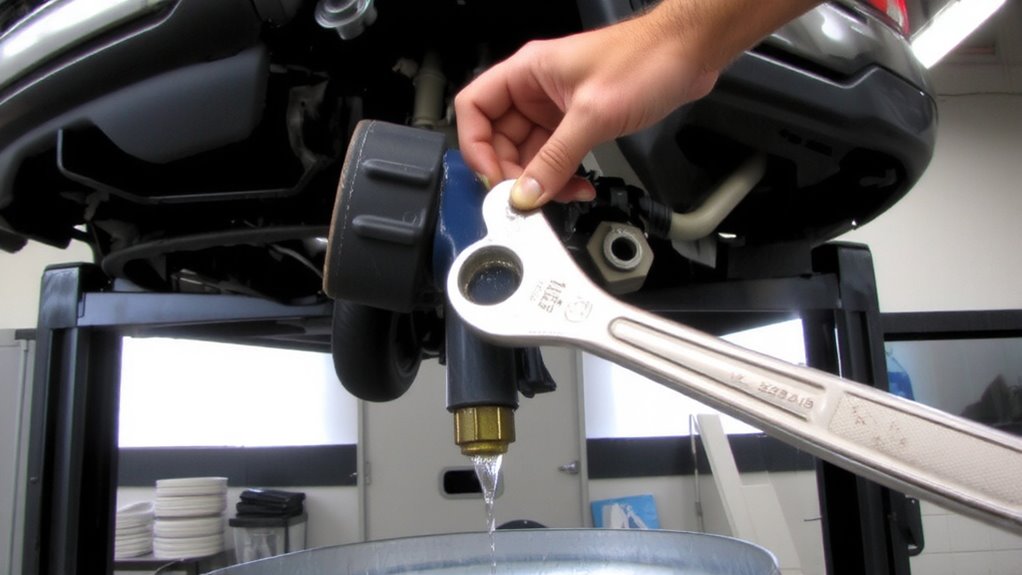
Start by locating the clutch slave cylinder on your compact SUV-it’s typically mounted near the transmission bell housing and connected to the release lever mechanism. Disconnect the hydraulic line first to release residual hydraulic pressure, preventing fluid spray. Use a flare wrench for a secure grip and to avoid line damage. Remove the mounting bracket bolts using a 10mm socket-typically two fasteners secure the unit. Gently pull the cylinder away from the transmission housing, taking care not to damage the release lever. Inspect the area for leaked fluid or corrosion. The slave cylinder usually measures 3.5 inches in length with a 1-inch bore diameter. Confirm compatibility with your model’s specifications before proceeding. Retain the mounting bracket if undamaged; replace it if cracked or warped. Keep components organized for reassembly. Avoid abrupt movements to protect surrounding wiring and hoses.
Install the New Clutch Slave Cylinder
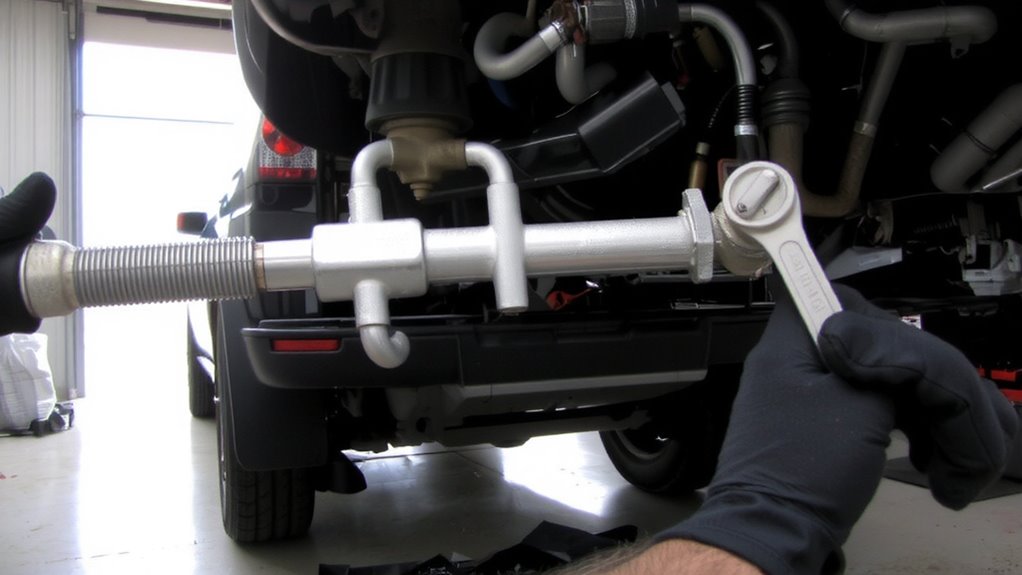
You’re now ready to install the new clutch slave cylinder, guaranteeing a secure and leak-free connection. Begin by positioning the unit onto the transmission housing, aligning the mounting flange with the pre-drilled bolt holes. Use a torque wrench to tighten the mounting bolts to 12 lb-ft-overtightening can crack the housing. Proper piston alignment is critical; guarantee the pushrod extends just enough to contact the clutch fork without preloading. Misalignment causes uneven wear and premature failure. Seat the hydraulic seal firmly into the master cylinder port before attaching the fluid line. A damaged or improperly seated seal leads to fluid leaks and pressure loss. Use a new copper washer on the banjo bolt if applicable, torquing it to 18 lb-ft. Double-check all connections for tightness and alignment. Confirm the cylinder moves freely with light hand pressure, indicating correct installation and piston alignment.
Bleed the Clutch for Smooth Shifting
How do you restore proper hydraulic pressure after installing a new clutch slave cylinder? You bleed the clutch system. Air in the lines reduces pedal responsiveness and can cause a spongy feel. Begin by locating the bleeder valve on the slave cylinder. Attach a clear hose to the valve and submerge the other end in a fluid-filled container to prevent fluid contamination. Have a helper slowly depress the clutch pedal while you open the valve. Close it before the pedal rises. Repeat until no air bubbles appear in the fluid. Use DOT 3 or DOT 4 fluid as specified by your SUV’s manufacturer. Proper bleeding restores firm pedal responsiveness. Maintain a full reservoir throughout the process. This guarantees consistent hydraulic pressure and reliable clutch engagement-critical for smooth shifting and long-term system integrity.
Know the Signs of a Bad Clutch Slave Cylinder
What if your clutch pedal suddenly feels spongy or sticks to the floor? You’re likely dealing with a failing clutch slave cylinder. Pedal issues like these are common indicators of internal or external fluid loss. A spongy feel usually means air has entered the hydraulic system due to low fluid, often from leak symptoms near the slave cylinder seal. Check the transmission bell housing area-wet spots or a dripping fluid trail point to external leaks. Internal leaks might not leave visible traces but cause inconsistent clutch disengagement. Most compact SUVs use a 3/4-inch bore slave cylinder operating at 85–120 psi; any drop below this range disrupts proper release bearing movement. Ignoring these signs risks total clutch failure. Consistent pedal resistance should return after addressing leak symptoms and bleeding the system. Early diagnosis saves your transmission from unnecessary wear.
On a final note
You’ve successfully replaced your clutch slave cylinder. Use a 10mm wrench to secure the banjo bolt to 18 ft-lbs torque. Bleed the system until the fluid flows clear and free of bubbles. Brake fluid (DOT 3 or DOT 4) must fill the reservoir to prevent air ingress. A properly bled clutch guarantees 0.5–1.0 inch of pedal free play. Test drive at low speed. Smooth engagement confirms correct installation.