Step-by-Step: Replacing a Clutch in a Manual Transmission Hatchback
You’ll need a clutch kit matched to your hatchback’s make, model, and engine-like a Sachs kit for a 2015 Honda Fit 1.5L. Confirm it includes the clutch disc, pressure plate, release bearing, and alignment tool. Use a torque wrench for flywheel bolts (40–60 lb-ft) and pressure plate bolts (18–25 lb-ft). Lift the car with jack stands, remove the transmission, then install components with precise alignment. Test for smooth engagement at 1/3 to 1/2 pedal travel. Proper setup guarantees reliable shifts and extended drivetrain life-details on each phase follow.
Notable Insights
- Gather a compatible clutch kit and necessary tools, including a torque wrench and transmission jack.
- Lift and secure the hatchback using jack stands and safety straps for safe undercar access.
- Disconnect the battery, drain transmission fluid, and remove the transmission from the engine.
- Install the new clutch disc, pressure plate, and release bearing with proper alignment and torque specs.
- Reconnect components, refill fluid, and test clutch engagement during a controlled test drive.
Get Tools and Clutch Kit for Your Hatchback
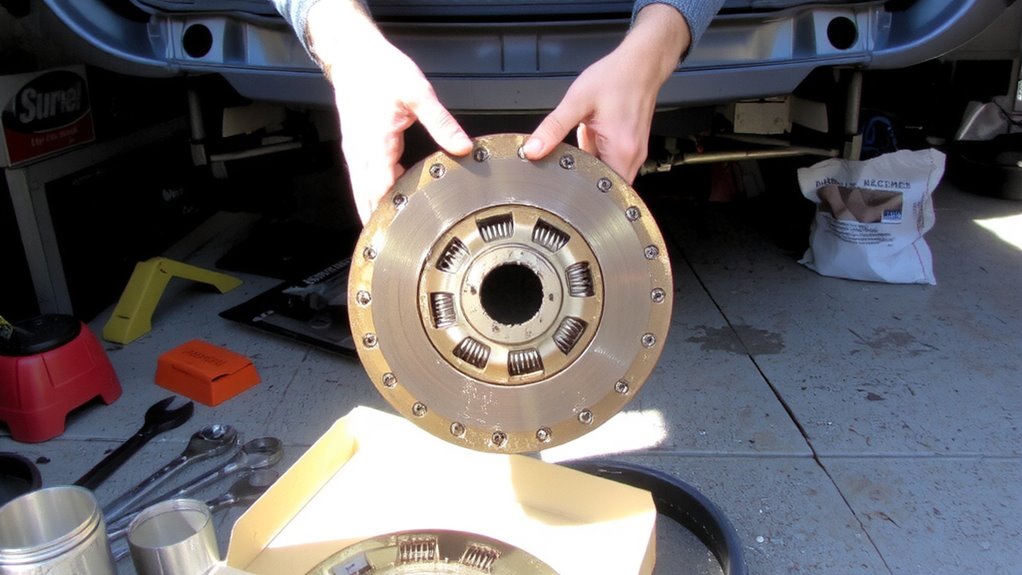
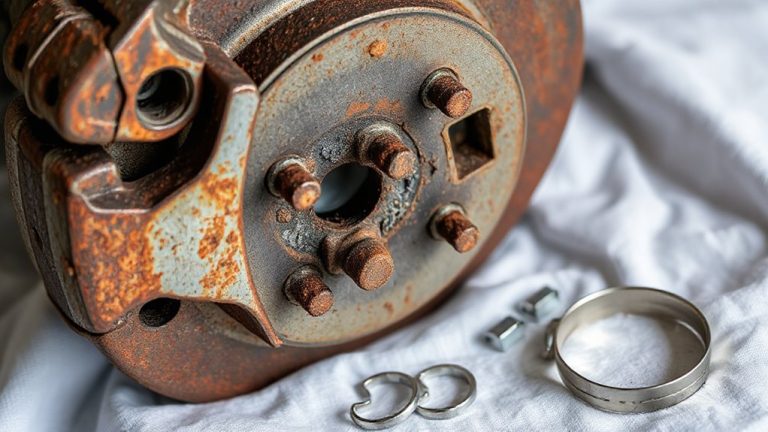
Start by gathering the right tools and a compatible clutch kit designed specifically for your hatchback’s make, model, and engine size. Clutch compatibility is critical-using the wrong kit risks transmission damage or premature failure. Verify the kit includes a clutch disc, pressure plate, release bearing, and alignment tool. Match OEM part numbers or consult a trusted supplier’s fitment guide. You’ll need a torque wrench, socket set, jack stands, and clutch alignment tool. Always follow factory torque specifications when reinstalling components; improper tightening weakens integrity. Flywheel bolts typically require 40–60 lb-ft, while pressure plate bolts need 18–25 lb-ft, depending on your engine. Never guess-refer to the service manual. A hydraulic clutch tool may help if your model uses a release fork. Keep all hardware organized. Precision guarantees smooth engagement and reliable performance.
Lift and Secure Your Hatchback for Clutch Access
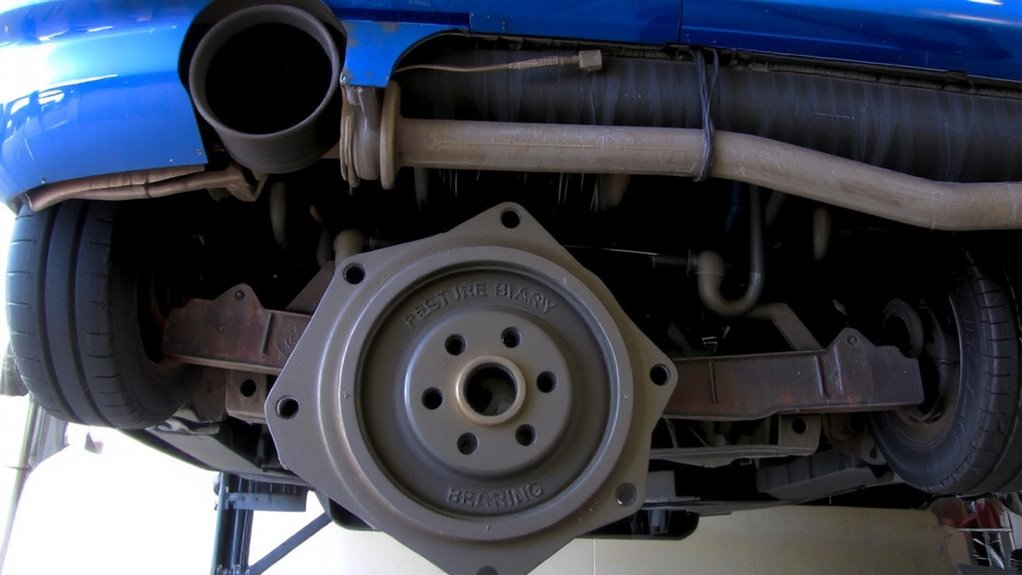
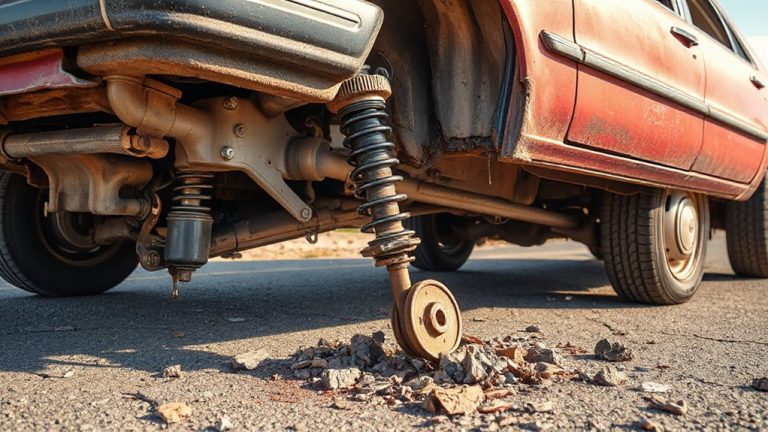
Before lifting your hatchback, make certain the vehicle is on a flat, level surface to prevent shifting during the procedure. Use wheel chocks on the rear tires to eliminate movement. Locate the manufacturer-recommended jack placement points-typically reinforced frame rails or pinch welds near the front and rear axles. Never position the jack under plastic, sheet metal, or suspension components. Lift the vehicle slowly using a hydraulic floor jack rated for at least 3 tons. Once raised, support the car with jack stands rated for your hatchback’s weight-position them directly beneath the designated lift points. Attach safety straps between the frame and suspension to stabilize the body. Safety straps reduce vibration and prevent lateral shift during work. Never rely solely on a jack. Always double-check jack placement and stand stability before sliding underneath. For heavy-duty support, consider using 6-ton jack stands that provide ample strength and redundancy for safe under-vehicle work.
Remove Transmission to Replace Clutch Assembly
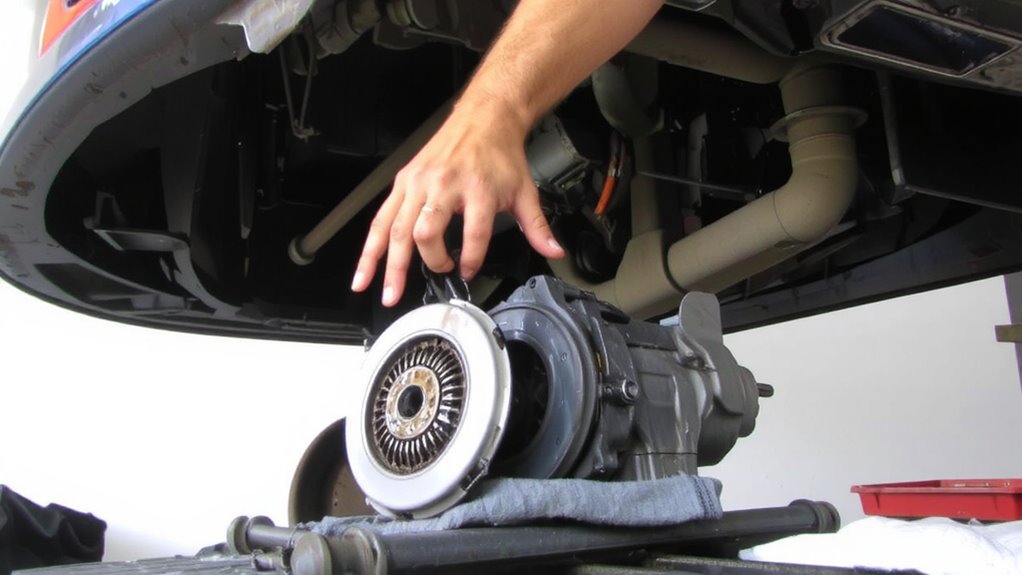
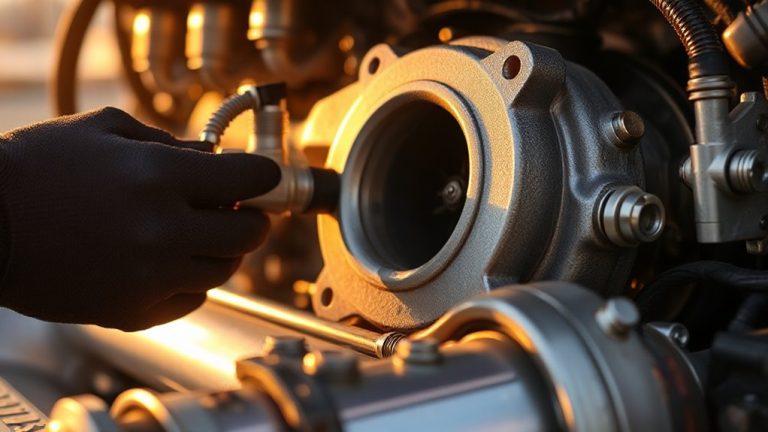
Once you’ve secured the vehicle and confirmed the drivetrain is safely supported, begin by disconnecting the negative battery terminal to eliminate electrical risk during disassembly. Drain the transmission fluid into a suitable container before unbolting the transmission mounting from the subframe. Disconnect the driveshaft, speedometer cable, shift linkage, and clutch fork actuator. You’ll need to support the engine with a jack and adapter plate to prevent stress on mounts. Carefully unbolt the bellhousing and slide the transmission straight back to avoid damaging the input shaft. Misalignment during removal can compromise future clutch alignment. The transmission weighs 70–90 lbs; use a transmission jack for control. Inspect the mounting bolts and rubber isolators for wear or cracking-these affect driveline stability. Keep all fasteners organized. Do not tilt the transmission excessively, as this may damage internal synchros or the clutch alignment sleeve.
Install New Clutch, Pressure Plate, and Bearing
When replacing the clutch, precision during installation guarantees smooth engagement and long-term reliability. Begin by placing the new clutch disc onto the flywheel, making certain correct side orientation. Use a clutch alignment tool to center the disc between the pressure plate and flywheel-proper clutch alignment prevents binding and uneven wear. Bolt the pressure plate securely, tightening bolts gradually in a crisscross pattern. Follow manufacturer torque specifications, typically 18–22 ft-lbs, to avoid warping or failure. Over-tightening risks flywheel damage; under-tightening causes slippage. Install the new release bearing onto the transmission input shaft, confirming smooth movement along the guide sleeve. The bearing should slide freely without resistance. Double-check all components for secure fitment and cleanliness. Any debris or misalignment compromises performance. This step makes certain precise contact between the clutch, pressure plate, and flywheel-critical for efficient power transfer.
Test-Drive to Confirm Smooth Clutch Engagement
You’ve installed the new clutch, pressure plate, and release bearing with precision, torqued to spec, and aligned correctly-now it’s time to verify performance under real operating conditions. Start your test-drive in an open, low-traffic area. Assess clutch feel at engagement point-it should be firm, consistent, and predictable. Evaluate gear response through all six speeds; shifts should be smooth, with no grinding or hesitation. Monitor for slippage during acceleration or uphill starts.
| Parameter | Acceptable Result |
|---|---|
| Clutch Engagement | 1/3 to 1/2 pedal travel |
| Clutch Feel | Solid, minimal free play |
| Gear Response | Instant, no clunking or resistance |
| Slippage Detection | None under full throttle |
Any irregular clutch feel or delayed gear response indicates misalignment or air in the hydraulic system. Rebleed if needed. Confirm all operations meet factory specifications before returning to regular service.
On a final note
You’ve completed the clutch replacement with precision. The new clutch disc, rated for 2,500 RPM torque peaks, guarantees smooth engagement. Your pressure plate’s clamping force of 900 lbs maintains ideal friction. The throw-out bearing now operates with zero play. Correct flywheel torque (65 ft-lbs) prevents warping. Test-driving confirmed no slippage. This repair restores factory-level performance. Proper alignment means extended drivetrain life. Keep fluid levels checked monthly.