Step-by-Step Guide to Installing Front Stage in a Pickup Truck
Choose 6.5” or 6×9” coaxial speakers with 50–100W RMS and 88–92 dB sensitivity for clear, powerful sound. Match them to a 4-channel Class D amp delivering 50–75W RMS per channel at 4 ohms. Tap into factory wires-green for front right, gray for left-using a harness to preserve factory fit. Run 4-gauge power wire with an inline fuse near the battery; ground the amp to bare metal. Route signal and power cables separately to avoid noise. Connect the amp to the head unit with RCA adapters. Mount speakers with isolation gaskets and angled brackets for ideal driver aim. Seal back pockets and use foam baffles to prevent sound cancellation. Tune the system with familiar tracks and real-time analysis for balanced output. The next steps reveal finer details for flawless integration.
Notable Insights
- Select 6.5-inch or 6×9-inch coaxial speakers with 50–100W RMS and 88–92 dB sensitivity for optimal front stage output.
- Match a 4-channel Class D amplifier to speaker impedance, ensuring 50–75W RMS per channel at 4 ohms.
- Tap into factory speaker wires using color codes and a wiring harness adapter for clean, correct-polarity connections.
- Install amplifier with 4-gauge power wire, fused within 18 inches of the battery, and ground to bare chassis metal.
- Mount front speakers with angled brackets toward the driver, seal door cavities, and tune system using test tracks and EQ.
Choose Front Stage Speakers for Your Pickup’s Cab and Doors
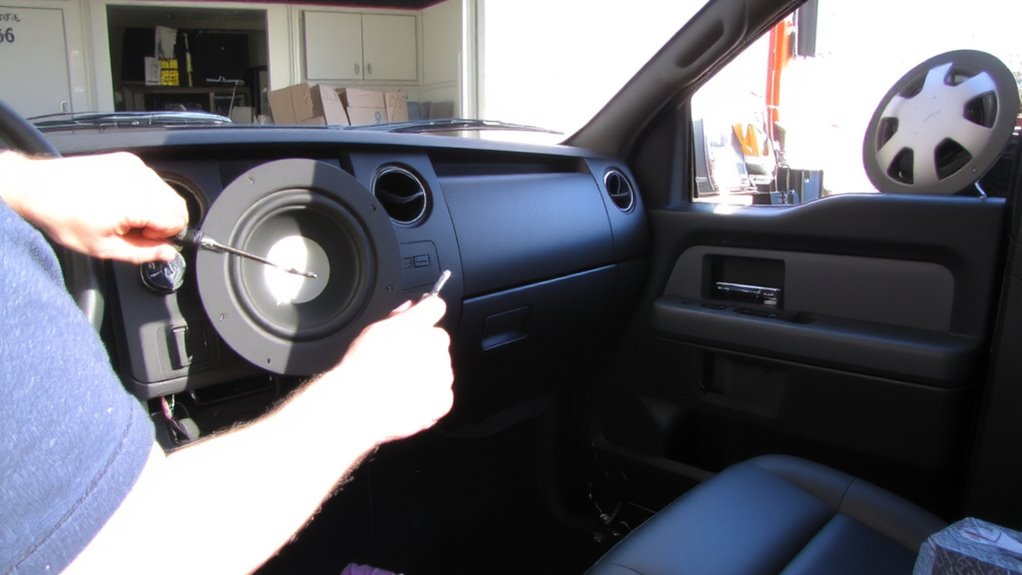
Your front stage speakers form the foundation of your pickup’s audio system, and choosing the right ones starts with matching size, power handling, and sensitivity to your cab’s acoustics. Most pickup doors fit 6.5-inch or 6×9-inch coaxial speakers-verify cutout depth and mounting height before buying. Opt for speakers with 50–100 watts RMS handling to guarantee clean output without distortion. Sensitivity ratings between 88–92 dB maximize volume with minimal amplifier strain. Proper speaker placement enhances sound staging, creating a layered, lifelike audio image across the dash. Angled mounting or custom pods aim drivers toward the driver and front passenger. Avoid shallow mounts that cause off-axis listening. Use polypropylene cones and rubber surrounds for durability in temperature swings. Phase alignment matters-guarantee positive polarity during installation. Coaxial designs simplify upgrades, while component sets improve sound staging with separate tweeters.
Match Your Amplifier to Your Truck’s Audio Needs
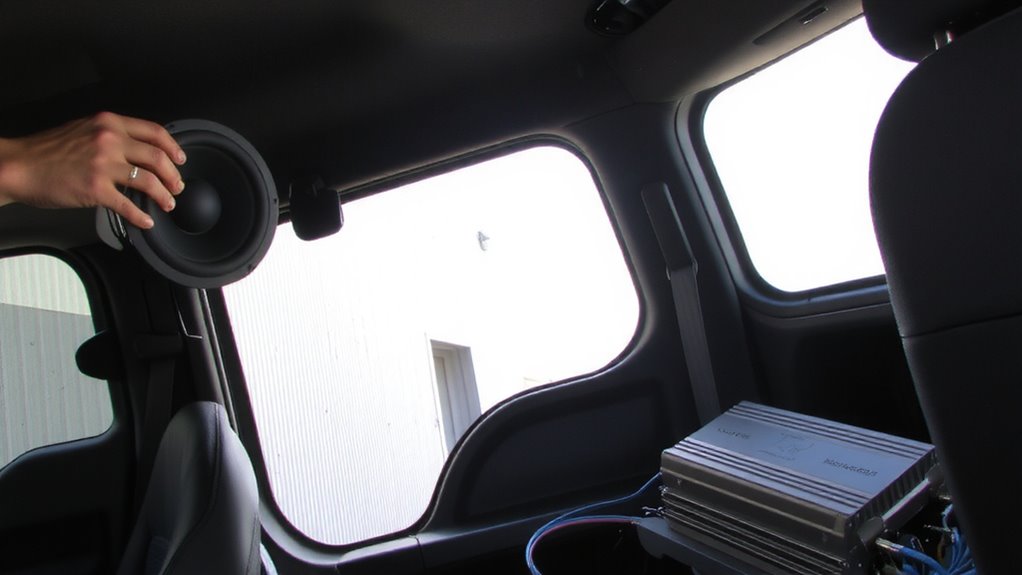
A powerful amplifier drives performance just as much as the speakers themselves. You must match it to your truck’s audio needs for best sound. Start by checking your speakers’ speaker impedance, usually 2, 4, or 8 ohms. Your amp must support that load to avoid overheating or damage. For most truck setups, a 4-channel amplifier rated at 50–75 watts RMS per channel at 4 ohms works well. Higher power efficiency means less strain on your electrical system and less heat buildup. Look for Class D amplifiers-they offer superior power efficiency over Class A/B types. Make sure the amp’s total harmonic distortion (THD) stays under 1% for clean output. A stable voltage regulator ensures consistent performance even at high volumes. Always match sensitivity ratings between headunit, amplifier, and speakers. This guarantees balanced sound without clipping. For trusted recommendations, see expert evaluations of the Top Car Stereo Amplifiers to help guide your choice.
Find and Tap Into Factory Speaker Wires First
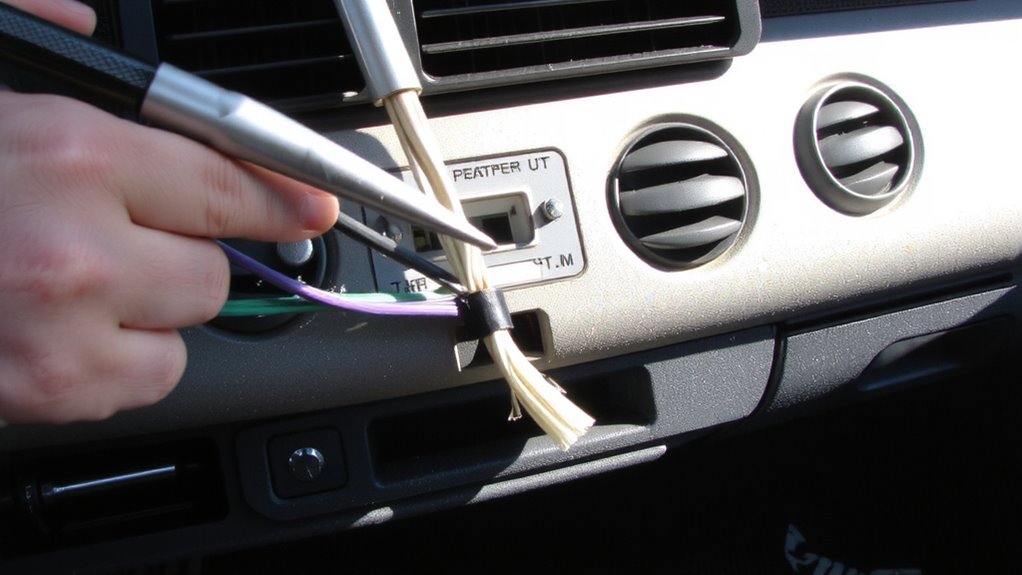
While factory speaker wiring may seem outdated, it’s often the smartest starting point for your front stage upgrade. You’ll save time and avoid drilling unnecessary holes. Begin by identifying the factory wiring color codes-most trucks use standardized hues like green for front right and gray for front left. Matching these guarantees correct polarity and balanced sound. Check speaker impedance before connecting new components; mismatched impedance can overload your system. Factory wiring supports 4-ohm speakers, so verify your new drivers align.
| Signal Clarity | Wiring Effort | Resulting Satisfaction |
|---|---|---|
| Clear, stable | Minimal | High |
| Distorted | High | Low |
| Weak | Moderate | Frustrating |
Tapping in takes under 15 minutes with a wiring harness adapter. Use a multimeter to confirm positive and negative leads. This method preserves factory aesthetics while boosting performance.
Run Power and Ground Cables to the Amp Safely
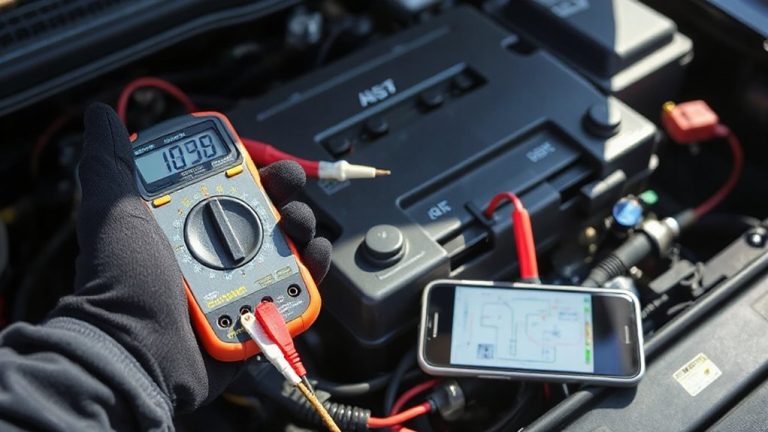
Once you’ve tapped into the factory speaker wires, powering the amplifier correctly becomes critical for safe and best operation. Use 4-gauge power wire for amplifiers up to 1000W; larger systems need 0 or 00-gauge to prevent voltage drop. Begin by running the power cable from the battery’s positive terminal through a firewall grommet, using existing openings to simplify cable routing. Install an in-line fuse within 18 inches of the battery to protect against shorts. Ground the amp with a 4-gauge cable to a clean, bare metal point on the truck’s chassis-remove paint for solid contact. Poor grounding increases resistance, worsening voltage drop. Keep power and ground cables away from signal wiring to avoid noise. Proper cable routing guarantees efficiency and reduces electrical hazards. Voltage drop below 10.5V at full load indicates undersized wiring-verify with a multimeter during operation.
Connect Amp to Head Unit (No Wire Cutting)
Since your amplifier’s power and ground are properly secured, you can now link it to the head unit without altering any factory wiring. Use a line output converter (LOC) to tap into the factory speaker wires behind the head unit. This maintains factory aesthetics and avoids warranty issues. The LOC converts high-level signals to a low-level RCA output, guaranteeing clean signal flow to the amp. Connect the RCA cables from the LOC to the amplifier’s input jacks. For the remote turn on, splice the blue wire from the LOC into the head unit’s remote turn on lead-typically blue and found in the head unit harness. When the head unit powers on, it sends 12V through this wire, activating the amplifier. Guarantee all connections are insulated and secure. Proper signal flow and remote turn on integration prevent startup delays and guarantee synchronized system operation.
Install Front Stage Speakers in Doors or Dash
Precision placement of your front stage speakers-either in the doors or dash-determines the system’s sonic accuracy and imaging focus. Speaker placement affects sound staging, so install tweeters at ear level and woofers lower, maintaining a vertical axis. Door durability is critical-reinforce thin metal with bracing to prevent flexing and sound distortion. If mounting in the doors, use rubber isolation gaskets to minimize vibration transfer. Factory door locations often misalign with ideal angles; reposition speakers using aftermarket brackets for a 30–45 degree aim toward the driver. Dash installations offer shorter signal paths and improved high-frequency response but limit space-choose low-profile coaxial or component sets under 3.5” depth. Always seal back pockets and use foam baffles to prevent sound cancellation. Match impedance to your amplifier’s minimum load-commonly 4 ohms. Secure wiring with zip ties, leaving slack for door articulation.
Test and Tune Your Pickup’s Audio System
How do you know your pickup’s audio system is delivering peak performance? Test and tune it with precision. Start by playing familiar tracks across genres to evaluate clarity, imaging, and balance. Use sound calibration tools-like a real-time analyzer (RTA) and microphone-to measure frequency response. Adjust equalizer settings to correct peaks and dips, ensuring a flat, accurate output. Focus on time alignment and crossover settings to blend front stage components seamlessly. For bass optimization, measure output with a multimeter and oscilloscope while adjusting gain and low-pass filters on your amplifier. Tune the subwoofer to 80Hz with a 12dB/octave slope for tight, articulate low end. Confirm phase alignment so bass integrates smoothly. Calibrate volume levels across speakers to prevent masking. A properly tuned system delivers balanced soundstage depth, accurate imaging, and distortion-free playback at all volumes. For reliable electrical measurements during setup, consider using one of the best car multimeters available to ensure accurate readings.
On a final note
You’ve completed the front stage installation correctly when all components operate cohesively. Confirm speaker impedance matches amp output-typically 2- or 4-ohm stable. Verify RMS ratings align: speakers should handle 50–100 watts RMS per channel. Guarantee grounded connections use 12-gauge copper to chassis metal, minimizing resistance. Test audio clarity across frequencies; distortion indicates wiring or impedance mismatch. Adjust gains using a multimeter and 400Hz tone. Proper setup ensures 98 dB efficiency and long-term reliability.