DIY Guide: Replacing a Clutch Slave Cylinder on a Sports Coupe
You’ll need to replace your clutch slave cylinder if the pedal feels spongy or sticks to the floor, signs of internal bypass or fluid leaks near the bell housing. Use a 10mm flare wrench and torque specs-15 Nm for mounting bolts, 22 Nm on the hydraulic line. Install an OEM-spec unit with DOT 4 fluid for maximum pressure, then bleed the system 15–20 times until all air is gone. Proper bleeding guarantees full engagement and smooth shifts. Further details clarify each critical step.
Notable Insights
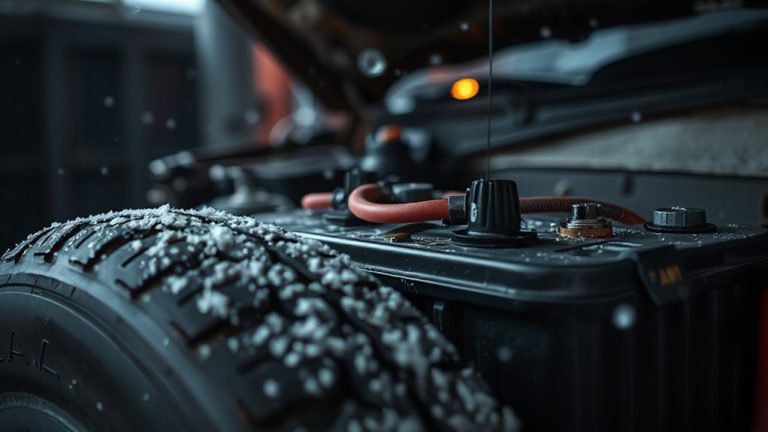
- Disconnect the negative battery terminal and check for fluid leaks near the transmission bell housing.
- Use a flare wrench to remove the hydraulic line and prevent damage to fittings.
- Remove the 10mm mounting bolts to extract the old slave cylinder without introducing debris.
- Install the new OEM-spec slave cylinder and torque 8mm mounting bolts to 15 Nm.
- Bleed the system 15–20 times using DOT 4 fluid until all air bubbles are eliminated.
Common Signs of a Failing Clutch Slave Cylinder
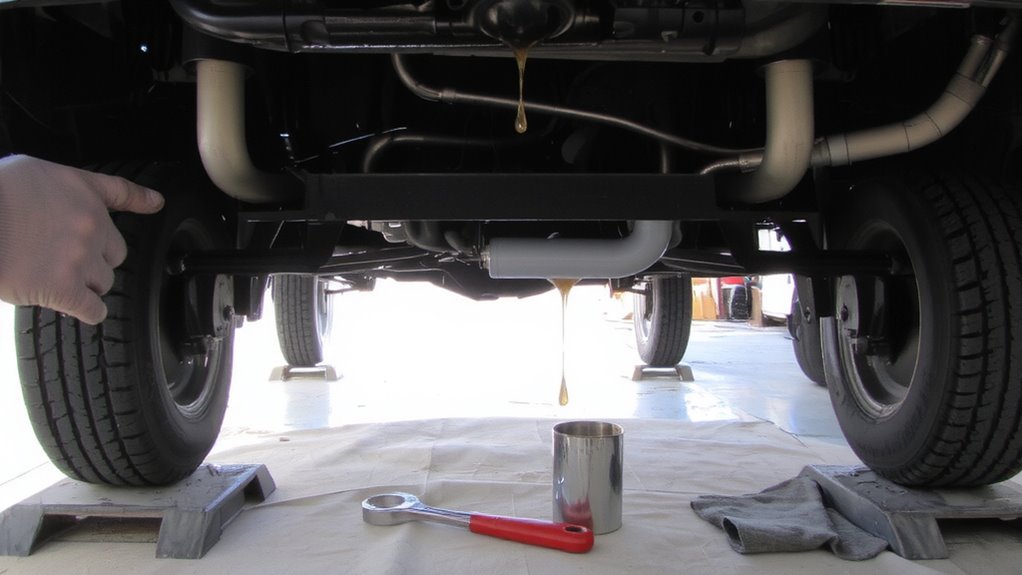
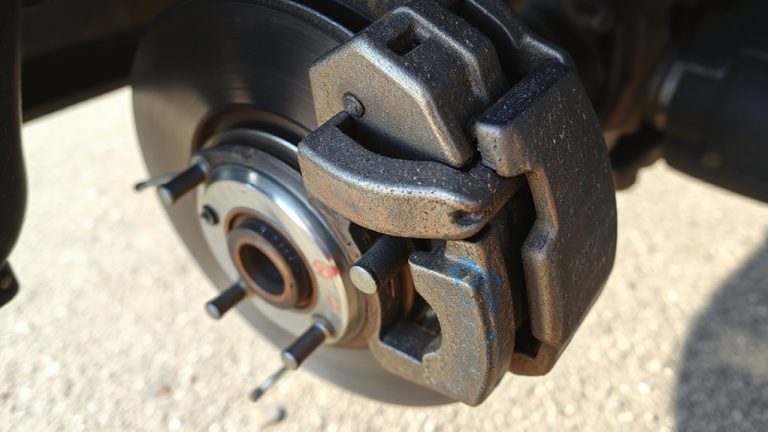
What if your clutch pedal suddenly feels spongy or sticks to the floor? You’re likely dealing with a failing clutch slave cylinder. Leaking fluid is a primary indicator-check the transmission bell housing and surrounding areas for dampness or puddles. The slave cylinder operates hydraulically, so any fluid loss disrupts pressure, impairing clutch disengagement. This leads to difficulty shifting, especially into first or reverse, or grinding during gear changes. A properly functioning system maintains around 70–100 psi of line pressure; leaks reduce this, weakening actuation. Internal bypassing fluid can mimic low fluid symptoms, even if the reservoir looks full. Air ingress due to low fluid exacerbates pedal sponginess. The rubber seals inside the slave cylinder degrade over time, particularly beyond 80,000 miles. Consistent performance demands immediate diagnosis when these signs appear.
Tools and Parts Needed for Replacement
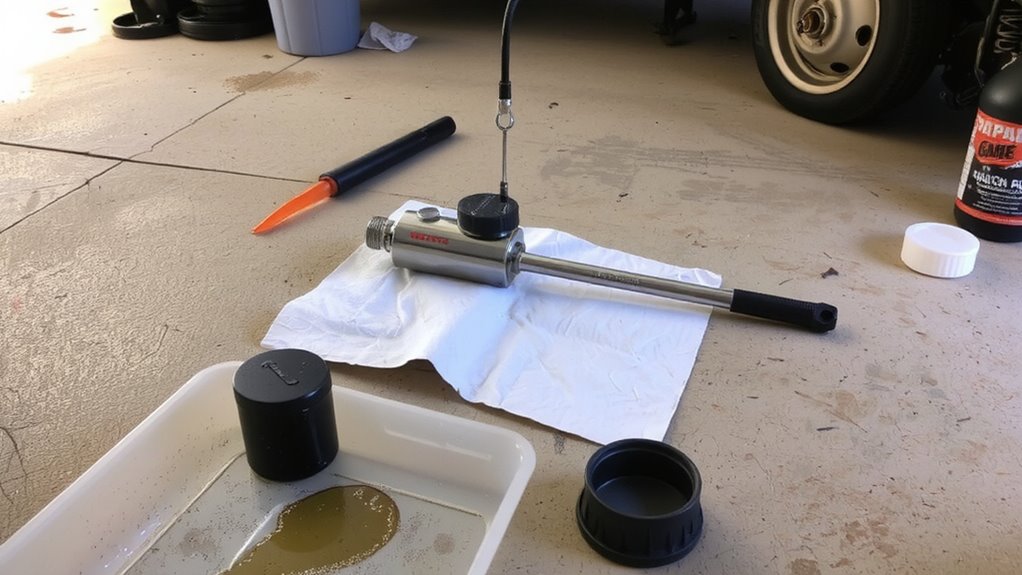
Fixing a failing clutch slave cylinder starts with having the right tools and parts on hand. You’ll need a 10mm and 13mm wrench set, a metric socket kit, and a torque wrench rated to 15 ft-lbs. A line wrench helps prevent rounding the hydraulic fittings. Replace the slave cylinder with an OEM-spec unit-aftermarket models often fail prematurely. Include a new clutch fluid reservoir cap to maintain seal integrity. Use DOT 4 fluid for higher boiling point and consistent pedal response. You’ll also need a bleeder valve kit for hydraulic inspection and air removal. Perform clutch alignment during reassembly using a pilot bearing tool to center the transmission. Misalignment causes premature wear. Keep lint-free cloths and safety glasses nearby. Label all removed connectors to speed reinstallation. These components guarantee precision, safety, and long-term performance.
How to Remove the Old Clutch Slave Cylinder
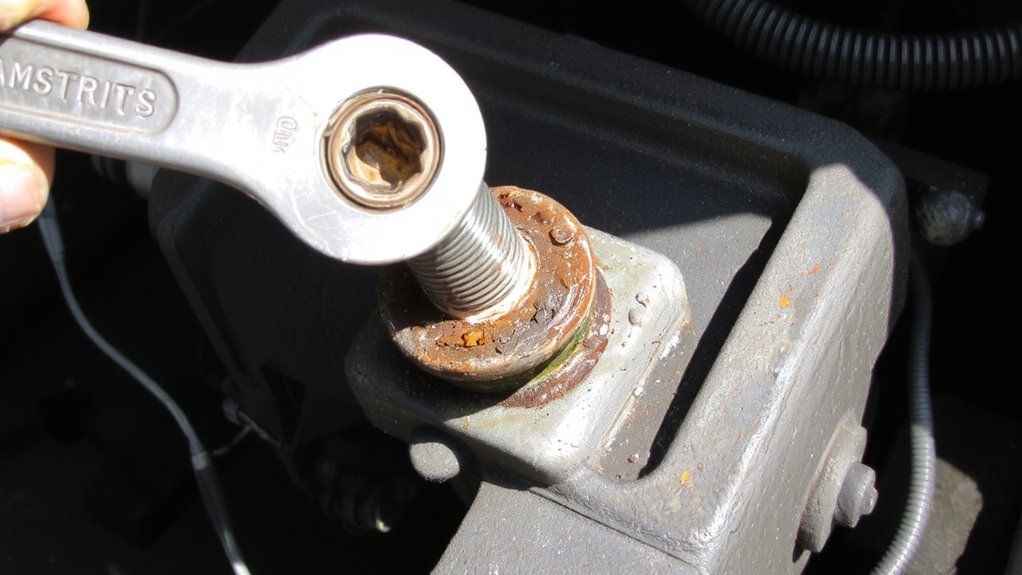
You’ll want to start by disconnecting the negative battery terminal to prevent any electrical issues while working near the starter and wiring. Locate the slave cylinder near the transmission bellhousing. Place a catch pan underneath to drain fluid from the system before you disconnect hose fittings. Use a flare wrench to loosen the hydraulic line carefully and avoid damaging threads. Once the hose is disconnected, remove the mounting bolts securing the unit to the transmission.
| Component | Action |
|---|---|
| Hydraulic line | Disconnect hose and drain fluid |
| Mounting bolts | Remove 10mm fasteners |
| Slave cylinder | Pivot free from bracket |
Carefully extract the old cylinder, ensuring no debris enters the hydraulic port. Keep track of the position of all hardware for correct reinstallation.
Installing the New Clutch Slave Cylinder
With the old unit removed and the work area clear, installation of the new clutch slave cylinder can begin. Align the new unit with the mounting bracket, making certain clutch alignment matches the transmission housing precisely. Secure it with the provided 8mm bolts torqued to 15 Nm. Connect the hydraulic line using a 10mm flare nut wrench, tightening to 22 Nm to maintain hydraulic pressure integrity. Verify the piston extends smoothly-binding indicates misalignment. Most OEM slave cylinders have a stroke of 25mm and operate at 65–75 psi; confirm specs match your model. Inspect the rubber boot for tears, which can compromise performance. Proper installation guarantees even clutch release and prevents premature wear. Avoid kinking the hydraulic line-it restricts fluid flow, reducing pressure efficiency. Double-check all connections before proceeding. Correct positioning and secure fittings are critical for consistent engagement and long-term reliability.
Bleeding the Clutch After Replacement
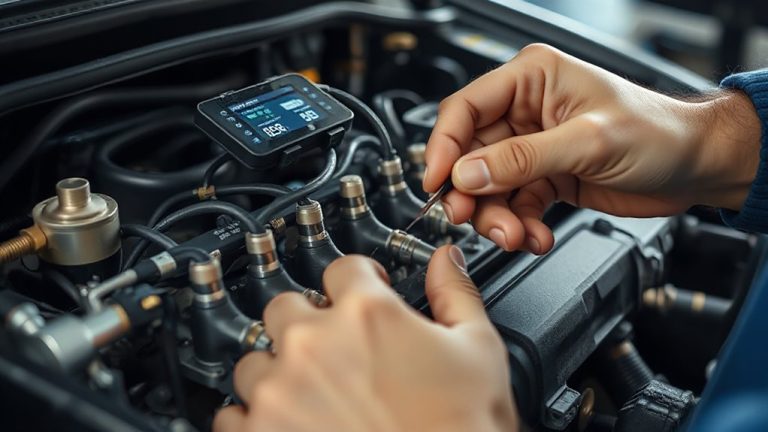
After replacing the clutch slave cylinder, you’ll need to bleed the system to remove air trapped in the hydraulic lines-this guarantees full clutch engagement and smooth shifting. Start by filling the master cylinder reservoir with fresh DOT 4 fluid to prevent fluid contamination. Attach a clear vinyl tube to the slave cylinder’s bleed nipple, submerging the other end in a container partially filled with fluid. Have an assistant press and hold the clutch pedal while you open the bleed valve. Close it before the pedal reaches the floor. Repeat this process until no air bubbles appear in the tube. Consistent clutch pressure indicates a properly bled system. Use only clean tools and fluids to maintain hydraulic integrity. Bleeding typically requires 15–20 cycles. Inspect for leaks afterward. Proper fluid volume and removal of air guarantee maximum force transfer.
On a final note
You’ve successfully replaced the clutch slave cylinder. This component, typically 2.5 inches in length with a 10 mm mounting bolt, guarantees accurate hydraulic pressure transfer. Proper installation prevents air ingress. Bleeding the system restores ideal 75–85 psi line pressure. A firm clutch pedal confirms correct function. Always use DOT 4 fluid, as specified by manufacturers. Final checks prevent drivetrain damage. Safety and performance depend on precision.