How to Check Battery Corrosion and Clean Terminals for Optimal Performance
Check your battery terminals every three months for white, blue, or greenish powder-signs of corrosion from sulfuric acid vapor. Use insulated gloves and a mix of baking soda and water to neutralize acid, then scrub with a wire brush. Disconnect cables before cleaning, reattach positive first, and tighten to 5–8 ft-lbs. Apply dielectric grease or petroleum jelly to prevent future buildup. Install terminal protectors for added defense. Keep connections clean and secure for reliable performance. Further steps guarantee long-term reliability.
Notable Insights
- Inspect battery terminals every three months for white, blue, or greenish corrosion and fluid leakage at the seal.
- Disconnect the battery and wear gloves and eye protection before cleaning corroded terminals.
- Neutralize acid residue with a baking soda and water solution, then scrub using a wire brush or non-metallic tool.
- Reconnect the positive cable first, then the negative, and tighten to 5–8 ft-lbs to ensure secure contact.
- Apply dielectric grease or petroleum jelly and install terminal protectors to prevent future corrosion.
Check for Battery Corrosion Signs
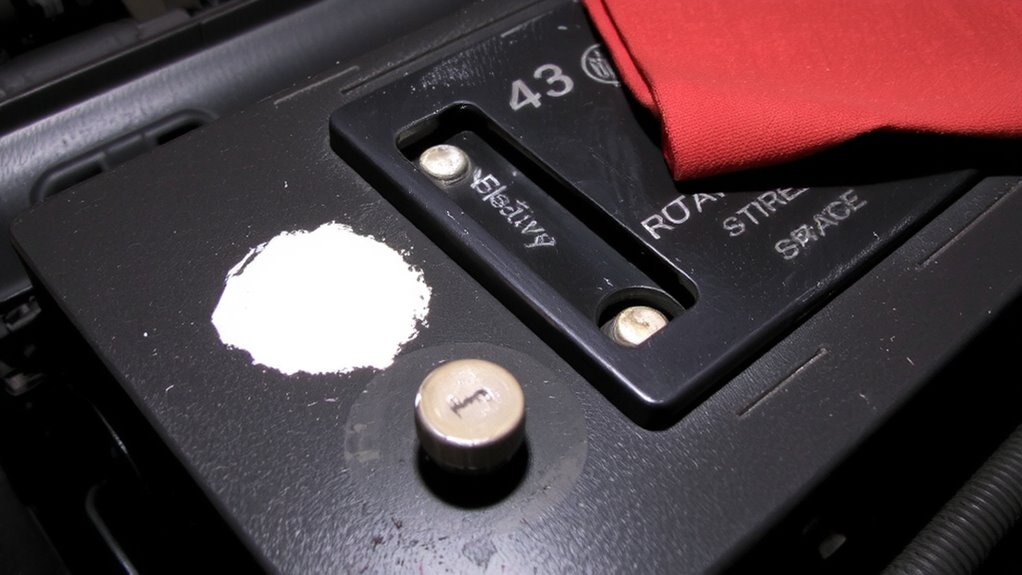
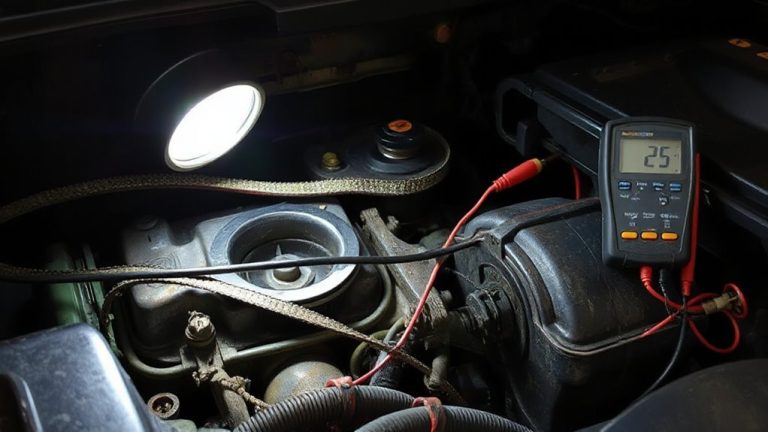
Corrosion is your battery’s silent saboteur-often overlooked, but always damaging. You must inspect terminals regularly to spot early warning signs. Terminal discoloration appears as white, blue, or greenish powder near the battery posts-this is chemical residue from escaped vapors reacting with metal. It increases electrical resistance, reducing voltage delivery. Left unchecked, it can halt engine startups. Battery leakage often accompanies this, visible as fluid seepage at the seal or casing base. Leaked electrolyte is typically sulfuric acid, with a pH below 1.0, corrosive to nearby components. Voltage drops exceeding 0.2V across terminals indicate significant conductance loss. Use a multimeter to verify. Discoloration combined with leakage means immediate service is required-delay risks permanent damage to the starting system and onboard electronics. Inspect every three months for reliable performance. For added safety during cleaning, consider using a car battery disconnect tool to prevent electrical surges and short circuits.
Gather Your Cleaning Supplies and Gloves
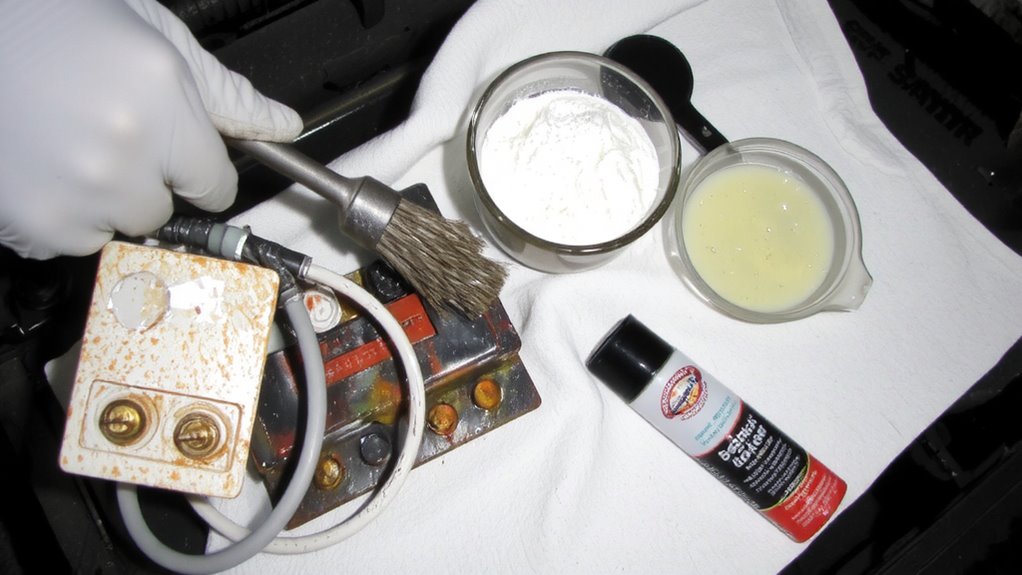
Now that you’ve inspected the battery and identified any signs of corrosion or leakage, it’s time to prepare for cleaning. Proper safety precautions are essential-always wear insulated rubber gloves and protective eyewear. Battery acid can cause burns, so handling components with care minimizes risk. For tool preparation, gather a wire brush or battery terminal cleaner, baking soda, distilled water, a non-metallic scrubbing tool, and a funnel. Mix 1 tablespoon of baking soda with 1 cup of water to create an effective cleaning solution. Use a plastic container to hold the mixture. Keep a rag or shop towel nearby to dry components. Make sure the vehicle is off and keys are removed. Avoid using metal tools near terminals during preparation to prevent accidental short circuits. Choosing the right tool makes a significant difference, and a high-quality battery terminal cleaner can simplify the process while extending the life of your battery connections. This step ensures safe, efficient cleaning while protecting both you and the battery system.
Remove Corrosion From Terminals
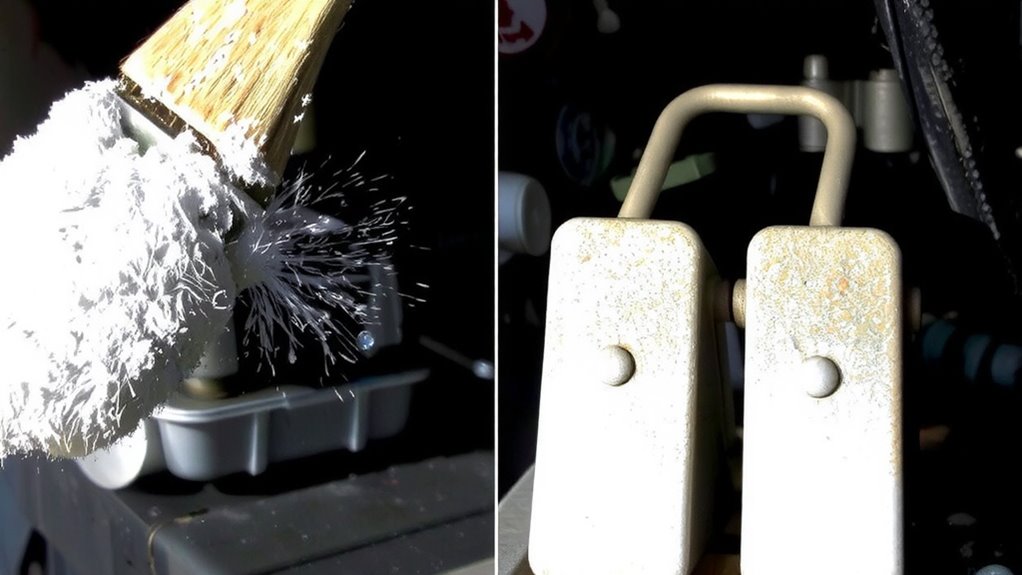
While the battery remains disconnected, begin by addressing the corrosion on the terminals to restore ideal electrical conductivity. Use a wire brush or terminal cleaner to scrub away white, green, or blue buildup on both terminals. This corrosion, often caused by acid leakage and electrochemical reactions, impedes current flow. Neutralize residue with a baking soda and water solution-mix 1 tablespoon per cup-then wipe clean. Check the battery age; older batteries (typically over 3–5 years) corrode more frequently due to weakened seals and internal degradation. Confirm terminal polarity: the positive terminal is larger and marked with a “+” symbol. Always reattach cables correctly later. Avoid mixing terminals, as reversed polarity risks damaging electrical systems. Inspect cables for fraying or brittleness, especially near clamps. Clean until metal surfaces are bright and smooth. This guarantees solid contact and maximum starting power.
Reattach Cables Securely
With the terminals clean and free of corrosive residue, reconnect the battery cables in the proper sequence to guarantee safe and reliable operation. Attach the positive cable first, then the negative. Proper cable tension guarantees connection integrity and prevents power loss or terminal damage. Use a wrench to tighten the nuts to 5–8 ft-lbs-overtightening risks stripping the lead posts.
| Cable | Torque Spec (ft-lbs) | Connection Order |
|---|---|---|
| Positive | 5–8 | 1st |
| Negative | 5–8 | 2nd |
| Ground | 5–8 | Last if separate |
Maintain consistent cable tension to avoid voltage drops. Connection integrity depends on firm, stable contact. Loose terminals cause erratic electrical flow and reduce starting power. Use only clean, undamaged clamps. A snug fit prevents vibration-related wear. Guarantee the battery hold-down is secure to limit terminal stress. For long-term reliability, consider sourcing replacement cables from top-rated car parts suppliers.
Stop Corrosion From Returning
Since corrosion often stems from electrolyte leakage and environmental exposure, taking preventive steps after cleaning is essential. Apply a thin, even layer of preventive coating to both terminals. These coatings, typically made of petroleum jelly or silicone-based compounds, create a moisture-resistant barrier. Dielectric grease is a popular choice, with a dielectric strength of 400–600 volts per mil, blocking current leakage and chemical reactions. Install terminal protectors-molded plastic or rubber caps that seal the terminal from airborne contaminants. They’re compatible with SAE-standard post sizes (3/8″ and 11/32″). Terminal protectors also reduce vibration wear. Recheck every six months, especially in high-humidity or coastal areas. Reapply the preventive coating during routine maintenance. Together, these tools markedly reduce electrochemical reactions, lowering corrosion recurrence by up to 80% in controlled tests. They’re cost-effective, easy to use, and extend battery life.
On a final note
You’ve now inspected for corrosion and cleaned the terminals. This guarantees a solid electrical connection, critical for starting your vehicle. Reattach the cables firmly-positive first, then negative. Use a torque wrench: 5 to 8 ft-lbs is standard. Apply a corrosion inhibitor, like petroleum jelly or专用 battery gel, to slow future buildup. Routine checks every three months maintain peak performance. Preventive care extends battery life and avoids voltage drops.