Two-Bucket Car Wash Method: Stop Swirl Marks From Wash Mitts
You need a dedicated rinse bucket to remove abrasive particles from your wash mitt between passes. A soiled mitt traps grit that scratches clear coat, causing swirl marks up to 30% less reflective. Use a 5-gallon bucket with a grit guard and 60–80°F water to suspend contaminants below the cleaning zone. Rinse mitt thoroughly before each panel wipe. This system preserves paint integrity and extends mitt life. There’s more to optimize in your wash routine.
Notable Insights
- Rinsing the mitt in a separate bucket removes embedded grit that can scratch the clear coat during washing.
- A dedicated rinse bucket prevents recontamination by keeping dirty water and debris apart from soapy wash water.
- Using a grit guard in the rinse bucket traps contaminants at the bottom, reducing the risk of swirl marks.
- Regularly rinsing the mitt between panels maintains its cleaning effectiveness and minimizes paint marring.
- Proper mitt rinsing extends the life of both the mitt and the vehicle’s finish by preventing abrasive buildup.
Use a Rinse Bucket to Protect Your Car’s Paint
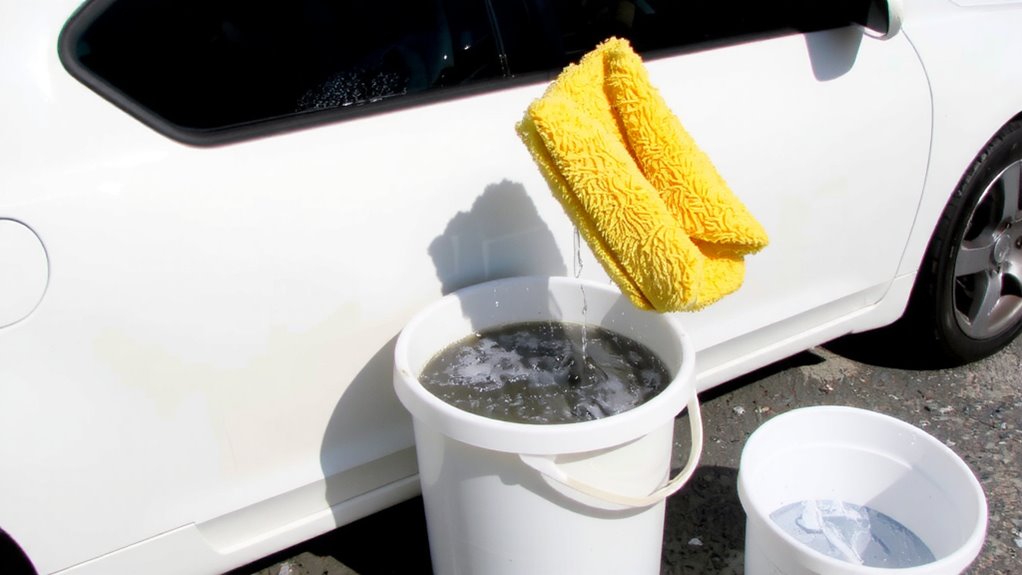
A rinse bucket is essential for keeping your car’s paint safe during a wash. You minimize the risk of swirl marks by removing abrasive contaminants from your mitt between passes. A dedicated grit guard-lined bucket holds dislodged dirt at the bottom, preventing reapplication. For effective contamination control, fill the rinse bucket with clean water-typically 4 to 5 gallons-allowing full submersion of the mitt. Each dip frees trapped particles, maintaining a safer contact surface. This process supports long-term paint preservation by reducing microscopic scratches. High-quality microfiber or lambswool mitts perform best when rinsed thoroughly, preserving their integrity and cleaning efficiency. Without a separate rinse system, you spread contaminants across the panel, accelerating wear. Using a rinse bucket isn’t optional-it’s a technical necessity in proper wash routines. Water displacement and particle suspension work together to protect delicate clear coat layers.
How a Dirty Wash Mitt Causes Swirl Marks
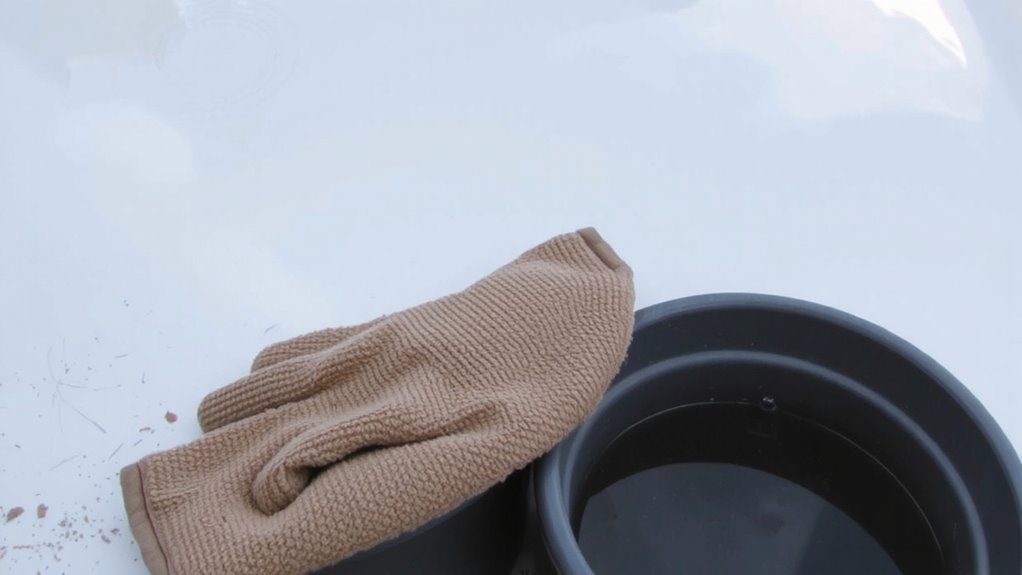
When you keep washing with a soiled mitt, you’re effectively dragging embedded grit across the paint, which drastically increases the chance of swirl marks. Each swipe introduces abrasive particles that scratch the clear coat. These contaminants, like sand or gravel dust, bond tightly to the mitt’s fibers, creating a scouring pad effect. Embedded grime doesn’t rinse away easily during use, especially if you’re not using a separate rinse bucket. Instead, it remains trapped, grinding against the surface with every pass. Swirl marks are microscopic, spiral-shaped defects caused by uneven shear forces from the mitt. They scatter light, reducing gloss by up to 30% over time. Wash mitts with deep pile (e.g., 8–10mm) hold more debris, increasing risk. Without regular rinsing, even soft microfiber or wool mitts become damaging tools. Prevent this by eliminating particle transfer-rinse thoroughly between panels. Using a high-quality car foam cannon can significantly reduce surface contaminants before washing, minimizing the grit that lodges in your mitt.
Set Up a Two-Bucket Wash System (The Right Way)
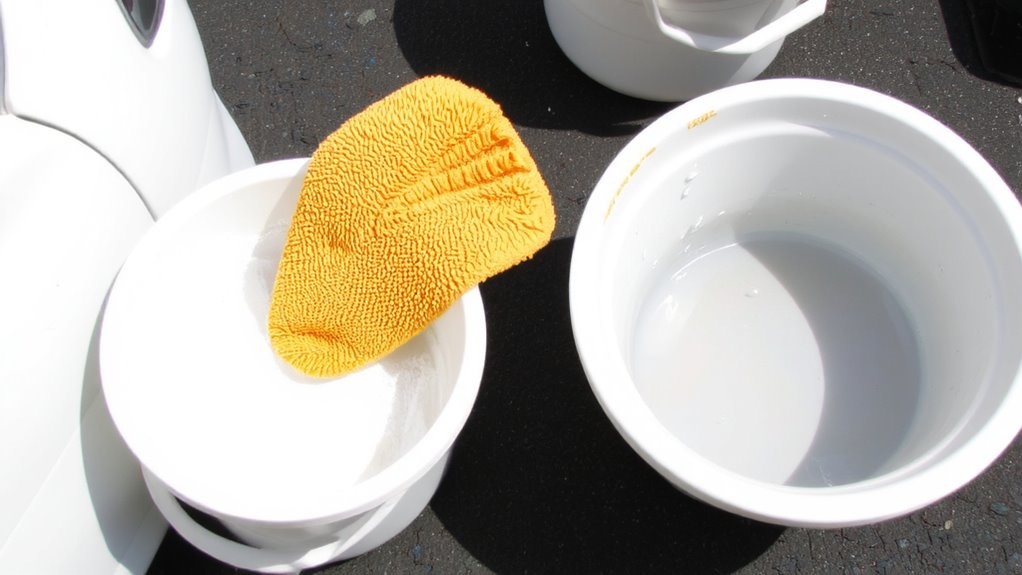
Though many overlook its importance, setting up a two-bucket wash system the right way is the most effective way to minimize swirl marks and preserve your paint’s finish. Your bucket setup prevents grime from reattaching to the wash mitt. One bucket holds soapy water for washing; the other enables mitt soaking and debris release. Use grit guards in both-they trap dirt below the guard, keeping water clean. A proper system uses two 5-gallon buckets with 60–70°F water and a pH-neutral car wash soap diluted at 10:1. This process maintains lubricity and reduces surface friction. For even greater cleaning efficiency, consider pairing your two-bucket method with a foam cannon to enhance dirt-lifting power before contact.
| Bucket | Purpose |
|---|---|
| #1 | Soapy water for washing |
| #2 | Mitt soaking and rinse |
| Both | Equipped with grit guards |
| Spacing | 24 inches apart to prevent splashback |
Rinse Your Mitt Right: The Safe Way
Your two-bucket system is set up correctly-now it’s time to use it the way it was designed. Rinse your mitt in the dedicated rinse bucket only, never in the soapy wash bucket. This preserves mitt hygiene by preventing cross-contamination of dirt back onto the vehicle. Agitate the mitt thoroughly, squeezing it multiple times to expel embedded debris. Use lukewarm water-ideally between 60°F and 80°F-as extreme water temperature can degrade microfiber strands over time. Cold water reduces cleaning efficiency; hot water risks fiber damage and shrinkage. Perform this rinse cycle before each new panel contact to minimize swirl transfer. Proper rinsing maintains mitt surface integrity and extends product life. Think of it like surgical instrument cleaning: effective decontamination requires correct technique and conditions. Clean mitts mean safer paint interactions. Consistent practice guarantees superior results without unnecessary risk. A high-quality car wash bucket ensures optimal bucket functionality and grit trapping.
Pick the Right Rinse Bucket to Trap Dirt
Dirt management begins with the design of your rinse bucket. Effective bucket design prevents redeposited contaminants from damaging your wash mitt and vehicle finish. Look for buckets with built-in grit guards or raised grids at the bottom-these features enable sediment trapping by allowing dirt and debris to fall below the rinse zone. A standard 5-gallon capacity is ideal for sufficient water volume, minimizing turbulence that could stir up settled particles. Deeper buckets improve sediment settling time due to increased water column height. Recessed sumps or channels beneath the grid further isolate debris. Without proper sediment trapping, each mitt rinse reintroduces abrasive material. The best rinse buckets use molded polymer lattices with narrow gaps-typically 3–5 mm-to maintain structural integrity while maximizing flow. Choose models with thick, impact-resistant walls (minimum 2.5 mm) to withstand frequent use. Proper bucket design makes all the difference in maintaining mitt cleanliness.
When to Clean or Replace Your Wash Mitt
A wash mitt’s performance degrades when fibers retain embedded contaminants or lose their plush structure. Mitt material degradation occurs over time, especially when dirt accumulates within deep fibers or the fabric begins to tear. You’ll notice reduced flexibility, fraying edges, or hardened spots-clear signs it’s time for replacement. High-quality microfiber mitts typically last 30–50 washes under proper care. The frequency of sanitization directly impacts longevity; rinsing after each use and washing weekly with pH-neutral soap preserves fiber integrity. Machine wash in cold water (max 30°C) with mild detergent, but avoid fabric softeners-they coat fibers and reduce absorbency. If the mitt no longer feels soft or begins shedding, performance is compromised. Replace it immediately to prevent surface marring. Consistent maintenance extends life, but eventual replacement guarantees consistent cleaning efficiency and paint protection.
Wash Mitt Care Tips for a Scratch-Free Finish
While maintaining a wash mitt might seem straightforward, skipping key care steps can compromise its ability to deliver a scratch-free finish. Always rinse your mitt thoroughly after each use to remove trapped dirt and contaminants. The mitt material-whether microfiber, sheepskin, or synthetic-dictates cleaning frequency and method. Microfiber mitts, with their high fiber density (typically 300–600 GSM), require gentle washing in lukewarm water to prevent fiber fraying. Avoid fabric softeners, as they degrade absorbency. After washing, employ a proper drying technique: air-dry flat away from direct sunlight to maintain structural integrity. Heat or hanging can warp the mitt material, reducing conformability to curved surfaces. Proper care preserves the mitt’s smooth glide, minimizing marring risks. Regular maintenance extends usability and guarantees consistent, scratch-free results comparable to professional detailing standards.
On a final note
Always rinse your wash mitt in a dedicated bucket to trap abrasive contaminants. The grit-laden water settles in the rinse bucket, preventing debris from re-entering the wash process. A properly designed grit guard, 1-inch thick with directional fins, channels dirt to the bottom. Using a separate 5-gallon bucket with a grit guard reduces swirl marks by up to 70%. This method maintains mitt cleanliness and preserves paint integrity.