How to Replace a Faulty Oil Pressure Sensor and Prevent Leaks
You can replace a faulty oil pressure sensor by first confirming erratic gauge behavior or false low-pressure warnings. Verify actual oil pressure with a mechanical gauge-normal range is 20–60 psi at operating temperature. Disconnect the electrical connector, then remove the old sensor using a 7/8-inch or 22mm socket, common thread sizes being M18 x 1.5 or 3/4-16. Install the new sensor by hand to avoid cross-threading, torque to 15–25 ft-lbs, and seal with oil-resistant thread sealant or factory gasket. A proper seal prevents leaks. Ensuring compatibility with OEM specs guarantees accurate readings and long-term reliability-there’s more to get right for maximum performance.
Notable Insights
- Disconnect the electrical connector gently to avoid wire damage before removing the old sensor.
- Use the correct socket size and steady torque to loosen the sensor without damaging threads.
- Inspect engine block threads and clean debris to ensure a proper seal during installation.
- Start the new sensor by hand to prevent cross-threading, then torque to 15–25 ft-lbs.
- Apply oil-resistant thread sealant or use a factory gasket to prevent leaks, avoiding excess material.
How to Tell If Your Oil Pressure Sensor Is Bad
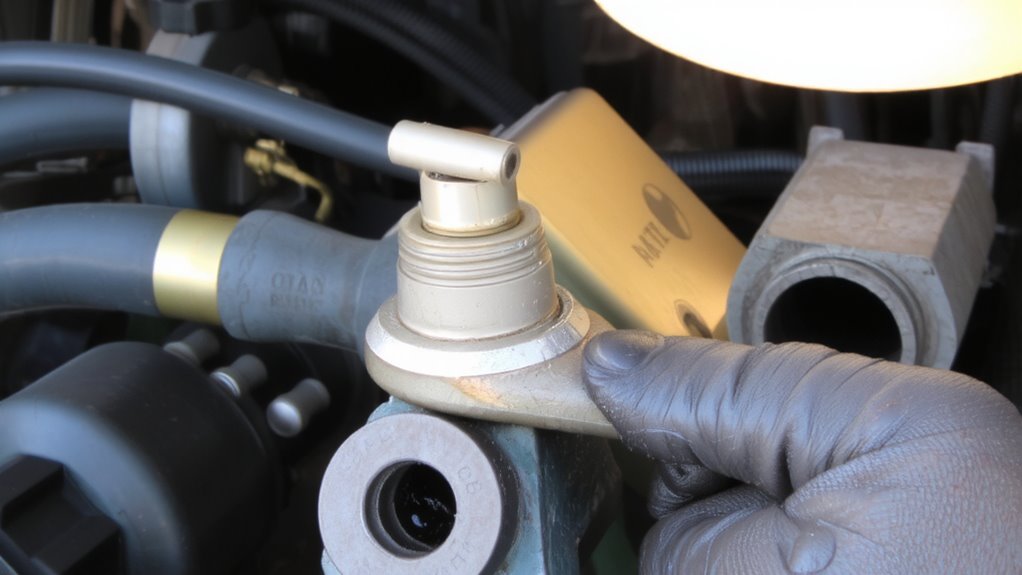
How can you know when your oil pressure sensor is failing? Watch for symptoms dashboard warnings, especially the oil pressure light illuminating unpredictably. This light often activates even when oil levels and quality are ideal. A fluctuating warnings gauge is another key indicator-needle spikes or drops without engine load changes suggest sensor malfunction. Modern sensors operate within 0.5 to 4.5 volts; deviations outside this range disrupt accurate readings. If the engine runs normally but the gauge shows low pressure at idle or spikes at high RPM, the sensor is likely faulty. False readings can trigger unnecessary alerts, mimicking low oil conditions. These inconsistencies compromise diagnostics and may lead to incorrect maintenance. Unlike mechanical failures, sensor issues don’t affect engine performance directly but impair monitoring accuracy. Always verify electrical connections and wiring harness integrity before concluding sensor failure. Use a digital multimeter to test output voltage under varied engine conditions.
Check Oil Pressure Before Replacing the Sensor
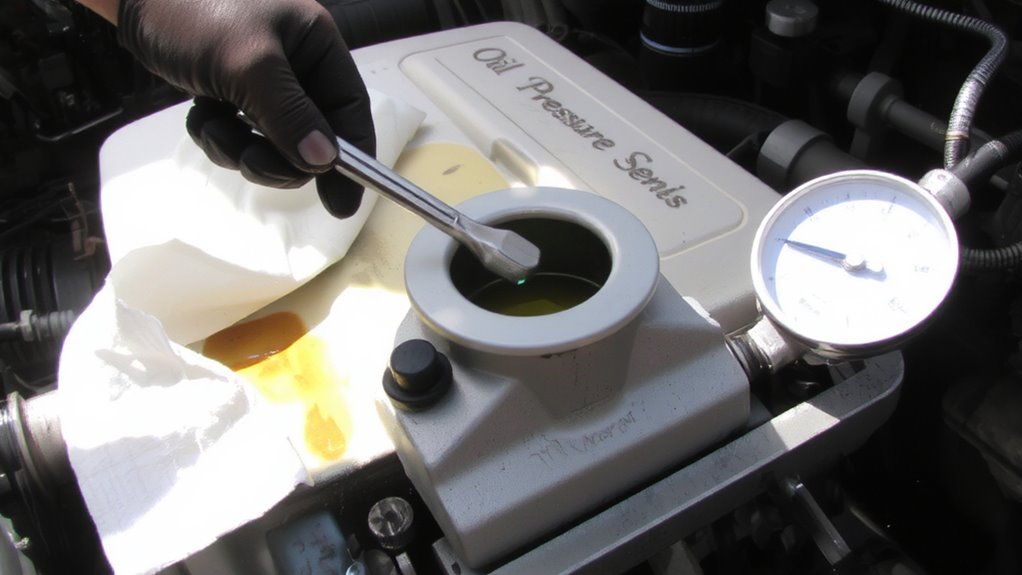
Don’t replace the sensor just because the warning light is acting up-first confirm whether the oil pressure is actually low. Use a mechanical gauge to test pressure at the sensor port for accurate results. Normal oil pressure ranges from 20 to 60 psi at operating engine temperature. Low readings may indicate real issues, not just a faulty sensor. Check oil viscosity-using the wrong grade can cause incorrect pressure readings. Thinner oil flows faster but may not maintain pressure when hot. Engine temperature affects viscosity; cold oil is thicker and can temporarily inflate pressure. Run the engine to normal operating temperature before testing to guarantee realistic conditions. If pressure remains within specs, the sensor is likely the culprit. Don’t assume the worst-verify with real data. Accurate diagnosis prevents unnecessary parts replacement and potential leaks.
Tools and Parts Needed for Sensor Replacement
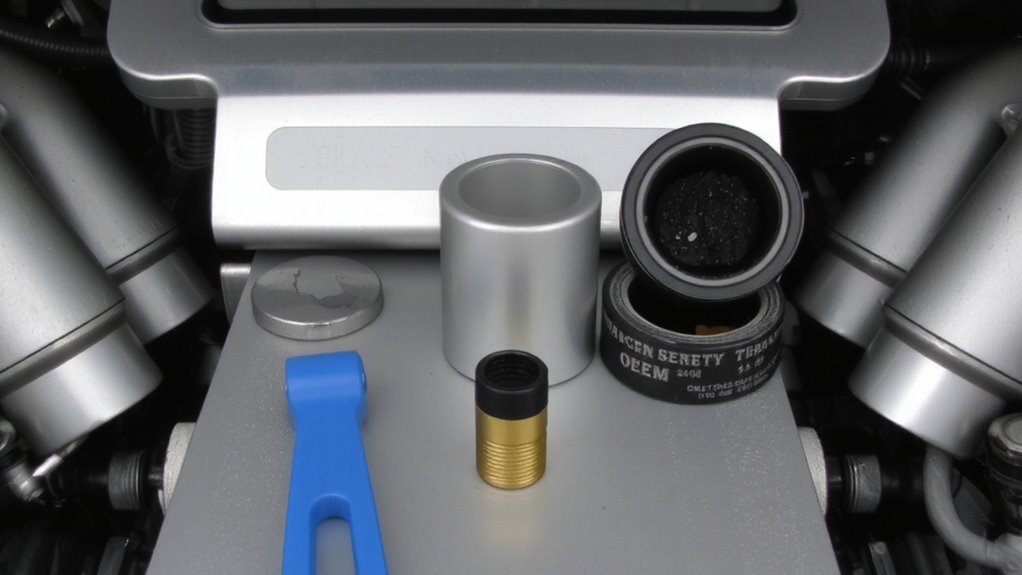
A well-stocked toolbox makes all the difference when replacing an oil pressure sensor. You’ll need a socket wrench with a 7/8-inch or 22mm socket-most common on modern engines. Always verify your vehicle’s service manual for exact sizing; incorrect tools can strip the sensor housing. Include a soft-jawed wrench if you’re removing stubborn fittings. You’ll also need a new oil pressure sensor matched to your engine’s make, model, and year-check the OEM part number for precision. Don’t overlook thread sealant; use a high-temperature, oil-resistant formula like Loctite 545 or Teflon tape rated for 400°F. Proper sealant prevents leaks and guarantees a secure fit. A clean rag, safety gloves, and eye protection round out the essentials. Organize parts beforehand to streamline installation.
Remove the Old Oil Pressure Sensor
Now that you’ve gathered the correct tools and verified the replacement sensor matches your engine specifications, you’re ready to remove the old oil pressure sensor. Start by disconnecting the electrical connection at the sensor’s base-just press the release tab and pull gently. Avoid yanking wires. Most sensors are secured via a threaded mount, not a mounting bracket, though some models use a bracket for harness routing. Use a 7/8-inch or 24mm socket, depending on your model, to loosen the sensor. Apply steady counterclockwise torque to avoid damaging threads in the engine block.
| Component | Typical Size/Spec |
|---|---|
| Electrical Connection | 2-pin weatherpack |
| Mounting Bracket Bolt | 8mm x 1.25 pitch |
| Sensor Thread Size | M18 x 1.5 or 3/4-16 |
Install the New Sensor Without Cross-Threading
Since proper alignment is critical during installation, begin by inspecting the sensor’s threads and the engine block’s mounting bore for debris or damage-any contaminants can lead to false seals or thread damage. Always start the new sensor by hand to guarantee proper alignment and prevent cross-threading. Misaligned threads can destroy the sensor’s seal and damage the engine block. Turn the sensor clockwise gently until it seats fully. Never force it-if resistance occurs early, back it out and realign. Once seated, use a torque wrench to tighten to the manufacturer’s torque settings, typically 15–25 ft-lbs depending on the vehicle. Over-tightening distorts threads and risks leaks; under-tightening causes sensor movement and inaccurate readings. Proper torque settings guarantee a secure, leak-free fit without damaging components. Accuracy matters-treat every installation like a precision fit. Using the best oil for G37 can help maintain optimal oil pressure and reduce strain on the sensor.
Seal the Sensor to Prevent Oil Leaks
Properly sealing the oil pressure sensor keeps your engine’s lubrication system intact and prevents messy, damaging leaks. You must guarantee correct gasket selection-the factory-specified rubber or metal gasket provides a reliable seal under high thermal and pressure cycles. Never reuse old gaskets; they lose compression resistance and can crack. If your sensor uses metal-to-metal sealing, torque the sensor to the manufacturer’s spec-typically 15–25 ft-lbs-without over-tightening. For threaded sensors without a gasket, apply thread sealant made for oil systems, such as Teflon-based 545B or 264 pipe sealant. One to two wraps of PTFE tape work, but avoid excess that could shed into the oil passage. Use only sealants rated for oil resistance up to 300°F to maintain integrity under engine heat. A high-quality sealant can also complement the use of a best power steering stop leak product when addressing related hydraulic system concerns.
Test Oil Pressure After Replacement
How do you know the repair fixed the problem? Start the engine and let it idle for two minutes to stabilize oil flow. Check the oil pressure gauge or warning light-modern vehicles should register 20–30 psi at idle and 45–60 psi at 2,500 RPM. Consistent readings within this range confirm proper sensor function. Inadequate oil pressure could mean restricted oil flow, increasing friction and accelerating engine wear. Use a mechanical test gauge threaded into the sensor port to verify accuracy-this eliminates electrical interference. Compare results to your vehicle’s OEM specifications, usually listed on the manufacturer’s information label under the hood. Persistent low pressure demands immediate inspection of the oil pump and clearances. Proper oil pressure guarantees critical components like bearings and camshafts receive sufficient lubrication. Don’t ignore fluctuations-they’re early signs of internal wear. Regular monitoring protects against catastrophic failure.
On a final note
You’ve fixed the oil pressure sensor correctly when it reads accurately and leaks do not occur. Use a torque wrench to tighten the new sensor to 15–25 ft-lbs, per most manufacturer specs. Confirm the O-ring or seal is seated properly-silicone sealant is rarely needed. A functioning sensor reports oil pressure within 20–60 psi at operating temperature. Verify readings via gauge or dashboard display. Proper installation guarantees long-term engine protection.