How Different Polishing Compounds Interact With Paint Layers During Car Detailing
Polishing compounds remove microscopic layers of clear coat to level surface imperfections. They abrade 0.5 to 2 microns per pass, depending on cutting power. Aggressive formulas use larger abrasives, removing up to 3 microns; fine polishes remove less than 0.5 micron. Most factory clear coats are 50–75 microns thick-excessive use risks burn-through. Heat and pressure must be controlled to prevent hazing. Your paint’s hardness, existing coatings, and defect depth determine the safest, most effective method. There’s more to optimize your results.
Notable Insights
- Polishing compounds physically abrade paint to remove imperfections, eliminating 0.5 to 2 microns of clear coat per pass through friction.
- Aggressive polishes use larger abrasives to remove deep scratches, while fine polishes enhance gloss with minimal material removal.
- Paint hardness (2H–6H) determines polish selection; softer paints require finer abrasives to prevent marring.
- Sealants and ceramic coatings resist compound penetration, requiring adjusted techniques and dwell times for effective correction.
- Excessive heat or pressure during polishing can cause hazing or burn-through, especially on thin or improperly lubricated clear coats.
What Polishing Compounds Do to Your Paint (And Risks to Avoid)
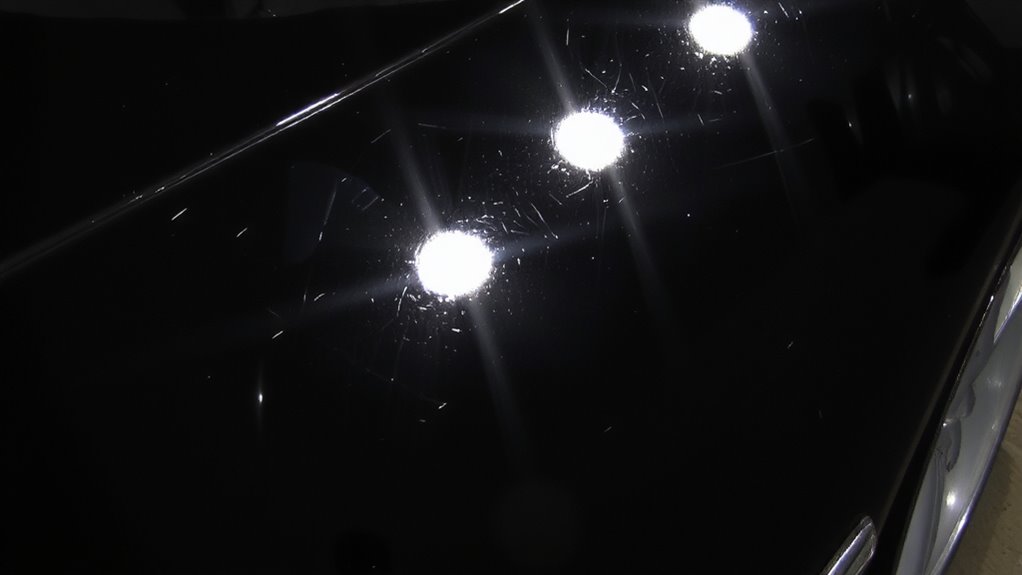
A polishing compound is an abrasive product designed to correct imperfections in automotive paint, and using it changes the surface at a microscopic level. You remove fine scratches and swirl marks by abrading the clear coat, typically 0.5 to 2 microns per pass. This isn’t a chemical reaction-instead, physical abrasion does the work. However, friction causes heat buildup, especially with faster speeds or prolonged contact. Excessive heat softens the paint, risking marring or hazing. You should keep pad speed under 1,500 RPM on flat panels and reduce pressure on curves. Use lubrication from the compound consistently to dissipate heat. Never reuse pads on different paint stages-cross-contamination spreads coarser abrasives. Inspect the surface frequently. Over-polishing thins the clear coat, reducing long-term protection. You’re not just shining paint-you’re reshaping it with precision. Control matters more than force. For best results, choose a compound suited to your paint type and defect level, such as a top auto buffing compound recommended for balancing cut and finish.
Aggressive vs. Fine Polishes: How Cutting Power Affects Paint Depth
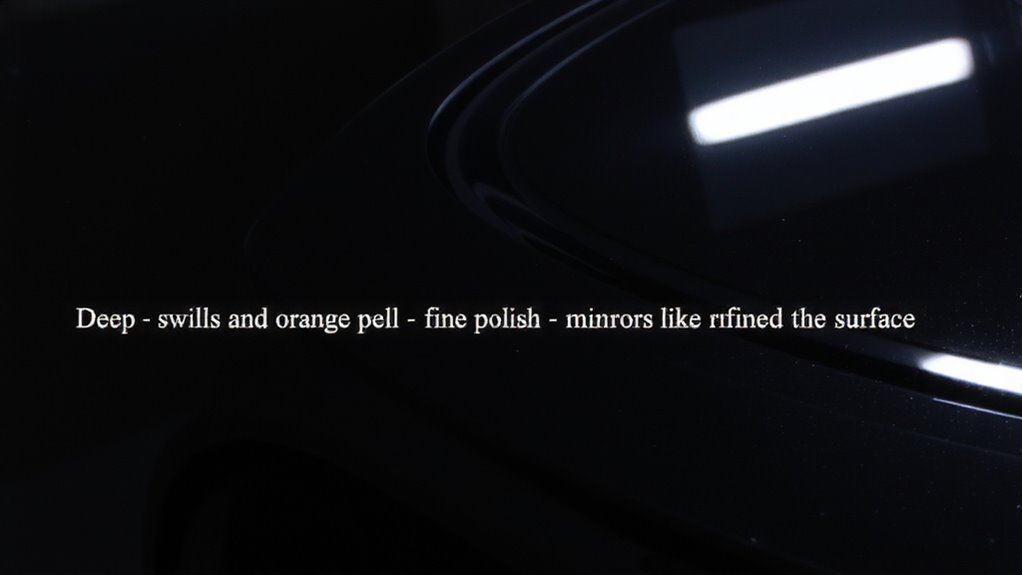
Some polishes cut hard and fast, removing 2–3 microns of clear coat per pass, while others refine gently, taking just 0.5 micron or less. Your choice directly affects the cutting power applied and the remaining paint thickness. Aggressive polishes use larger abrasives to eliminate deep scratches and heavy oxidation quickly. They deliver fast results but sacrifice more material. Fine polishes rely on microscopic particles to enhance gloss with minimal removal. Using high-cutting power when unnecessary risks thinning paint beyond safe levels. Most factory clear coats are 50–75 microns thick; repeated aggressive polishing can reduce this by 20% or more. Always measure paint thickness before starting. Matching cutting power to defect depth preserves longevity. High-cut compounds suit severely damaged finishes, while low-cut options maintain or finish. You keep control-over both correction and protection-when you respect the balance between abrasion and material loss.
Choose the Right Polish for Your Paint Hardness and Condition
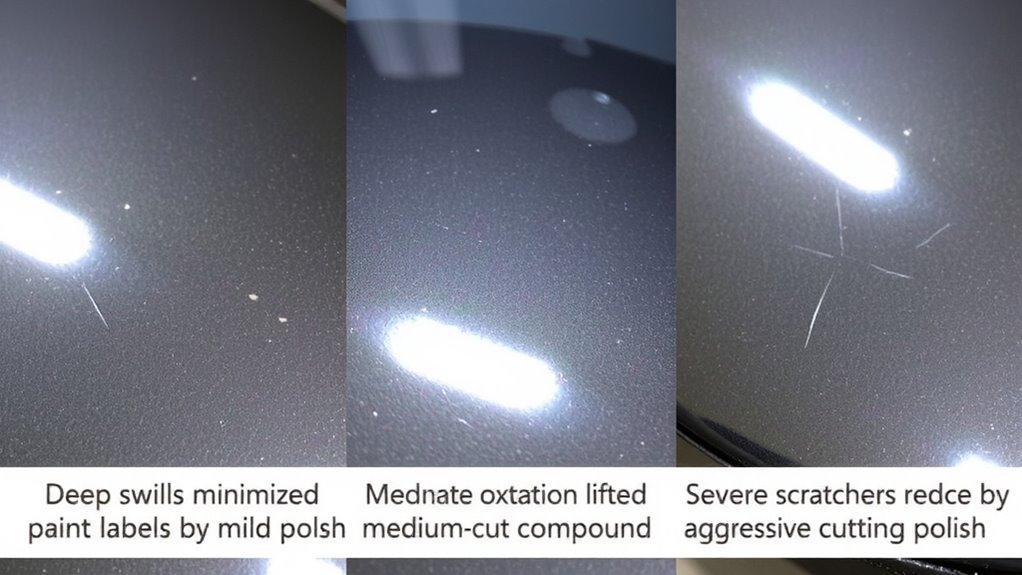
Don’t assume all polishes work the same on every surface-your paint’s hardness and current condition dictate which product will perform safely and effectively. Choosing the correct polish guarantees best results without unnecessary removal. Paint hardness directly influences compound selection, as softer paints risk marring with aggressive products. Evaluate your paint first using a 2H–6H pencil test; most modern OEM finishes test at 3H–4H. A well-maintained finish starts with using the right car maintenance tools for paint evaluation and correction. Below is a guide to match polish type with paint hardness and defect severity:
| Paint Hardness | Recommended Polish Type |
|---|---|
| Soft (2H–3H) | Fine polish (1–3 µm correction) |
| Medium (4H) | Medium-cut (3–6 µm) |
| Hard (5H–6H) | Aggressive (6–8 µm) |
| Oxidized | High-abrasive compound |
| Swirl-heavy | Semi-cut with diminishing abrasives |
Always test in an inconspicuous area. Overly aggressive compound selection on soft paint causes holograms and burn-through.
How Sealants and Coatings Affect Polish Performance
Your paint’s existing protection layer plays a critical role in how polishing compounds interact with the surface. Sealants and ceramic coatings alter surface interaction by creating a barrier that resists compound penetration. Most sealants have moderate chemical resistance, allowing lighter polishes to work but reducing the effectiveness of aggressive compounds. Ceramic coatings, with higher cross-link density, offer superior chemical resistance, requiring more dwell time or stronger abrasives. These coatings typically measure 2H–4H on the pencil hardness scale, demanding polish formulations with optimized lubricity. You’ll need to adjust pad pressure-often increasing to 5–7 psi-to maintain cutting efficiency. Always clay the surface first to guarantee direct compound-to-clear-coat contact. Failure to do so traps contaminants, compromising results. Understanding these dynamics guarantees precise correction without unintended coating damage. For optimal results, choose a compound that matches both defect depth and coating durability, such as those recommended in top-rated car polishing compounds reviews.
Avoid Hazing and Burn-Through: When Polishing Goes Wrong
Polishing too aggressively or with improper technique can lead to hazing and burn-through, two of the most common defects in paint correction. Hazing appears as a fine, dull mist caused by micro-scratches from incorrect pad speed or compound mismatch. It often results from excessive pressure, especially on soft paints with high chemical sensitivity. Burn-through occurs when the clear coat is thinned to the point of transparency, usually due to prolonged contact and heat buildup. Heat buildup is accelerated by high-speed buffers spinning above 2,000 RPM on insufficiently lubricated surfaces. Most clear coats are only 50–75 microns thick; removing over 20 microns in one spot risks burn-through. Use lubricant generously and maintain motion-never dwell. Pair wool pads with coarse compounds carefully, and switch to foam pads for finishing. Monitor surface temperature; if it exceeds 120°F, stop immediately.
On a final note
You control paint correction outcomes by selecting the right polish for your paint’s hardness and condition. Aggressive compounds remove 2–3 microns of clear coat per pass; fine polishes remove 0.5–1 micron. Always test on a small area. Over-polishing causes hazing or burn-through, especially on thin factory coatings. Pair polishes with proper pads and speed settings. Final results depend on correct product pairing and precise technique.