Adhering to OE Recommended Bedding-In Procedure for New Performance Pads
You must follow the OE-recommended bedding-in procedure for new performance brake pads. This process creates a uniform friction transfer layer on the rotor, essential for peak stopping power and pad longevity. Skipping it can reduce braking efficiency by up to 30% and increase wear by 40%. Proper bedding involves 8–10 moderate stops, followed by 4–6 harder ones, with cooling intervals. Incorrect procedures risk glazing, uneven wear, and brake fade. Thermal stabilization and material compatibility are critical-deviations compromise performance. Consistent bite, a smooth rotor finish, and reduced noise signal completion. There’s more to mastering brake performance than initial installation.
Notable Insights
- Follow OEM-specific bedding steps to ensure optimal friction transfer and brake performance.
- Perform progressive moderate to hard stops without complete halts to condition pad and rotor surfaces.
- Allow cooling intervals between stops to prevent thermal shock and material glazing.
- Inspect rotors for cleanliness and damage before initiating the bedding-in process.
- Confirm full bedding by consistent pedal feel, reduced noise, and absence of brake fade.
Why Brake Pad Bedding-In Is Non-Negotiable
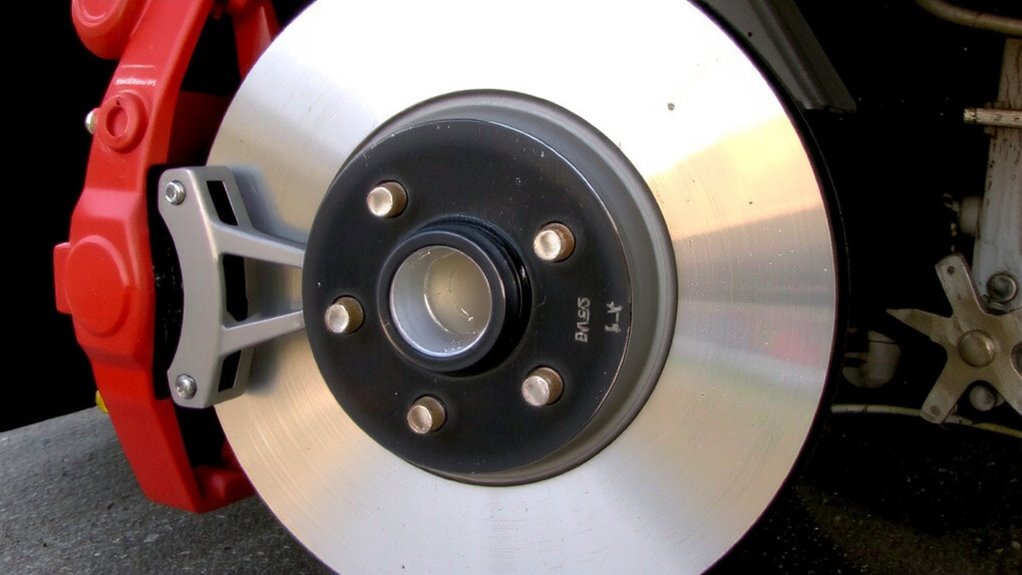
Though it might seem like an optional step, bedding in your brake pads is essential for achieving peak braking performance. Proper bedding creates a uniform friction transfer layer on the rotor surface, critical for consistent bite and response. Without it, you risk uneven pad deposits, leading to pulsation and brake judder. The process gradually raises pad and rotor temperatures, preventing thermal shock that can crack rotors or glaze pads. Manufacturers typically recommend 6 to 10 controlled stops from 30–50 mph, allowing heat to dissipate between cycles. This controlled heat cycle bonds the pad material to the rotor, optimizing the coefficient of friction. Skipping this step compromises stopping power, pad life, and system reliability. Thermal stability and friction transfer efficiency depend on this precise protocol. It’s not a suggestion-it’s an engineered requirement.
What Goes Wrong If You Skip Brake Bedding?
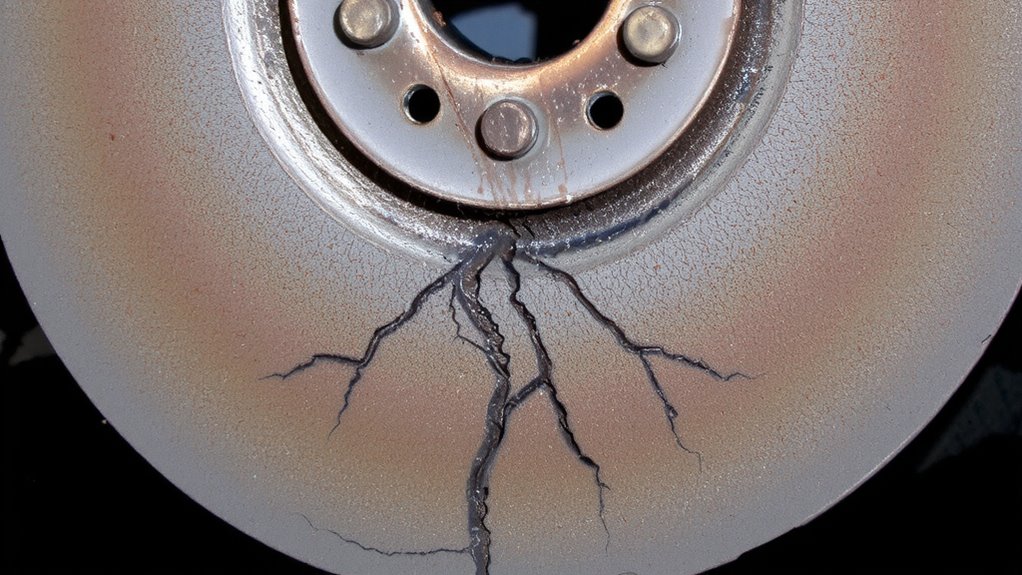
Skipping the brake pad bedding-in process leads to immediate and long-term issues that degrade both performance and safety. Without bedding, you get reduced friction because the pad surface doesn’t transfer a uniform layer of material onto the rotor. That means your stopping power drops markedly-sometimes by over 30% compared to properly bedded pads. You’ll notice longer stopping distances and a spongy pedal feel. The lack of proper heat cycling causes uneven wear across the pad and rotor surfaces. This accelerates component deterioration and creates vibrations under braking. Glazing can occur, where the pad surface hardens and loses its frictional properties. Uneven wear reduces pad life by as much as 40%. Skipping the process also increases the risk of brake fade during high-temperature driving. You’re not just compromising performance-you’re undermining the safety margins engineered into your braking system.
Step-by-Step: How to Bed In Performance Brake Pads
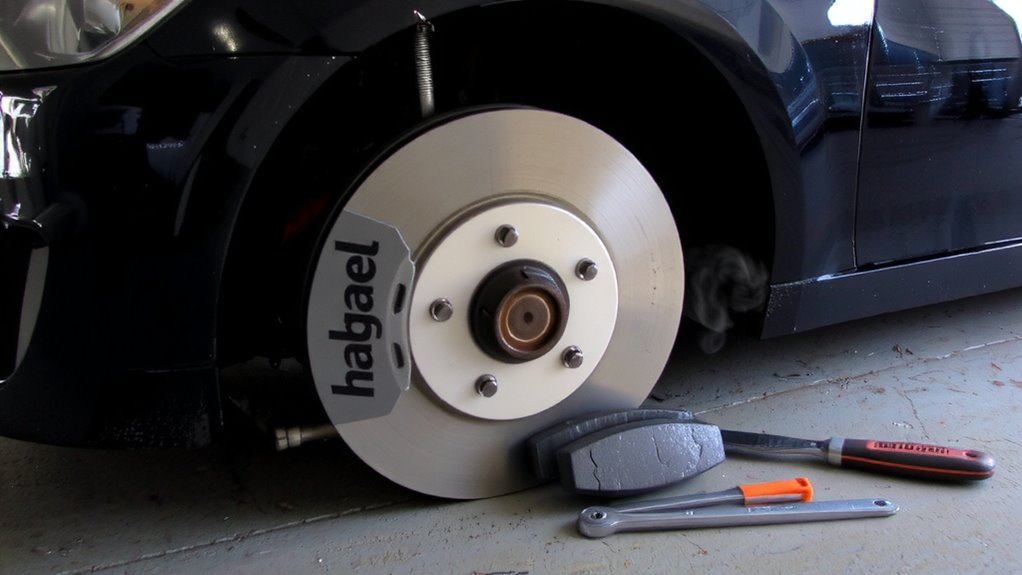
A proper brake pad bedding-in procedure guarantees maximum friction transfer and long-term performance. Begin with a thorough inspection of the rotors-make sure they’re clean and free of debris. Drive at moderate speed and apply the brakes firmly, slowing down by about 20 mph without stopping. Repeat this 8–10 times, allowing 30 seconds between applications to stabilize rotor temperature. Increase intensity with 4–6 harder stops from 40 to 10 mph, letting the rotors cool slightly between each. This process deposits a uniform layer of pad transfer material onto the rotor surface. Maintain consistent pressure-don’t drag the brakes. Avoid coming to a complete stop during cycles to prevent uneven pad transfer and hot spots. Allow the brakes to cool naturally for at least an hour after completion. Proper bedding guarantees peak performance, thermal stability, and pad-to-rotor compatibility under real-world conditions.
Why Manufacturer Bedding Instructions Matter
Following the step-by-step bedding process guarantees your brake pads reach peak performance, but sticking to the manufacturer’s specific instructions takes that reliability even further. You’re ensuring material compatibility between the pad compound and rotor surface, which is critical for long-term durability. Each formulation responds uniquely to heat cycles, and deviating from prescribed temperatures risks uneven transfer layers. The manufacturer’s procedure optimizes friction stabilization, creating a consistent boundary layer that maintains bite across diverse conditions. Without it, you risk premature fade or glazing. Recommended cool-down periods between cycles prevent thermal shock, preserving metallurgical integrity. Specific acceleration and deceleration rates control energy input, matching the pad’s design envelope. These protocols aren’t arbitrary-they’re derived from dynamometer testing and real-world validation. Ignoring them undermines the engineered balance between stopping power, wear rate, and noise control. You’re not just breaking in brakes-you’re calibrating a system.
5 Common Brake Bedding Mistakes to Avoid
While you might be enthusiastic to push your new performance brakes to the limit, diving into aggressive stops without proper bedding risks damaging both pads and rotors. Skipping warm-up cycles causes improper cooling, leading to thermal shock and surface cracks. You must perform 6–10 moderate stops from 60 to 20 mph, allowing 30 seconds of coasting between each to stabilize pad material. Rapid cooldowns trap gases, disrupting adhesion. This results in uneven transfer, where friction layers adhere inconsistently across the rotor face. Uneven transfer reduces bite, increases vibration, and shortens pad life. Never hold the brake at a stop after hard use-this creates hot spots. Avoid dragging brakes downhill during bedding. Let the system cool naturally for 30–60 minutes after the cycle. Following OE steps guarantees a uniform friction film, maximizing performance and durability.
How to Tell Your Brake Pads Are Fully Bedded
How do you know when your brake pads have properly bedded in? You’ll notice consistent stopping power, reduced fade, and smoother modulation. Visual and tactile cues confirm full bedding. Look for even pad coloration changes-darker, uniform transfer film on the rotor face indicates material exchange. Surface texture evolution appears as a polished, slightly glossy rotor finish. These changes mean ideal contact is achieved.
| Indicator | What to Look For | Significance |
|---|---|---|
| Noise | Minimal squeal or grinding | Stable friction interface |
| Fade | No performance drop under heat | Proper outgassing completed |
| Lever Feel | Firm, predictable response | Consistent bite |
| Pad Coloration Changes | Uniform darkening | Even layer transfer |
| Surface Texture Evolution | Smooth, reflective rotor surface | Ideal bedding complete |
On a final note
You must bed in performance brake pads properly. Uneven transfer of pad material to the rotor surface causes glazing and reduces friction. Follow the OEM procedure: perform 5-10 brake applications from 60 mph to 10 mph using moderate pressure. Avoid drag braking or hard stops. Surface temperatures should reach 600–800°F gradually. This bonds the transfer layer evenly. Fully bedded pads deliver peak bite, consistent pedal feel, and extended rotor life. Skipping steps risks premature wear and brake fade.