Testing Return Spring Integrity in Drum-in-Hat Parking Brakes Within Rear Rotors
You inspect return spring integrity by first removing the rear rotor to access the drum-in-hat parking brake. Check for corrosion, cracks, or elongation beyond 2.5–3 inches free length. Use a calibrated gauge to confirm tension between 18–25 pounds force. Measure shoe retraction with a dial indicator; less than 0.060 inches movement signals binding. Uneven gaps or misalignment indicate improper spring function. Replace if damaged or below spec. There’s more to ensuring long-term brake performance.
Notable Insights
- Park securely and remove rear wheels to access the drum-in-hat parking brake assembly.
- Inspect return springs for corrosion, cracks, misalignment, and elongation beyond 2.5–3 inches free length.
- Use a calibrated tension gauge to verify spring force meets OEM specs of 18–25 pounds.
- Measure shoe-to-drum clearance and use a dial indicator to check for restricted movement under 0.060 inches.
- Operate parking brake through cycles to confirm uniform shoe retraction and consistent return spring performance.
Access the Drum-in-Hat Parking Brake Assembly
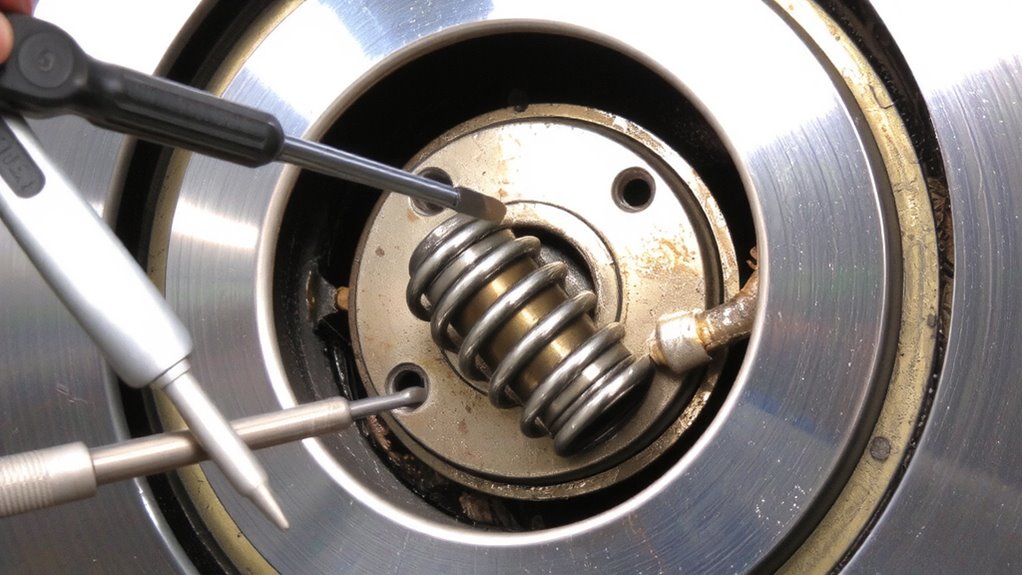
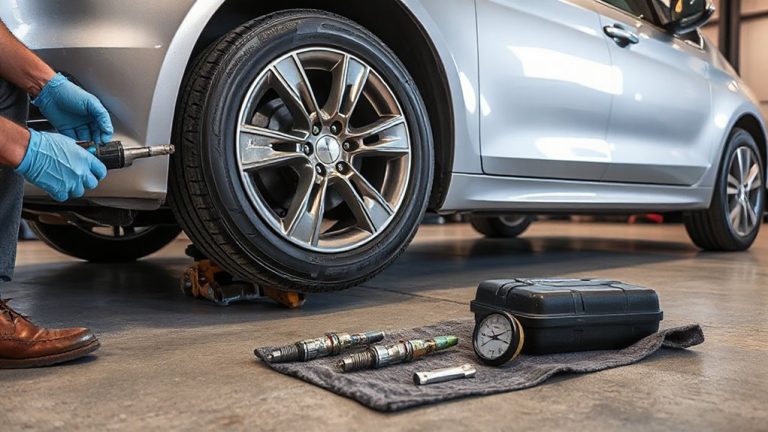
Start by parking on a level surface and securing the vehicle with wheel chocks to prevent movement. Remove the rear wheels to expose the rotor and access the drum-in-hat parking brake assembly. You’ll need to pull the rotor; if it’s stuck, gently tap around its edge with a rubber mallet. Some models require loosening a retaining screw or using a star wheel adjuster to retract brake shoes before drum removal. Once the rotor is off, you can inspect the drum-in-hat component directly. Conduct a thorough brake inspection, checking for cracks, scoring, or heat damage on the drum surface. Typical internal diameter wear limits range from 0.030 to 0.060 inches oversize, depending on manufacturer specs. Clean all debris before proceeding. Proper drum removal gives you full visual and physical access to internal components for accurate evaluation.
Identify Symptoms of Failing Return Springs
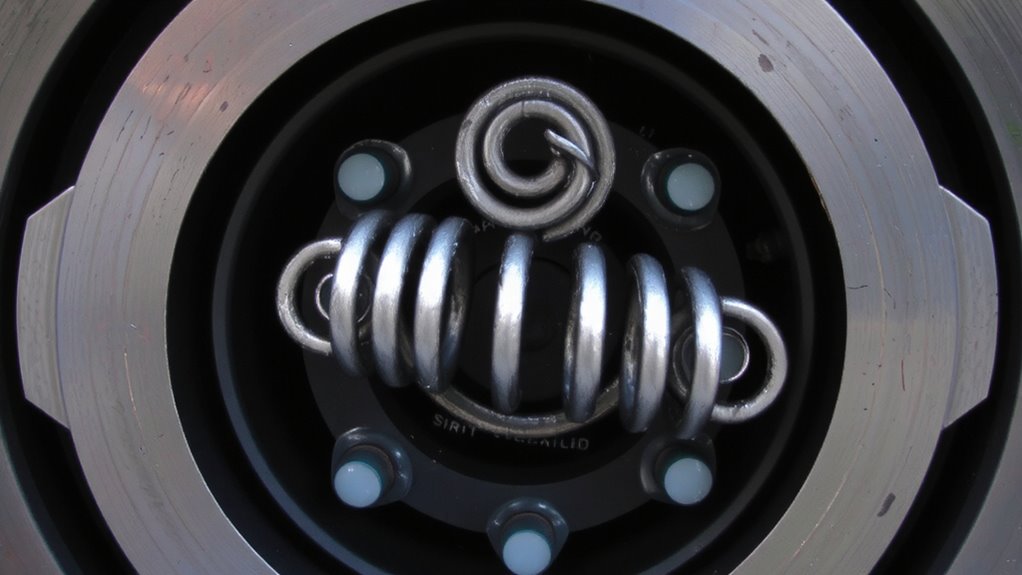
You’ve now exposed the drum-in-hat parking brake assembly and completed the initial inspection of the internal drum surface and brake components. Look closely at the return springs for signs of failure. Corrosion damage is a common culprit, especially in humid climates or vehicles exposed to road salts. Rust weakens spring tensile strength, reducing its ability to retract brake shoes. Even minor pitting can compromise structural integrity over time. Spring misalignment is another red flag-springs should sit flush in their designated anchor points. If you see扭曲 or lateral shifting, the spring can’t apply even tension. Misaligned springs often cause uneven shoe wear or binding. You might also notice cracks or elongation beyond the manufacturer’s specified free length-usually 2.5 to 3 inches, depending on model. These symptoms suggest imminent failure. Address them before testing spring tension or reassembling the unit.
Test Return Spring Tension and Shoe Retraction
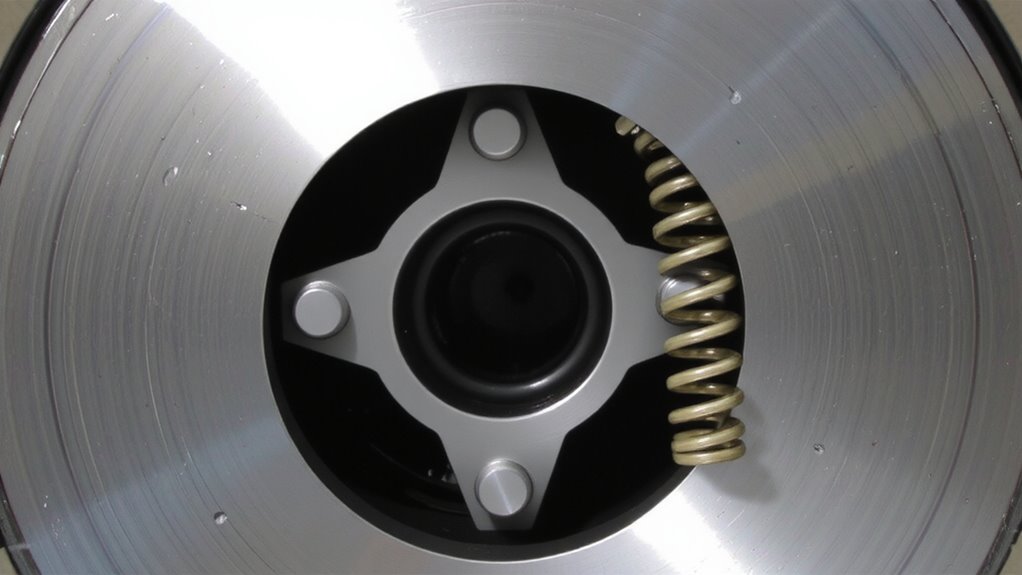
A proper return spring functions like a reliable reset mechanism-guaranteeing brake shoes pull back cleanly from the drum surface when the parking brake releases. You must verify spring tension using a calibrated tension gauge; OEM specs typically require 18–25 pounds of force for proper retraction. Insufficient force indicates spring fatigue, which compromises retraction and increases drag. Visually inspect for uneven spacing between the shoes and drum-shoe misalignment often results from weakened springs or distorted hardware. Use a dial indicator to measure shoe movement; anything less than 0.060 inches suggests restricted retraction. Operate the parking brake lever through three full cycles, then release. Observe if both shoes retract uniformly. Sticking or delayed return points to compromised springs. Check for kinked or stretched coils-these defects reduce elasticity and performance. Accurate testing guarantees reliable operation and prevents premature wear.
Replace Worn Return Springs: Tools and Steps
If return spring tension falls below 18 pounds or shows visible damage, replacement becomes necessary to restore proper shoe retraction. You’ll need a brake spring tool set, calipers, and OEM-spec replacement springs. Begin by removing the rotor and compressing the parking brake shoes. Inspect for spring corrosion-rust or pitting weakens tensile strength and accelerates failure. Cut and remove the old springs using a pick and pliers. Install new springs by hooking them securely into the shoe anchor points. Guarantee even tension on both sides to prevent shoe misalignment. Misaligned shoes drag or bind, reducing brake efficiency. Recheck retraction after assembly: shoes should snap back cleanly. Use a tension gauge to confirm springs meet 18–22 pound specs. Proper installation guarantees consistent performance and prevents premature wear.
Understand Why Return Springs Prevent Brake Drag
Because brake drag compromises fuel efficiency and accelerates wear, return springs play a critical role in ensuring parking brake shoes disengage fully. You rely on these springs to retract the shoes from the drum surface after release. Without sufficient tension, even slight contact occurs between lining and drum. This constant friction generates excess heat, leading to brake overheating. Prolonged exposure to high temperatures transfers heat to the rotor, increasing the risk of rotor warping. Warped rotors create pulsation during braking and reduce stopping power. Return springs typically exert 15–25 pounds of force, calibrated to overcome shoe-to-drum resistance without overstressing components. If spring tension drops below 12 pounds, drag becomes likely. Proper spring function also prevents fluid boiling and pad glazing. Ensuring correct return spring operation is essential to maintaining safety, efficiency, and component longevity in drum-in-hat parking brake systems.
On a final note
You’ve confirmed return spring integrity is critical for proper drum-in-hat parking brake function. Weak or broken springs cause incomplete shoe retraction, leading to brake drag and rotor wear. Test tension by hand: springs should fully retract shoes to the anchor point, requiring 6–8 lbs of pull force to stretch. Replace if elongation exceeds 10%. Use OEM-specified hardware. Correct installation guarantees 0.008–0.012 in. shoe clearance, preventing drag and maintaining brake efficiency.