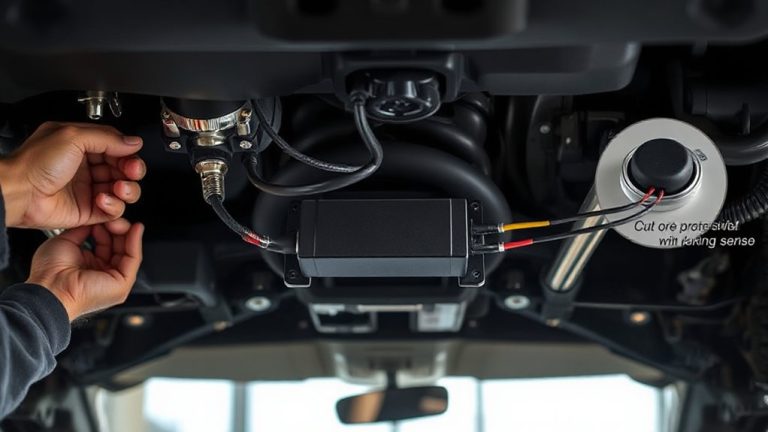
Installing Limit Straps to Prevent Catastrophic Bottoming in Heavily Lowered Rides
You need limit straps on your lowered ride to prevent suspension over-extension and shock damage. Without them, full droop can separate the piston from internal components, killing the coilover. Nylon or polyester straps-1.5 inches wide, rated 2,000 to 12,000 lbs-act like seatbelts for your suspension. For 3–5 inch drops, use 14–18 inch straps; 6+ inch drops need 20–24 inch lengths. Mount near factory pivot points using Grade 8 hardware, aligning with the upper coilover mount. Guarantee clearance at full droop and compression. Test by lifting the axle-straps should tense smoothly without binding or slack. Proper tension sits at 10–15% of rated load. Incorrect length or weak mounting risks failure. Steel-reinforced ends and UV-resistant webbing boost durability. Matching strap length to compressed suspension height guarantees reliable travel control. Details on exact installation follow.
Notable Insights
- Heavily lowered suspensions risk shock damage from over-extension, making limit straps essential to prevent piston separation.
- Choose strap length based on drop level: 20–24 inches for drops over 6 inches to maintain safe travel limits.
- Mount straps near suspension pivot points using Grade 8 hardware for maximum strength and alignment.
- Use steel-reinforced polyester straps rated 8,000–12,000 lbs for durability and resistance to UV and abrasion.
- Test installed straps by cycling suspension-ensure tautness at full droop without binding or interference.
Why Slammed Cars Need Limit Straps
What happens when your lowered coilovers hit full droop? Without limit straps, your suspension extends beyond its safe range, risking shock damage. The piston can separate from internal components, causing permanent failure. Factory travel limits are compromised when you lower the car, especially with modified control arms or extreme drop kits. Limit straps restrain excessive extension, preserving ride comfort by maintaining proper geometry. They act like seatbelts for suspension-silent until needed, then critical. Most straps use durable nylon webbing, 1.5 inches wide, rated for over 2,000 lbs tensile strength. Installation aligns with control arm mounting points, typically reducing droop by 1.2 to 1.8 inches. This prevents binding in bushings and joint overstress. High-quality kits include adjustable hardware for fine-tuning. You keep full compression travel while eliminating over-extension. Result? Reliable performance, sustained ride comfort, and prevention of costly shock damage-all essential for daily-driven or track-tuned slammed setups.
What Happens When Suspension Bottoms Out?
Ever felt your car slam hard over a speed bump after lowering it? That’s suspension bottoming out-when the shocks compress fully and can’t absorb more impact. Without enough tire clearance, your lowered ride risks the tire contacting the fender or chassis, causing immediate damage. Repeated bottoming leads to bent control arms, damaged bushings, or cracked coilovers. Worse, the frame can suffer stress fractures over time, especially at mounting points. Each hard impact transfers massive force directly to the unibody, increasing the risk of permanent frame damage. Bottoming also compromises handling, since the suspension can’t rebound properly. Limit straps prevent this by restricting how far the suspension can extend, effectively controlling droop and preserving travel range. They don’t stop compression directly but maintain proper geometry, reducing the chance of catastrophic failure.
Which Limit Straps Fit Your Drop Level
Bottoming out your suspension isn’t just uncomfortable-it physically compromises your vehicle’s integrity, and once damage starts, it accelerates with every bump. Choosing the right limit straps stops this before it begins. Your drop level determines the required strap length. For 3–5 inch drops, 14–18 inch straps work best. Drops exceeding 6 inches need 20–24 inch models to maintain safe travel limits. Too short, and you restrict suspension function. Too long, and they won’t engage in time. Material durability matters-polyester webbing handles 8,000–12,000 lb tensile strength, resists UV and abrasion better than nylon. Steel-reinforced ends prevent tearing at attachment points. High-quality straps retain flexibility and strength across temperature extremes. Always match strap length to compressed suspension height, not ride height. That guarantees precise control when you need it most.
Best Mounting Spots for Safety
Positioning limit straps correctly guarantees they perform when your suspension reaches its limits. Mount them close to the suspension’s pivot point to maintain effective control. Ideal locations include the frame’s upper control arm mounts or reinforced shock towers. These spots guarantee maximum axle clearance and prevent interference with braking or steering components. Secure attachment points must align with the vehicle’s factory frame alignment to avoid uneven stress distribution. Misaligned mounts risk premature strap failure or suspension binding. Use Grade 8 hardware and verify bolt patterns match OEM specifications. Mounting brackets should sit within 1 inch of the coilover’s upper mount to minimize lateral movement. Proper placement guarantees the strap engages only during extreme compression, not regular travel. Always double-check clearance with the wheel at full droop and full compression. Precision here prevents damage and guarantees reliable safety under load.
How to Install Limit Straps in 6 Steps
You’ll need a clean workspace and the right tools before starting the installation. Begin by measuring your suspension travel to determine the correct strap length-too short and you restrict movement; too long and protection is compromised. Choose straps with high material durability, like reinforced nylon or Dyneema, to withstand repeated stress. Mount the upper bracket to the chassis using grade 8 bolts, ensuring a secure anchor point. Attach the lower end to the control arm or axle, allowing slight pre-tension. Align holes precisely to prevent binding.
| Emotion | Risk Without Straps | Safety With Straps |
|---|---|---|
| Fear | Violent jolt | Controlled stop |
| Relief | - | Smooth recovery |
| Trust | Component failure | Proven durability |
| Confidence | Uncertain ride | Predictable response |
| Peace | Costly repair | Long-term savings |
Verify fitment, then proceed to testing.
Test Your Straps: Is the Tension Right?
How can you tell if your limit straps are set correctly? Proper tension calibration guarantees your suspension hits the strap before the chassis bottoms. Too loose, and you risk damage; too tight, and you restrict travel unnecessarily. You want about 1–2 inches of reserve travel before full compression. Test by jacking up the axle and letting it droop-your straps should go taut without yanking the suspension. Check strap integrity by inspecting for frayed fibers, cracked webbing, or corroded hardware. Nylon and polyester straps lose elasticity over time, especially in UV-heavy climates. Use a tension gauge if available-ideal preload is 10–15% of the strap’s rated capacity. Recheck after the first 500 miles. Proper calibration and intact materials mean reliable protection. Think of it like a seatbelt: strong, responsive, and ready when needed.
On a final note
You’ve secured your suspension with limit straps properly rated for your drop. Each strap withstands 2,000–3,500 lbs tensile force, depending on model. They engage before coilover bind or shock shaft damage occurs. Mounting uses ASTM-grade 8.8 bolts at chassis-reinforced points. Test under load: minimal slack guarantees protection. Over-tightening risks premature tension. Correctly installed, straps extend component life. Think of them as seatbelts-small, silent, essential.