Creating a Return-to-Service Checklist for Vehicles in Extended Storage
Revive your vehicle’s battery first by cleaning terminals with a wire brush and charging at 6 amps for 6–12 hours. Confirm 12.6 volts with a multimeter. Flush old engine oil and replace with manufacturer-specified viscosity; change the filter. Bleed brake fluid to remove moisture, using DOT 3 or DOT 4. Check tires for dry rot and inflate to door jamb PSI. Inspect for chewed wiring. Guarantee brake pads exceed 3mm and system holds 900–1,200 psi. Further steps guarantee full operational safety.
Notable Insights
- Recharge the battery fully using a smart charger and verify 12.6 volts with a multimeter.
- Replace old engine oil and filter, and flush brake fluid using a bleeding kit.
- Inspect tires for dry rot, ensure tread depth meets minimums, and inflate to correct PSI.
- Test brake system performance, check pad thickness, and bleed if pressure feels low.
- Examine engine bay for rodent damage, especially chewed wires and nesting materials.
Revive a Dead Battery First
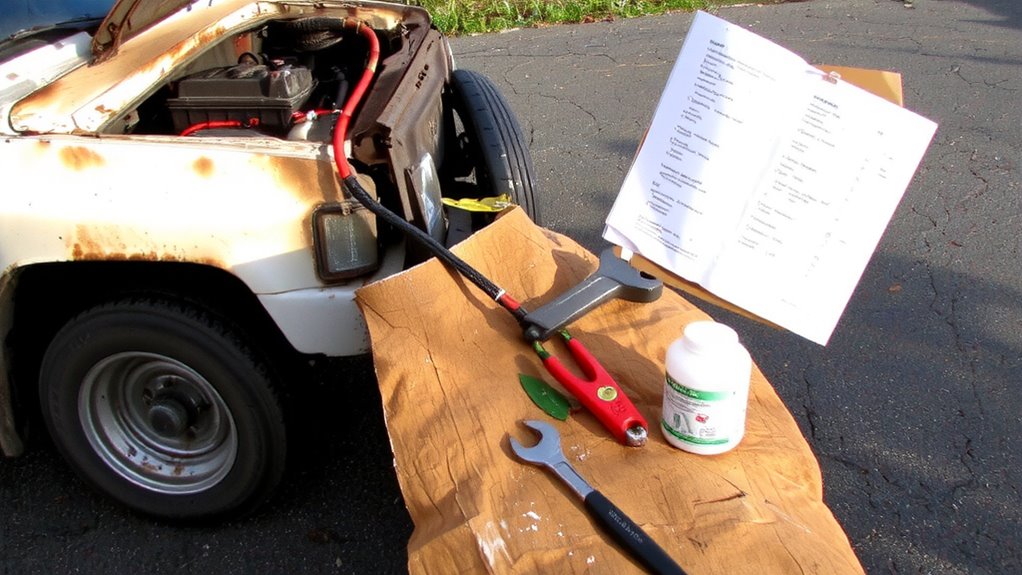
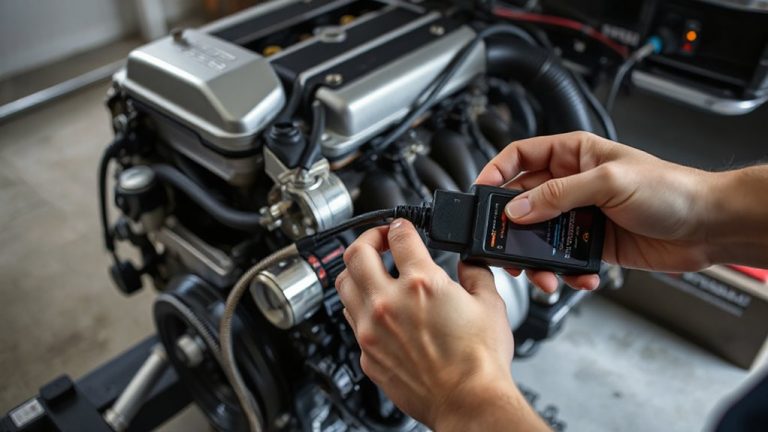
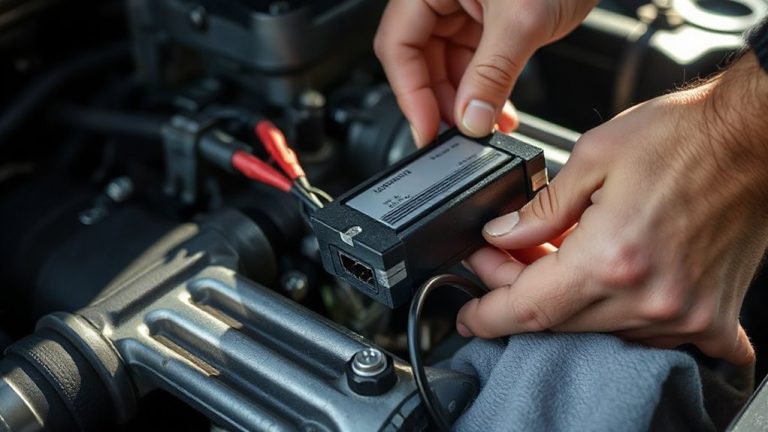
A discharged battery is often the root cause of an inoperative vehicle, and reviving it is your first critical step in any return-to-service procedure. Begin by inspecting the battery terminals for corrosion or loose connections-clean them with a wire brush if needed. Secure, conductive terminals guarantee efficient power transfer. Next, choose appropriate charging methods based on battery type and charge level. A smart charger set to 2–10 amps safely restores charge without overvoltage risks. For lead-acid batteries, a 12-volt, 6-amp charger typically replenishes a dead battery in 6–12 hours. Avoid jump-starting unless essential, as it bypasses controlled charging. Lithium-ion batteries require manufacturer-specified chargers to prevent damage. Always verify state of charge with a multimeter-12.6 volts indicates full charge. Proper charging methods prevent sulfation and extend battery life markedly. Using a dedicated battery terminal cleaner can significantly improve conductivity and prevent future corrosion buildup.
Flush Old Engine and Brake Fluids
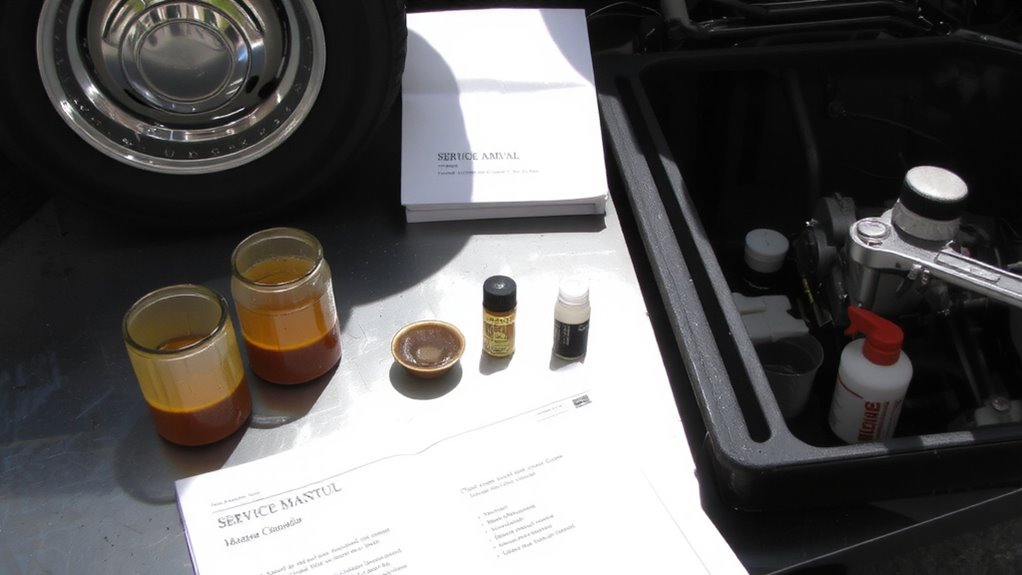
When stored for long periods, engine and brake fluids degrade, losing viscosity and hygroscopic integrity-so you’ll need to flush them before return-to-service. Old engine oil breaks down, increasing the risk of fluid contamination and sludge buildup that impairs lubrication. Replace it with manufacturer-specified viscosity, typically 5W-30 or 10W-40, to restore ideal flow and protection. Brake fluid absorbs moisture over time, reducing boiling point and accelerating system corrosion. Use a brake bleeding kit to fully flush old fluid and refill with DOT-rated fluid matching your vehicle’s specification-usually DOT 3 or DOT 4. This guarantees reliable pedal feel and braking performance. Neglecting these flushes risks component wear and potential system failure. Replace filters during the engine oil change to trap contaminants. Proper fluid maintenance preserves internal tolerances and extends service life, keeping your vehicle operating as designed.
Check Tires for Dry Rot and Proper PSI
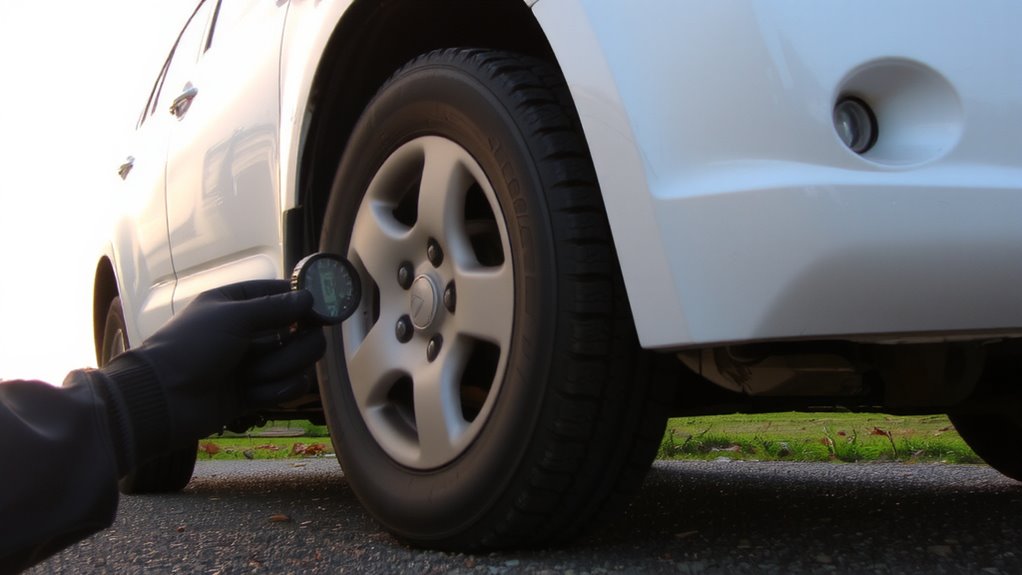
You’ve refreshed the fluids that keep your engine and brakes operating under spec-now it’s time to inspect the only part of your vehicle touching the road: the tires. Check each tire for sidewall cracking, a sign of dry rot caused by ozone exposure and prolonged inactivity. Cracks deeper than 1/16 inch mean the tire needs replacing. Evaluate tire tread depth using a gauge; anything below 2/32 inch is unsafe and requires immediate replacement. Tread depth impacts traction, especially in wet conditions. Inflation matters just as much-underinflated tires reduce fuel economy and increase wear. Consult your door jamb sticker or owner’s manual for the correct PSI, usually between 32 and 35 for most passenger vehicles. Use a reliable digital gauge to verify pressure. Adjust as needed, then recheck after driving 10 miles. Proper PSI guarantees handling, fuel efficiency, and tire lifespan. Upgrading to high-performance tires like those recommended for a Mustang GT can further enhance grip and responsiveness after long storage.
Ensure Brakes Work Before Driving
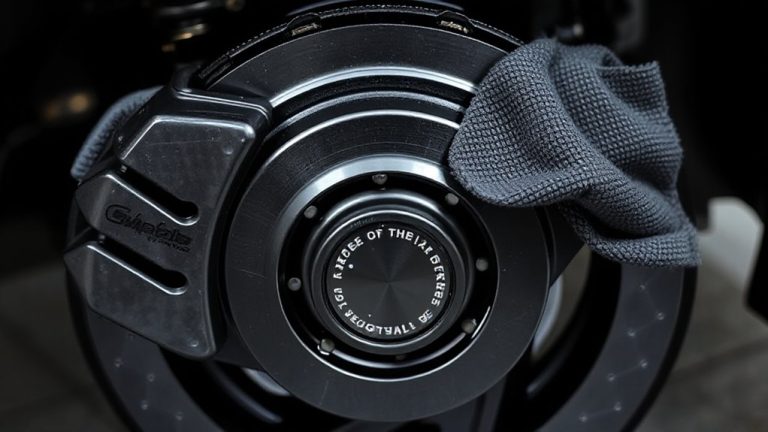
Don’t hit the road until you’ve confirmed your brakes respond with full strength and consistency. Start by inspecting brake pad wear-replace pads if thickness is below 3mm. Thin pads reduce stopping power and may damage rotors. Next, perform a hydraulic pressure test to verify intact brake lines and master cylinder function. Proper system pressure should read between 900–1,200 psi during actuation. Low pressure indicates air in the lines or fluid leaks. Bleed the brakes if the pedal feels spongy. Guarantee brake fluid meets DOT 3 or DOT 4 specifications and is clear, not darkened from moisture absorption. Test brake responsiveness at low speed in a safe area. Even slight delays or uneven grabbing signal problems. Consistent pedal feel and full stopping ability are non-negotiable. Address issues now-brakes are your primary safety system.
Inspect for Rodent Damage in Engine Bay
If you live in an area with high rodent activity, checking for nesting material and chewed wiring should be part of every return-to-service inspection. Rodents often nest in warm engine bays, especially after long storage. Look closely at wiring harnesses along the firewall and near the air intake. Wiring chew marks are a clear red flag-these appear as clean, parallel grooves in insulation, often exposing copper conductors. Insulation damage compromises electrical integrity and increases short-circuit risk. Inspect all major looms, particularly those made of polyethylene or PVC, which rodents find appealing. Use a flashlight and pull gently on suspect wires to check for weakness. Even surface-level abrasions can degrade performance over time. Address any damage immediately with heat-shrink butt connectors or full harness replacement, depending on severity. Ignoring chew marks may lead to sensor faults, no-start conditions, or fire hazards. Early detection prevents costly repairs.
On a final note
You’ve completed the essential steps. Now verify all systems meet factory specifications before operation. Confirm battery voltage is 12.6 volts or higher with a multimeter. Inspect brake fluid moisture content-replace if over 1,500 ppm. Make sure tire tread depth exceeds 4/32 inch and sidewalls show no cracking. Test brake pedal firmness; sponginess indicates trapped air or worn pads. Treat each item as a critical safety checkpoint, not a suggestion.