Step-By-Step: Applying Liquid Wax With a Microfiber Applicator Pad
Wash your car with pH-balanced shampoo diluted to 1 oz per gallon, using the two-bucket method and a grit guard. Dry thoroughly with a 300 GSM microfiber towel. Apply liquid wax using a 3-inch microfiber pad with a 1:1 polyester-polyamide blend and 0.3 denier split fibers. Use 3–5 pea-sized drops per panel, spreading in straight lines with 50% pass overlap. Let the wax haze for 10–20 minutes in the shade, then buff off with a clean 300+ GSM microfiber towel using light pressure and folded quarters. Maintain protection weekly with a polymer-infused detailer. There’s a more efficient way to maximize gloss and durability.
Notable Insights
- Wash and dry the vehicle thoroughly using a pH-balanced shampoo and a 300 GSM microfiber towel to ensure a clean, scratch-free surface.
- Select a high-quality microfiber applicator pad with split fibers and reinforced edges designed specifically for liquid wax application.
- Apply 3–5 pea-sized drops of wax per panel using straight-line motions and 50% pass overlap for even, thin coverage.
- Allow the wax to dry to a haze for 10–20 minutes in the shade, checking at an angle under indirect light.
- Buff off residue with a 300+ GSM ultra-plush microfiber towel using straight-line motions and folded quarters for maximum efficiency.
Wash and Dry Your Car Before Waxing
Before applying liquid wax, you’ll need a clean surface-otherwise, trapped dirt can scratch the clear coat and reduce wax adhesion. Car cleanliness is essential for ideal protection and finish. Contaminants like road film, brake dust, and tree sap create surface contamination that compromises wax bonding. Wash the vehicle using a pH-balanced car shampoo diluted at 1 ounce per gallon of water. Use a two-bucket method with a grit guard to prevent reintroducing debris. Rinse thoroughly with low-pressure water at 40–60 psi to avoid forcing dirt into paint pores. Dry completely with a clean, absorbent microfiber towel rated at 300 GSM. Residual moisture or particulates impair wax effectiveness. A decontaminated surface guarantees uniform coverage and maximum durability. Skipping this step risks swirl marks and uneven gloss. Wax performs best on bare paint, free of oils, silicones, and residues. For optimal results, use a high-quality microfiber towel specifically designed for automotive finishes.
Choose a Microfiber Pad for Liquid Wax
A high-quality microfiber applicator pad guarantees even distribution and maximum adhesion of liquid wax. Microfiber quality directly impacts performance-opt for pads with a 1:1 blend of polyester and polyamide for ideal absorption. These fibers are split to 0.3 denier, creating a soft, non-abrasive surface that traps wax without marring clear coat finishes. Pad durability depends on tighter weaving techniques; look for denser loops and reinforced edges that resist fraying after multiple uses. A typical pad measures 3 inches in diameter and 0.75 inches thick, providing sufficient cushion for hand application without excessive flexing. High-grade microfiber maintains integrity after 50+ washes, retaining its nap structure and absorption rate. This guarantees consistency across multiple waxing sessions. Choose pads labeled for liquid wax use-avoid foam or terry cloth alternatives. They lack the precision and release control microfiber provides.
Apply Liquid Wax in Thin, Even Layers
You’ve picked the right microfiber pad-now it’s time to get the wax on the surface correctly. Apply liquid wax in thin, even layers using consistent wax application techniques to avoid buildup and streaking. Use 3–5 pea-sized drops per panel, spreading with straight-line motions. Overlap each pass by 50% for uniform surface coverage methods. Work panel by panel, focusing on one section at a time to maintain control and consistency. For best results, choose a high-quality car microfiber cloth that resists linting and ensures smooth wax distribution.
| Result | Feeling |
|---|---|
| Streaky, thick wax | Frustration, rework needed |
| Thin, even layer | Confidence, smooth finish |
| Proper technique applied | Pride, professional outcome |
This approach guarantees maximum adhesion and clarity. High-pile microfiber pads (300–400 GSM) hold wax efficiently without shedding. Even pressure and slow movements improve distribution. Proper surface coverage methods reduce material waste and enhance gloss.
Wait for Wax to Dry to a Haze
Once the liquid wax is applied, allow it to dry fully before proceeding-this step is critical for achieving a high-gloss, defect-free finish. Wax drying time typically ranges from 10 to 20 minutes, depending on ambient temperature, humidity, and product formulation. Work in shaded areas to prevent premature drying and uneven results. Hazing visibility is your visual cue that solvent evaporation is complete. The wax film shifts from wet and glossy to a uniform, chalky appearance-this indicates it’s ready for buffing. Insufficient drying leads to smearing and poor adhesion; over-drying can make residue difficult to remove. For ideal hazing visibility, view the surface at an angle under indirect sunlight. Avoid touching the wax to check dryness-residual oils from skin can interfere. Proper timing guarantees maximum clarity, durability, and protection. Wait until the entire panel shows consistent haze before moving to the next step.
Buff off Residue With a Clean Towel
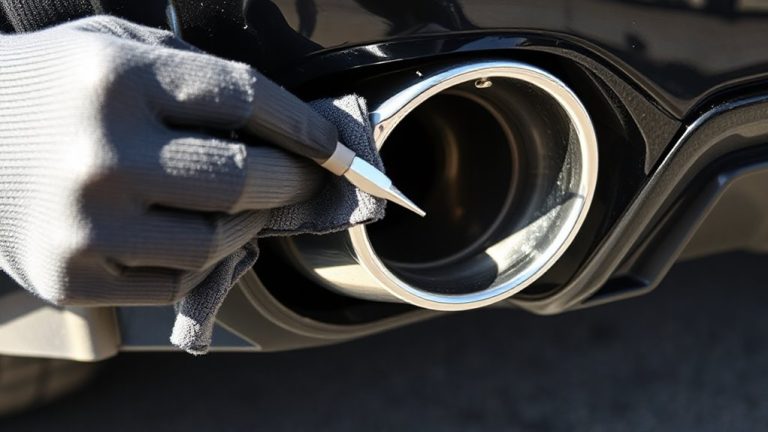
Now that the wax has dried to a uniform haze, it’s time to remove the residue using a clean, lint-free towel. Proper buffing technique guarantees a flawless finish. Use straight-line motions-not circles-to avoid swirling and to evenly distribute pressure. Apply light to moderate force, allowing the microfiber to lift residue without pressing wax back into pores. Towel quality is critical; use 100% ultra-plush microfiber with a minimum 300 GSM (grams per square meter) density. A high pile weave traps residue efficiently, preventing redeposit. Fold the towel into quarters to maximize clean surface area and extend usability. Replace when visibly soiled. Poor-quality towels leave lint, streaks, or micro-scratches. Each 16”x16” section of your surface requires about 3–5 passes. Work in small 2’x2′ zones for maximum control. Effective buffing reveals depth, clarity, and the full gloss potential of the wax layer. Maintain consistent pressure and speed to achieve a uniform appearance.
Extend Wax Protection With Quick Detailing
While wax provides a durable protective layer, its performance can diminish over time due to environmental exposure and routine wear. You can extend protection using quick detailing for surface sealing and wax enhancement. A quality quick detailer contains polymers that reinforce the wax layer without abrasives. Spray evenly on one section at a time-roughly 24 x 24 inches. Wipe with a clean microfiber towel using straight-line motions to avoid micro-swirls. This process adds hydrophobic properties, improving water sheeting and beading. Most quick detailers dry in under two minutes, allowing safe layering weekly. For ideal wax enhancement, choose a pH-balanced formula with <5% solids content. Reapplication every 7–10 days maintains surface sealing integrity. You preserve gloss, increase contaminant resistance, and prolong wax life by up to 30%. Quick detailing is not a wax replacement but a maintenance step. Use it between washes to guard against UV degradation and light oxidation.
On a final note
You’ve completed the wax deficiently correctly. Apply wax in 2′ x 2′ sections to guarantee uniform coverage. Use a 100% polyester microfiber pad with a 300 GSM density for maximum absorption. Allow 5–10 minutes drying time, depending on humidity. Buff residue with a 600 GSM, 16″ x 16″ ultra-soft microfiber towel. This creates a hydrophobic barrier rated at 6–9 months. Reapply every 90 days for maximum protection.