How to Inspect Control Arms for Cracks, Bends, and Wear
Lift your vehicle safely using jack points and support it on 3-ton jack stands. Inspect control arms for hairline cracks near welds and mounting points, especially where stress concentrates. Check for bends by comparing alignment to factory specs-deviations over 0.05 inches indicate damage. Examine bushings for cracks, splitting, or more than 1/8 inch of play when pried. Look for ball joint wear and corrosion that hides fractures. A full diagnostic reveals hidden risks you might not see at first glance.
Notable Insights
- Visually inspect control arms near welds and mounting points for hairline cracks, splits, or corrosion that may compromise structural integrity.
- Check for bends using a straightedge and tape measure, comparing measurements to factory specs; replace if deviation exceeds 0.05 inches.
- Examine rubber or polyurethane bushings for cracks, swelling, or separation, and use a pry bar to detect excessive wear over 1/8 inch.
- Look for misaligned mounting brackets or bolts not sitting flush, which may indicate impact damage or stressed components.
- Perform safe vehicle lifting using jack stands and inspect only when the suspension is unloaded and the vehicle is stable.
What Control Arms Do (And Why They Matter)
While you’re driving over bumps or turning corners, your control arms are constantly at work managing the movement of your front suspension. They connect the vehicle frame to the front wheels, allowing vertical wheel motion while maintaining precise suspension geometry. Proper alignment of ball joints and bushings maintains consistent steering response and tire contact. Control arms directly influence load distribution, transferring dynamic forces from the wheels to the chassis. During cornering, they resist lateral loads, preserving stability. Uneven load distribution can accelerate tire wear and degrade handling. Most control arms are made from stamped steel or cast aluminum, designed to last 75,000–100,000 miles under normal conditions. Their pivot points use rubber or polyurethane bushings to isolate vibration without sacrificing rigidity. Correct suspension geometry, measured in degrees of camber, caster, and toe, depends on intact control arm positioning. Any deformation affects wheel alignment specs, increasing rolling resistance and reducing control.
Common Symptoms of Failing Control Arms
You’ll start noticing problems with your control arms when their components wear out or become damaged, especially since they endure constant stress from road impacts and suspension movement. Steering wander is a key sign-your vehicle drifts unpredictably across lanes despite a steady steering input. This occurs when worn bushings or loose ball joints compromise alignment stability. Uneven tire wear often accompanies this, especially on the inner or outer edges, indicating misaligned camber or toe angles. You might also feel vibrations through the steering wheel or hear clunking over bumps, signaling internal joint failure. Control arm bushings typically last 70,000–100,000 miles, but off-road use or poor roads shorten their life. Ignoring symptoms risks further suspension damage and unsafe handling. Early detection improves safety and prevents costly repairs.
Lift Your Vehicle Safely for Inspection
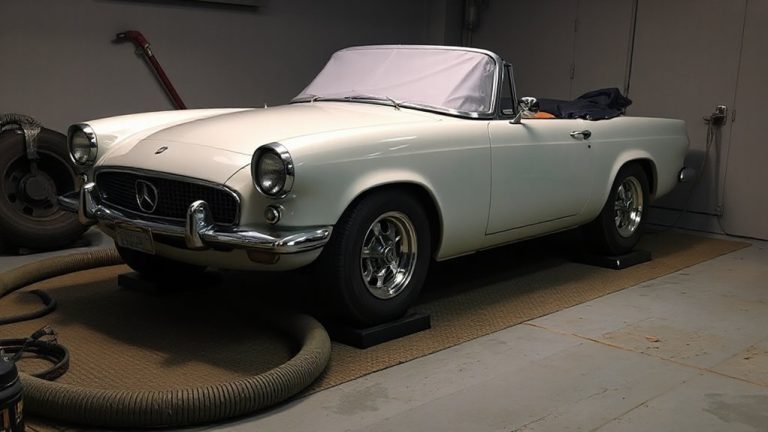
Always stabilize your vehicle before lifting to prevent accidents. Proper vehicle stability is critical for lifting safety. Park on a level concrete surface and engage the parking brake. Chock the rear wheels with rubber or polyurethane wheel blocks rated for 2,500 lbs per pair. Use jack points specified in your vehicle’s service manual-never lift using control arms or suspension components. Employ a hydraulic floor jack with a 3-ton capacity minimum. Lift slowly and monitor for shifting. Once raised, support the vehicle on steel jack stands rated for at least 3 tons per stand. Position stands under reinforced frame rails or pinch weld points with adapter plates. Never rely solely on a jack. Maintain at least 12 inches of clearance between tires and the ground for safe access. Confirm stability by gently rocking the frame before proceeding. A reliable floor jack for trucks ensures consistent performance and lifting capacity when working on heavy-duty vehicles.
Inspect for Cracks and Physical Damage
Start with a thorough visual examination of each control arm, focusing on high-stress areas near mounting points and ball joint housings. Look for hairline fractures or visible splits in the metal-these indicate structural failure. Cracks often originate at weld seams or casting joints where stress concentrates. Surface corrosion, especially deep pitting or rust buildup, compromises material integrity and can hide cracks. Use a flashlight and magnifying glass for better visibility. Check for mounting misalignment by comparing bracket positions to factory specifications-uneven spacing or twisted mounts suggests prior damage. Bolts should sit flush without binding. Even minor shifts disrupt suspension geometry. Never rely solely on touch; some flaws aren’t detectable without dye penetrant testing. Document any abnormal findings before proceeding. Early detection prevents catastrophic failure and guarantees alignment stays within OEM tolerances. Safety and performance depend on intact control arms.
Check for Bent Control Arms After Impacts
Impact events like potholes, curb strikes, or minor collisions can distort control arm geometry even when no cracks are visible. You must perform a thorough impact assessment to detect subtle bends. A bent control arm alters suspension angles, leading to alignment issues such as uneven tire wear or pulling to one side. Use a straightedge and tape measure to compare control arm contours against factory specifications-deviations beyond 0.05 inches indicate deformation. Inspect mounting points and ball joint bores for misalignment. Even slight bends disrupt camber and caster settings, degrading handling and safety. These changes mimic steering or strut problems, so isolate the cause systematically. Always inspect after known impacts, even if no damage appears. A precise visual and measurement-based evaluation guarantees accuracy. Don’t rely on driving symptoms alone-early detection prevents further wear and costly repairs. Your vehicle’s stability depends on maintaining exact control arm geometry.
Examine Control Arm Bushings for Wear
While the control arm itself may appear intact, worn bushings can still compromise suspension performance. You should inspect each bushing closely for visible signs of wear. Bushing deformation-such as flattening, twisting, or crushing-indicates the rubber has lost structural integrity. Normal bushings allow slight flex but maintain shape under load. Excessive deformation reduces alignment stability and increases road noise. Check for rubber separation, where the inner and outer metal sleeves disconnect from the rubber core. This failure mode disrupts force transfer and leads to clunking over bumps. Use a pry bar gently behind the bushing; more than 1/8 inch of movement suggests internal breakdown. Cracks radiating from the center are red flags. These conditions degrade handling precision and accelerate tire wear. Moisture and road salts accelerate deterioration. Always assess bushings during full suspension droop and compression for accurate evaluation.
When to Replace or Repair Your Control Arm
You’ve checked the bushings, and if you found cracks, separation, or more than 1/8 inch of play with a pry bar test, that’s a clear sign the control arm assembly is past reliable service. Damage to the control arm itself-such as bends or cracks-means replacement is necessary; repairs aren’t safe or effective. If the ball joint is pressed in, wear often requires ball joint replacement, but many modern arms come as complete assemblies, making full replacement more efficient. Always replace control arms in pairs to maintain even suspension geometry. After installation, a professional suspension alignment is critical-improper alignment leads to uneven tire wear and compromised handling. Control arm issues directly affect camber and toe angles, so skipping alignment risks premature tire failure. Use OEM-specified torque when securing bolts. Don’t drive with worn or damaged arms; doing so risks catastrophic suspension failure and loss of vehicle control. Safety and precision demand timely replacement.
On a final note
You now know how control arms affect alignment and ride stability. Always inspect them with the vehicle securely lifted and wheels off. Look closely at bushings-tears or gaps wider than 3 mm mean replacement is needed. Check for cracks along weld points and bends exceeding 2 degrees from factory specs. A damaged control arm compromises steering response and tire wear. Replace it immediately if defects are found.