Adapting Standard Fluid Check Protocols for Transmissions Without Traditional Dipsticks
You must adapt your transmission fluid checks for dipstick-less systems by relying on electronic sensors and service access points. Modern designs use sealed-for-life transmissions with fluid rated beyond 100,000 miles. Check levels via the hex-shaped service plug while the engine runs at operating temperature-165°F to 200°F-on level ground. A slight fluid seep indicates correct fill. Overfilling by just 5% can exceed 25 psi, risking seal damage. Use OEM-specified tools: torque wrench (25–30 ft-lbs), temperature probe (±1°C), and approved extractor. Non-OEM methods cause false readings or internal harm. Accurate diagnosis follows strict procedures based on sensor data and physical verification. Proper technique guarantees long-term reliability and prevents costly repairs-further details clarify each critical step.
Notable Insights
- Modern transmissions use sealed designs with no dipsticks, requiring electronic sensors and service plugs for fluid checks.
- Always check fluid temperature (160–200°F) before inspection to ensure accurate level assessment.
- Use the transmission’s check plug or fill hole-fluid should lightly trickle out when level is correct.
- Employ OEM-specified tools like torque wrenches and fluid extractors to prevent damage and ensure precision.
- Avoid overfilling; even small excess amounts can cause foaming, high pressure, and seal failure.
Why Modern Cars No Longer Have Transmission Dipsticks
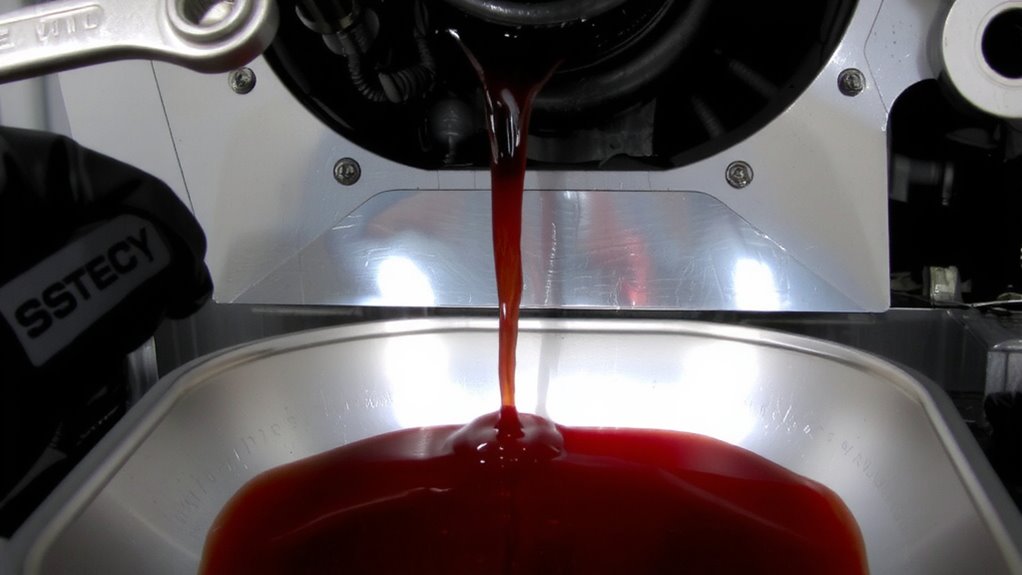
While some drivers still expect to find a transmission dipstick under the hood, most modern vehicles no longer include one-and there’s a clear engineering rationale behind this shift. Manufacturers eliminated the dipstick to enhance transmission reliability and reduce maintenance errors. Electronic monitoring now replaces manual checks, using temperature and pressure sensors to assess fluid condition in real time. These systems relay data to the vehicle’s onboard computer, triggering alerts only when intervention is necessary. Design simplification reduces potential leak points and improves sealing integrity, especially in tightly packed engine compartments. Modern transmissions often use sealed-for-life assemblies with fluid designed to last 100,000 miles or more under normal conditions. The absence of a dipstick minimizes contamination risks from improper reinsertion. This shift reflects a broader industry move toward integrated diagnostics and reduced service complexity.
How to Check Transmission Fluid Without a Dipstick
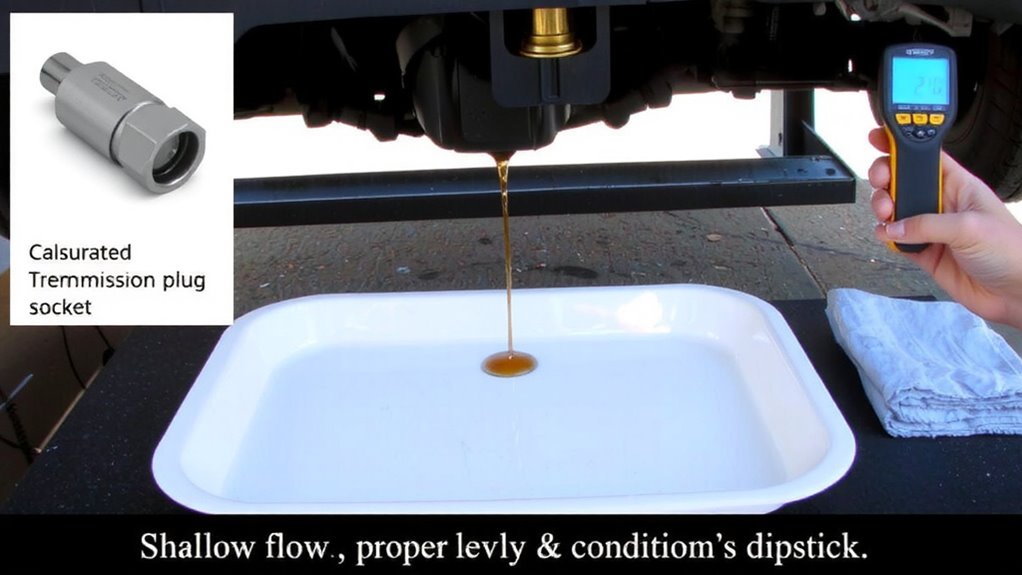
How do you check your transmission fluid when there’s no dipstick? Manufacturers use a sealed transmission system, requiring fluid inspection via a service plug. Start by warming up the engine to operating temperature-usually 160–200°F. Park on level ground and leave the engine running in park or neutral, per the manufacturer’s specs. Locate the fluid check plug on the transmission housing-typically a hex bolt near the pan. Remove it slowly; fluid should trickle out if level is correct. Examine the fluid color: bright red or pink indicates freshness; dark brown or black suggests degradation. Check fluid smell: a sweet, oily scent is normal, but a burnt odor signals overheating or wear. If low, use only the recommended fluid type-often Dexron or Mercon-to refill through the check hole until it flows freely. Use a drip pan, and retighten the plug securely-25–30 ft-lbs, typically.
Essential Tools for Checking Sealed Transmission Fluid
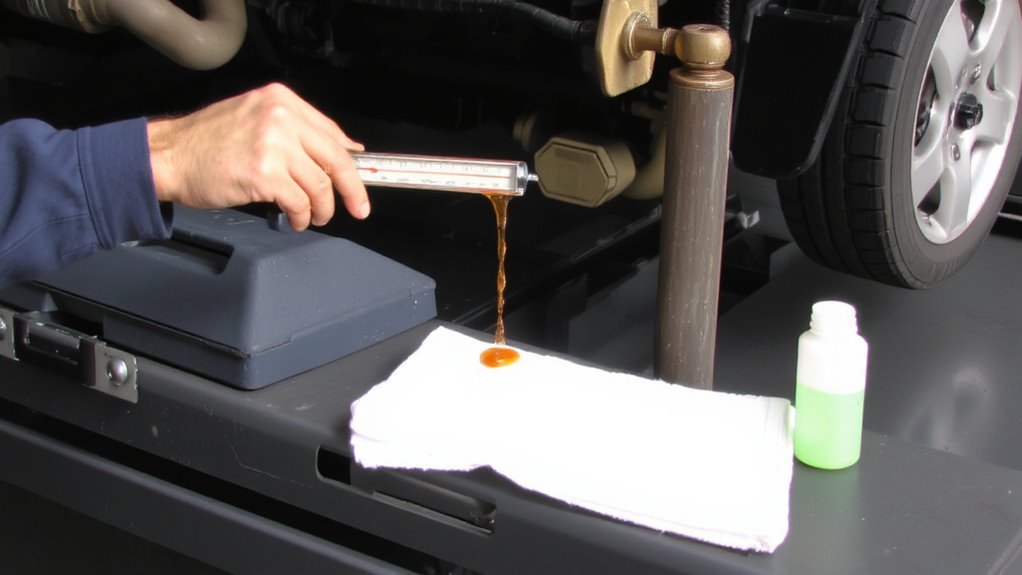
You’ll usually need just a few essential tools to properly check fluid in a sealed transmission system. Fluid sampling and pressure testing are key for accurate diagnostics. A transmission fluid pressure gauge (measures 0–100 psi, 1% accuracy) identifies pump performance issues. An approved fluid extractor allows clean fluid sampling without contamination. Use a digital temperature probe (range: -40°C to 150°C) to verify operating conditions during checks. Always reference OEM specifications before testing.
| Tool | Purpose | Specification |
|---|---|---|
| Pressure Gauge | Diagnose pump efficiency | 0–100 psi, analog/digital |
| Fluid Extractor | Enable fluid sampling | Hand vacuum, chemical-resistant tube |
| Temperature Probe | Monitor fluid heat | -40°C to 150°C, ±1°C accuracy |
| Torque Wrench | Secure reassembly | 5–50 Nm, 3/8″ drive |
Don’t Make These Mistakes When Checking Your Fluid
Why do so many technicians misdiagnose transmission fluid issues? You’re likely making preventable errors during inspection. Misreading levels is common when using incorrect procedures or uncalibrated tools. Many sealed transmissions require specific operating temperatures-often between 165°F and 200°F-for accurate assessment. Checking fluid outside this range distorts readings, leading to false conclusions. Overfilling risks hydrostatic lock, foaming, and pressure buildup, damaging internal components. A mere 5% overfill can raise operating pressure beyond 25 psi, risking seal failure. You must follow OEM-specific protocols precisely-don’t assume one model’s procedure applies to another. Use only manufacturer-approved equipment, such as scan tools or fill plugs, to verify fluid level. Each transmission has a defined tolerance, typically ±0.2 liters. Deviations compromise performance. Avoid guesswork. Stick to calibrated methods, or you’ll invite costly damage. Accuracy guarantees longevity.
When (and When Not) to Add Transmission Fluid
When should you add transmission fluid-and when should you leave it alone? Add fluid only when levels are below the manufacturer’s cold or operating temperature range, typically measured via a transmission check plug or electronic system. Overfilling causes pressure buildup, aeration, and accelerated fluid aging. You risk damaging seals and increasing internal temperatures, which promotes component wear. Modern transmissions often require specific fluid types-using the wrong one negates warranties and harms performance. Never top off fluid without confirming a leak or recent service. If fluid appears dark or smells burnt, that’s not low fluid-it’s degraded fluid needing replacement, not just replenishing. Fluid aging reduces lubricity and heat resistance. Component wear particles accumulate over time, so adding fluid just dilutes contaminants without eliminating them. Always follow the vehicle’s specified procedure.
Symptoms of Low or Bad Transmission Fluid
What does your transmission tell you when something’s wrong? It shows clear signs like slipping gears, where RPMs spike without matching acceleration-often due to low fluid levels or degraded viscosity. Slipping gears typically occur between shifts, especially under load, leading to poor fuel economy and overheating. You might also notice delayed engagement-when the car hesitates a second or two after shifting into Drive or Reverse-indicating inadequate pressure buildup. This delay should never exceed 1.5 seconds; beyond that, it signals air in the system or worn seals. Dark, burnt-smelling fluid points to thermal breakdown, reducing lubricity and clutch friction. Without proper fluid condition, internal components wear faster. Low fluid directly impacts hydraulic performance, risking valve body and solenoid issues. Regular checks using manufacturer-recommended procedures-especially in dipstick-less transmissions-are essential. Address symptoms immediately to prevent costly internal damage.
On a final note
You must adapt to modern maintenance standards. Today’s sealed transmissions lack dipsticks, requiring specific procedures and tools. Use only manufacturer-approved fluid, such as Mercon LV or ATF WS, to prevent damage. Check fluid via inspection plug or dipstick-less port at exact operating temperature-usually 120–130°F. Incorrect levels cause slip, overheating, or premature failure. Always follow factory protocols precisely. Accuracy guarantees transmission longevity and peak performance.