DIY Guide to Concealing Dash Cam Wires Along A-Pillars and Under Trim
Tap into a 12V ignition-switched fuse using a low-profile 1A–2A microfuse tap to prevent battery drain. Use a plastic trim tool and wire tuck tool to safely remove A-pillar trim and route wires. Install heat-resistant zip ties (2.5 mm) and adhesive clips every 6–8 inches. Maintain a 1-inch bend radius, protect connections with dielectric grease, and verify stable voltage above 12V. Confirmation of GPS lock and clean routing guarantees reliability-further details reveal optimized installation sequences.
Notable Insights
- Use a 12V ignition-switched fuse tap to power the dash cam, ensuring it only operates when the engine runs.
- Employ a plastic trim tool and wire tuck tool to safely remove A-pillar trim and route wires without damage.
- Remove A-pillar trim by gently prying out plastic clips every 2–3 inches after checking for hidden screws.
- Route the dash cam wire through the headliner into the A-pillar using wire loom and secure every 6–8 inches.
- Test the dash cam for 1080p+ recording, GPS lock, and stable voltage after final tuck and reassembly.
Pick the Best Power Source to Hide Your Dash Cam Wire
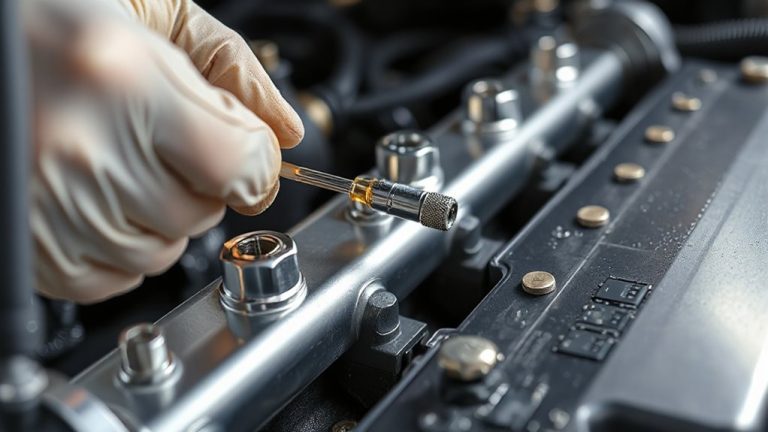
Where should you tap for a clean, reliable power source? You should use the 12V ignition-switched fuse tap in your car’s fuse box. It delivers power only when the engine runs, improving power efficiency. This method avoids draining your battery. For best cable management, route the wire behind the dashboard and along factory harness paths. Use zip ties or adhesive clips to secure it. Match the fuse tap to your dash cam’s amperage-usually 1A to 2A. Check your vehicle’s manual for fuse type and location. A low-profile microfuse tap fits tightly and prevents interference. Factory wiring channels reduce visibility and protect the wire. Proper placement guarantees clean, long-term performance. You maintain factory aesthetics while securing reliable power. Efficient routing and correct fusing maximize safety and system longevity. For optimal results, consider models highlighted in the Best Dash Cams roundup to ensure compatibility and performance.
Gather Tools to Conceal Dash Cam Wires Safely
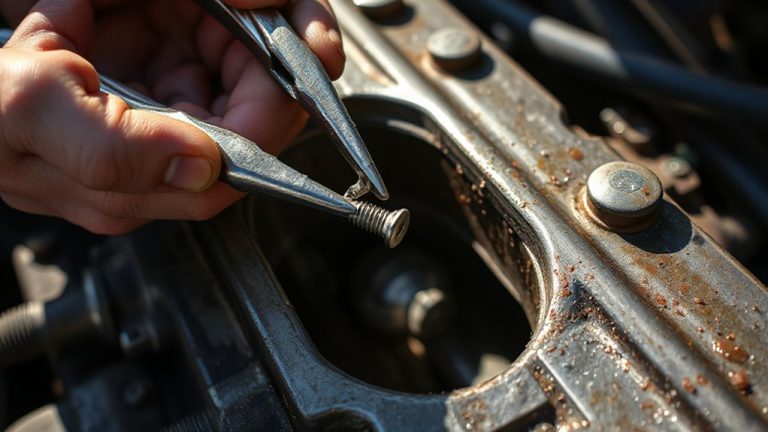
You’ve selected the right power source-now it’s time to assemble the tools for a secure and invisible wire run. Proper wire management begins with the right tools: a plastic trim removal tool (5 mm thickness to prevent scratches), a wire tuck tool (flexible, 18 inches long), and heat-resistant zip ties (rated to 125°C, 2.5 mm diameter). Use a multi-meter to verify no current flows during installation-this is a key safety precaution. Include dielectric grease for electrical protection and a microfiber cloth to avoid residue. A flashlight with at least 200 lumens helps inspect tight spaces. Always disconnect your battery before routing wires near live circuits. These tools guarantee clean, safe concealment along A-pillars without damaging factory wiring. Each component supports precise installation, minimizing signal interference and maximizing dash cam reliability over time.
Remove A-Pillar Trim Without Damaging Interior
Though trim clips can break easily, using the right technique guarantees the A-pillar cover comes off cleanly. Begin by inspecting for visible screws near the base or top of the pillar; remove them with a Phillips screwdriver. Most fasteners are plastic trim clips spaced 2–3 inches apart. Insert a plastic pry tool at the bottom edge, applying steady upward pressure. Use the pry tool technique by angling it parallel to the trim to prevent surface scratches. These clips are designed to snap out under even force-jerk or twist, and they’ll shatter. If a clip breaks, don’t worry; trim clip replacement parts cost under $2 and are widely available by OEM number. Gently work upward, maintaining consistent pressure. The entire panel should release in under two minutes. Always handle the trim with care-bending can cause irreversible warping.
Run Dash Cam Wire From Headliner to A-Pillar
Once the A-pillar trim is removed, guide the dash cam wire from the headliner down into the A-pillar access point. Use gentle pressure to avoid damaging insulation. Proper cable management guarantees a clean install and prevents buzzing or wire exposure. For adhesive routing, attach the wire every 6–8 inches using automotive-grade tape or clips.
| Step | Tool Needed | Purpose |
|---|---|---|
| 1 | Trim tool | Protects trim during removal |
| 2 | Wire loom | Shields wire from abrasion |
| 3 | Adhesive clips | Secures wire with firm, safe hold |
Maintain slack near the access point to allow reassembly without tension. Avoid sharp bends-keep a minimum 1-inch radius to preserve internal conductors. This method supports long-term reliability and professional-grade cable concealment.
Tuck and Fasten Wires Behind Dash and Trim
Your dash cam installation reaches its final stage with the tucking and fastening of wires behind the dashboard and trim. Proper wire management guarantees a clean, secure setup that resists vibration and heat damage. Begin by routing the cable along factory paths, matching OEM cable routing methods. Use plastic zip ties or adhesive clips to anchor the wire every 6–8 inches. Avoid sharp bends; maintain a minimum bend radius of 0.75 inches to prevent internal conductor damage. Tuck excess neatly into available cavities behind the dash. Do not compress wires under trim panels-this risks insulation wear. Apply gentle pressure when reinstalling trim to avoid dislodging secured lines. Effective cable routing hides the wire from view while preserving vehicle interior integrity. Use non-conductive, non-abrasive tools when pressing wires into place. Secure connections should remain accessible for future service. Final fastening guarantees long-term reliability and professional results.
Test Dash Cam Power and Confirm Clean Look
After securing all wiring, power up the dash cam to verify both functionality and aesthetics. Confirm the device records clear 1080p or higher video with accurate timestamping. Check for stable power delivery-voltage should remain above 12V during engine start. Inspect cable management along the A-pillar, dash, and door trim; wires must lie flat and remain hidden from direct view. Use a flashlight to spot gaps or bulges under trim where wires may protrude. Proper installation guarantees an unobtrusive aesthetic finish that mimics factory wiring routes. Tug gently on the cable near connectors to ensure secure anchoring. Verify GPS lock, if applicable, within two minutes of startup. Adjust camera angle if necessary. A clean install not only enhances visual appeal but also reduces glare and distraction. Final inspection should confirm no interference with airbag deployment zones near the A-pillar. Ensure your dash cam uses a high-endurance memory card capable of withstanding constant write cycles and high temperatures.
On a final note
You’ve secured a clean, professional dash cam installation. Proper wire routing prevents interference with airbag deployment zones along the A-pillar. Use plastic trim tools to avoid scratched surfaces or damaged clips. Wire ties with 2.5 mm diameter hold cables firmly without crushing insulation. Maintain 5–10 mm clearance from moving parts near the steering column. Test all electrical connections before reassembling components. A flush-mounted setup reduces glare and improves camera stability during operation.