Step-by-Step Procedure for Flushing Brake Fluid in a 2015 Ford F-150
Flush your 2015 F-150’s brake fluid every two years using DOT 3 fluid that meets FMVSS No. 116 standards. Start at the right rear wheel, using an 8mm or 10mm wrench and clear hose to bleed fluid until it runs clear amber. Follow the sequence: right rear, left rear, right front, left front. Keep the reservoir filled to “MAX” to prevent air entry. Use fresh, sealed fluid to avoid moisture contamination-your next steps guarantee complete system performance.
Notable Insights
- Start flushing at the right rear wheel, the farthest from the master cylinder, to ensure complete air removal.
- Open the bleeder valve slightly, depress the brake pedal slowly, and close the valve before the pedal reaches the floor.
- Use a clear plastic hose attached to the bleeder valve to monitor fluid flow and confirm removal of dark, contaminated fluid.
- Bleed each wheel in sequence: right rear, left rear, right front, then left front, topping off the reservoir to “MAX” after each.
- Use only fresh DOT 3 fluid meeting FMVSS No. 116; never mix with DOT 4 or DOT 5 to avoid system damage.
Why Your 2015 F-150 Needs a Brake Fluid Flush
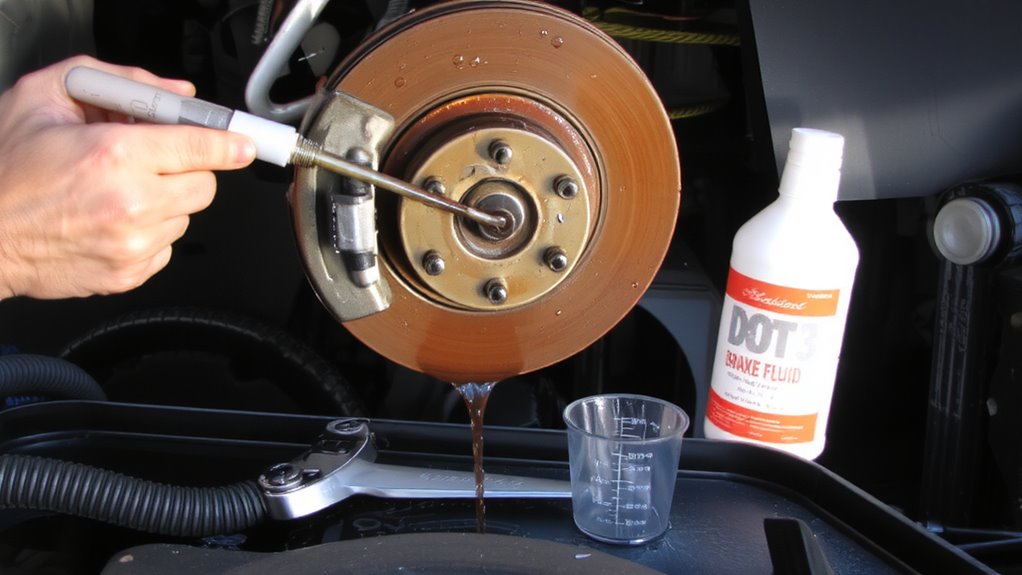
While brake fluid may seem like a minor component in your 2 assim F-150’s braking system, it plays a critical role in maintaining stopping power and safety. Brake fluid absorbs moisture over time, increasing fluid contamination risks. Moisture-laden fluid lowers the boiling point, compromising brake performance under heavy use. You’re also at greater risk of brake system corrosion, as water promotes rust in steel brake lines, calipers, and the master cylinder. Corrosion can lead to leaks or component failure, reducing system integrity. Ford recommends a fluid flush every two years to prevent degradation. DOT 3 brake fluid, specified for your F-150, has a minimum dry boiling point of 401°F-but wet fluid can drop below 300°F. Flushing removes contaminated fluid, restoring ideal hydraulic function and protecting internal components from long-term damage.
Choose the Right DOT 3 Brake Fluid for Your Truck
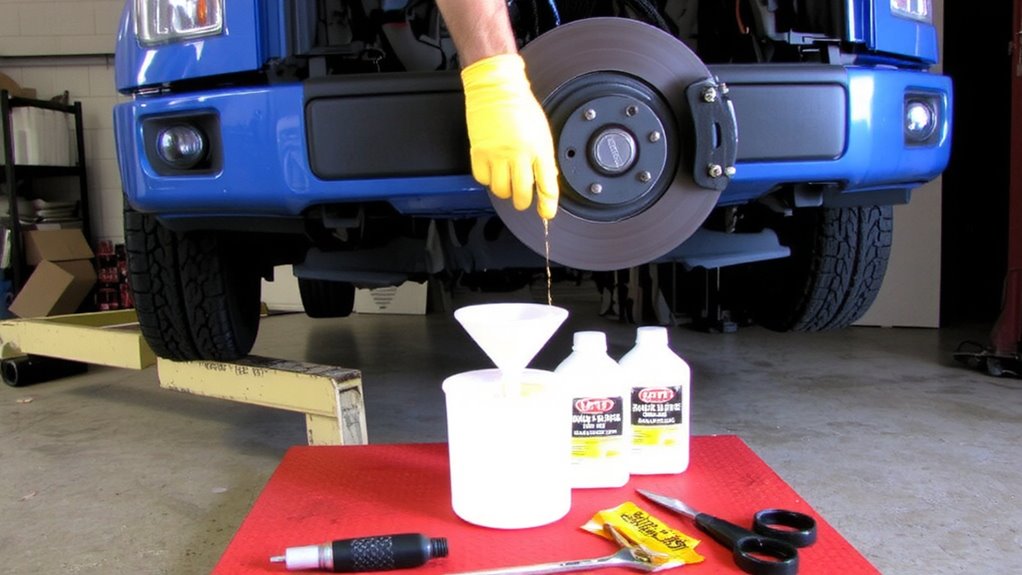
You need the right DOT 3 brake fluid to maintain your 2015 F-150’s braking efficiency and system longevity. DOT 3 fluid has a minimum dry boiling point of 401°F (205°C), essential for preventing vapor lock under heavy braking. A higher fluid boiling point guarantees consistent pedal feel and avoids brake fade. Your truck’s hydraulic system relies on non-compressible fluid to transfer force-any degradation risks performance. Fresh brake fluid is clear to light amber; brake fluid color darkens over time, signaling moisture absorption and chemical breakdown. Use only DOT 3 fluid meeting FMVSS No. 116 specifications. Avoid mixing with DOT 4 or DOT 5 fluids-chemical incompatibility can compromise seals and cause system failure. Always check the manufacturer’s date on the bottle. Old fluid absorbs moisture from the air, reducing effectiveness before it even enters the system.
Gather Your Brake Flush Tools and Supplies
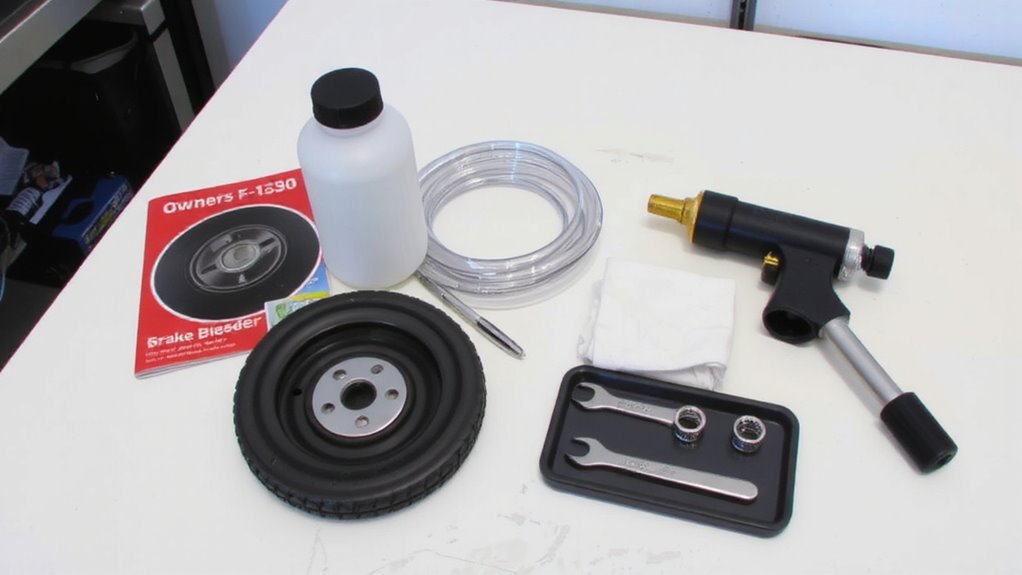
Start by collecting all the necessary tools and supplies to guarantee a clean, efficient brake fluid flush. You’ll need a wrench set, typically 8mm or 10mm, to fit the bleeder valves. A clear plastic hose, 3/16 inch in diameter, slips over the nipple to control fluid flow. Use a translucent catch container to monitor brake fluid color during drainage. DOT 3 brake fluid-specifically rated for your 2015 F-150-must be fresh and sealed to prevent moisture absorption. A hand vacuum pump or brake bleeder kit simplifies fluid extraction. Latex gloves and safety glasses are essential for protection. Perform fluid contamination checks by comparing old fluid to new; dark or murky fluid indicates degradation. Consistent brake fluid color throughout the system secures thorough flushing. Include lint-free rags and a funnel with a fine mesh filter for spill-free refilling.
Find the Brake Bleeder Valves at Each Wheel
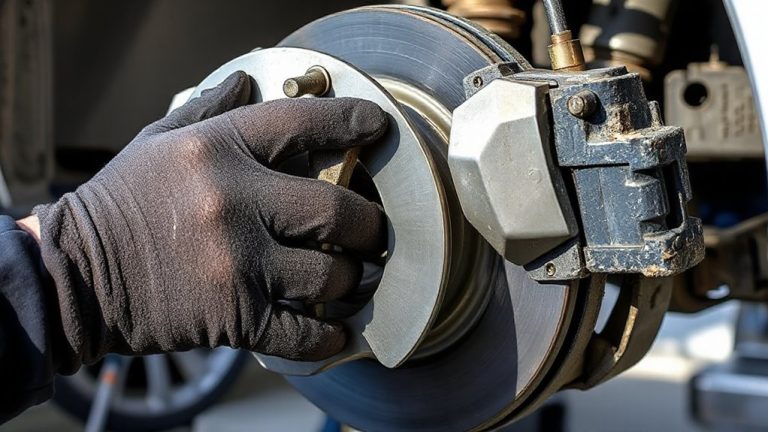
Each brake bleeder valve sits like a tiny gatekeeper at the corner of every wheel hub, controlling the release of old fluid from the caliper. You’ll find the brake caliper location behind each rotor, bolted over the rotor and against the spindle. The bleeder valve is a small hex-headed nipple, usually 8mm or 10mm, mounted on the top or rear of the caliper body. Use a flashlight to spot it easily. Before accessing it, you may need to remove the wheel. For wheel removal tips, loosen the lug nuts slightly before lifting the truck with a floor jack and securing it on jack stands. Remove all lug nuts completely once the wheel’s off the ground. Always place a drip pan beneath the caliper to catch residual fluid during inspection. Locate all four valves before starting the flush-this confirms system integrity and guarantees no valves are seized or corroded shut.
Flush Brake Fluid With a Helper
Once the bleeder valves are located and the system is prepped, begin the flush using a helper to maintain consistent pressure and proper fluid exchange. You’ll control the bleeder valve while your helper presses the brake pedal. Start at the wheel farthest from the master cylinder-typically the right rear. Open the valve slightly, then have your helper depress the brake pedal slowly. Close the valve before the pedal reaches the floor. Repeat this pump-and-hold cycle, watching for a steady stream of fluid. Monitor brake pedal feel-initially firm, it may soften as old fluid exits. Track fluid color observation through clear tubing: fresh DOT 3 or 4 fluid should appear clear to amber. Dark or murky fluid indicates contamination. Continue until new fluid flows consistently, ensuring complete hydraulic renewal without introducing air.
Bleed Air and Top Off the Reservoir
After completing the fluid exchange, you’ll need to remove any trapped air to guarantee peak braking performance-since air in the system is compressible and can cause a spongy pedal feel. Brake pedal firmness directly indicates how well the air has been purged. With the assistant pressing the pedal, bleed each caliper starting from the farthest-right rear, left rear, right front, then left front. Open the bleeder valve slightly, let fluid flow until bubbles cease, then close before the pedal drops fully. Repeat until the fluid runs clear. Check fluid contamination levels frequently; dark or cloudy fluid suggests residual debris. Top off the reservoir with DOT 3 or DOT 4 fluid to the “MAX” line after each wheel. Do not let the reservoir run dry-this reintroduces air. Properly bled brakes guarantee consistent response and maximum safety.
Test Your Brakes and Confirm Proper Operation
You’ve bled the air and topped off the reservoir-now it’s time to verify the brake system works as designed. Start by pressing the brake pedal several times. You should feel immediate brake pedal firmness. A spongy or soft response indicates trapped air or low fluid. Confirm proper operation with a slow test drive in a safe area.
| Test Condition | Expected Result |
|---|---|
| Light pedal pressure | Vehicle decelerates smoothly |
| Firm, sudden stop | Consistent stopping distance consistency |
| Repeated applications | No fade, pedal remains firm |
Perform multiple stops from 25 mph to check stopping distance consistency. The 2015 F-150 should stop in approximately 120 feet under dry conditions. Monitor for vibrations or pulling. Finalize only when brake pedal firmness and performance meet factory specifications.
On a final note
Your 2015 F-150 stops harder and safer with fresh DOT 3 fluid. Old fluid absorbs moisture, reducing boiling point from 401°F to below 300°F. Air in lines compresses, causing a soft pedal. Bleeding purges air and contaminants. Use only DOT 3-never mix types. Refill reservoir to minimum line with 180 ml capacity. Test drive at low speed. Confirm firm pedal and no warning lights.