How to Install Speakers in Vehicles With Non-Standard Mounting Cutouts
Measure your cutout diameter and mounting depth precisely-factory specs often vary. Match speaker size exactly and confirm 4-ohm impedance for amplifier safety. Use ABS adaptors or laser-cut brackets for a flush fit, avoiding vibration. Enlarge openings with a jigsaw if needed, holding to ±1/16″ tolerance. Seal baffles with butyl tape and acoustic foam to block air leaks. Airtight installation improves bass response below 200 Hz. Proper alignment guarantees balanced sound-further refinements await.
Notable Insights
- Accurately measure the non-standard cutout dimensions using a ruler or caliper to ensure speaker compatibility.
- Select a speaker that matches the exact cutout size and fits within the available mounting depth.
- Use custom brackets or adaptors for precise alignment and flush mounting in irregular openings.
- Carefully modify the mounting panel with a rotary tool if needed, maintaining tolerance and structural integrity.
- Seal speaker baffles with butyl tape or acoustic foam to prevent air leaks and reduce sound distortion.
Measure Non-Standard Cutouts Accurately
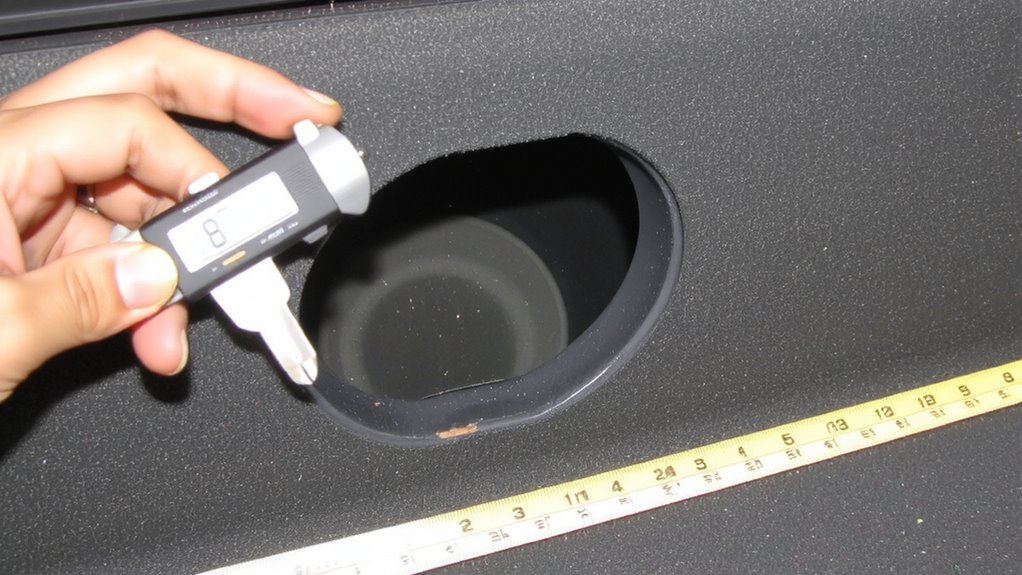
Precision begins with measurement-especially when dealing with non-standard speaker cutouts. You must measure the cutout diameter, depth, and speaker alignment points accurately. Use a ruler or caliper to confirm the opening’s inner diameter, as factory specs often vary. Mounting depth matters-measure from the mounting surface to the deepest rear obstacle. If the speaker’s mounting depth exceeds available space, it won’t fit flush, causing panel interference. Always compare these numbers with the speaker’s specifications. Misaligned speaker alignment leads to distorted sound and weak bass response. Even a 3mm discrepancy can prevent secure installation. Account for grilles, brackets, or backing plates that add depth. Double-check each dimension-front, rear, and diagonal-across irregular shapes. Accurate measurements guarantee correct fit, maximum performance, and protection against damage during installation.
Pick the Right Speaker for Odd Openings
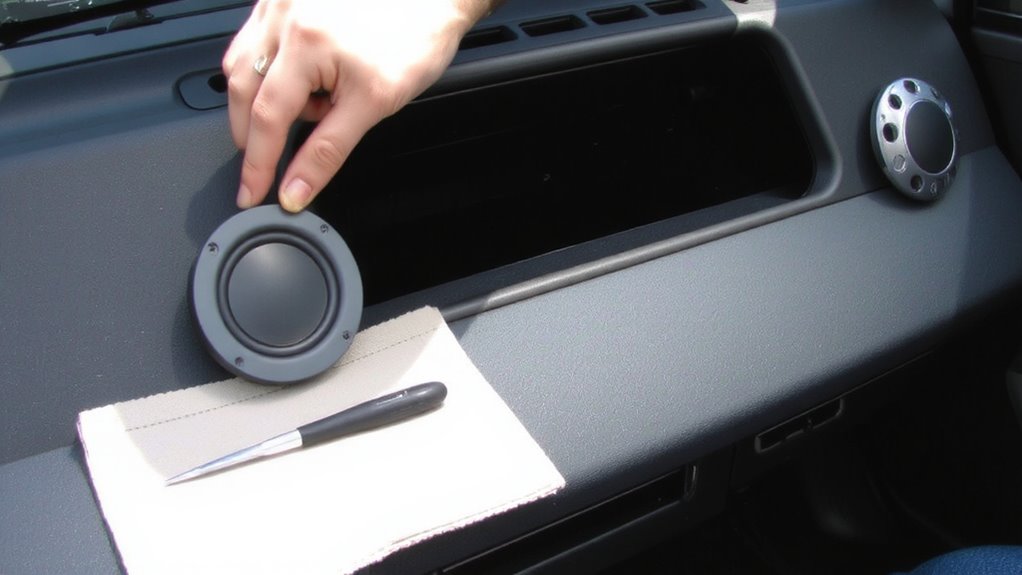
Speaker fit is non-negotiable when dealing with odd-sized openings. You must match speaker dimensions precisely to your measured cutout. If the speaker is too large, it won’t mount; too small, and it’ll rattle or gap. Choose a model with a mounting depth that fits your space without interfering with door mechanisms. Speaker impedance matters-most car audio systems are designed for 4-ohm speakers. Using a speaker with incorrect impedance can strain the amplifier or head unit. Match impedance exactly unless your system supports 2-ohm loads. Frequency response determines sound range. Look for 50 Hz–20 kHz for full-range clarity. A narrower response means missing bass or crisp highs. Prioritize models with flat frequency response curves for accurate sound. Read manufacturer specs carefully-these numbers directly impact performance and compatibility.
Use Adaptors or Custom Brackets for Fit
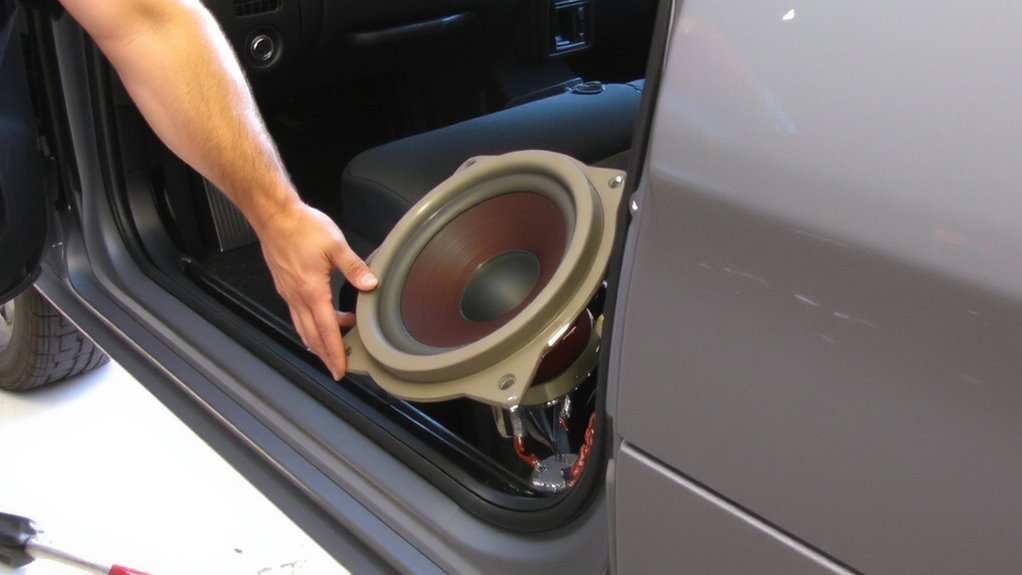
When off-the-shelf speakers don’t align with your vehicle’s mounting holes, adaptability becomes key. Adaptors and custom brackets solve speaker alignment issues effectively. Plastic or ABS adaptors, typically 0.5 to 0.75 inches thick, bridge size gaps between 4.5” and 6.5” speakers and non-standard openings. They maintain flush mounting, preventing vibration and sound distortion. For irregular shapes, aluminum or steel custom brackets offer rigid support; laser-cut precision guarantees a match within ±0.05 inches of speaker dimensions. These brackets secure the speaker firmly, minimizing movement during high-volume playback. Adaptors also simplify wiring integration by preserving factory wire harness access. Pigtail connectors or ISO adapters plug directly behind the mounting plate, reducing electrical interference. Proper fit guarantees consistent speaker depth, avoiding contact with grilles or doors. Use 10–12 mm mounting screws with locking washers for durability. This method maintains factory aesthetics while enhancing acoustic performance.
Cut or Adjust Panels for Secure Mounting
You’ve secured the right adaptors or brackets to match your speaker size and mounting depth, but sometimes factory panels still get in the way of a clean fit. In such cases, you’ll need to cut or modify the panel for proper installation. Use a rotary tool or jigsaw with a fine-tooth blade to carefully enlarge the opening, following the speaker’s outer diameter specs-usually within 1/16″ tolerance. Work slowly to prevent panel warping caused by excessive heat or pressure. Sand edges smooth to guarantee flush contact. Misalignment leads to alignment issues, which compromise both fit and performance. Test-fit the speaker frequently during adjustment. A secure, flat mounting surface prevents distortion and mechanical stress. Never rely on screws alone to pull a bowed panel into place-it worsens vibration and degrades sound. Accuracy now guarantees reliable, long-term speaker function.
Seal Speaker Baffles to Reduce Distortion
A speaker’s performance hinges on airtight baffles-any gap between the mounting surface and speaker basket undermines sound accuracy. Sealing guarantees proper acoustic insulation and prevents sound leakage that causes distortion. Use butyl rubber-based sealant or foam gaskets to close gaps. These materials also provide vibration damping, minimizing resonant frequencies that color audio output. Mounting on loose or flimsy surfaces leads to panel flex, degrading bass response and clarity.
| Material | Function |
|---|---|
| Butyl tape | Blocks air leaks, adds mass for vibration damping |
| Acoustic foam | Absorbs rear waves, improves acoustic insulation |
Apply sealant evenly-too little compromises the seal; too much risks speaker misalignment. A well-sealed baffle acts like a solid wall, letting the speaker perform as engineered. Proper sealing enhances efficiency, especially below 200 Hz, where wavelength sensitivity is high.
Test Audio and Adjust for Clear Sound
Why does your newly installed speaker system still sound off? You may have secured the speakers properly and sealed the baffles, but without testing and tuning, clarity remains compromised. Start by playing reference tracks with consistent frequencies-like jazz trios or acoustic sets-to assess output. Check volume balance across all channels; even a 3 dB difference between left and right speakers disrupts coherence. Use your head unit’s fader and balance controls to align levels precisely. Next, evaluate sound staging: the perceived location of instruments should form a phantom center image just above the dashboard. If vocals sound detached or skewed, reposition tweeters to align with ear level. Test at multiple volume levels-low, mid, and high-to guarantee distortion-free response. Fine-tuning guarantees peak imaging, volume balance, and accurate sound staging, delivering the full benefit of your installation effort and component quality.
On a final note
You’ve secured a precise fit for non-standard speaker cutouts. Measure openings to within 1/16 inch for accuracy. Use polypropylene or ABS adaptors matching your speaker’s outer flange diameter. Custom brackets must support 10+ lbs of dynamic load. Make sure baffles are sealed with closed-cell foam gaskets to prevent 3–5 dB sound loss. Test at 70–80 dB output; adjust crossover settings if distortion occurs above 120 Hz.