How to Lubricate Steering Column Shaft Coupling on a 2014 Honda Accord
You can stop the squeak by lubricating the steering column shaft coupling. Locate it above the brake pedal under the dash. Remove lower panels and disconnect the battery. Clean old grease with brake cleaner and a lint-free cloth. Apply a 0.5 mm layer of NLGI #2 lithium-based or molybdenum disulfide grease rated to 500°F. Rotate the wheel lock-to-lock to spread the grease. The noise should vanish with proper lubrication-and what comes next guarantees it stays gone.
Notable Insights
- Disconnect the negative battery terminal before starting to prevent electrical issues during the procedure.
- Remove lower dashboard panels using a trim tool to access the steering shaft coupling near the brake pedal.
- Unbolt the 7mm support bracket securing the coupling to gain proper access for cleaning and lubrication.
- Clean old grease and debris from the coupling with brake cleaner and a lint-free cloth, inspecting for damage.
- Apply a thin, even layer of high-temperature lithium or silicone grease to metal-rubber contact points and test with lock-to-lock steering turns.
Identify Steering Squeaks in Your 2014 Honda Accord
What causes that faint squeak when you turn the wheel in your 2014 Honda Accord? The sound often comes from a dry or worn steering column shaft coupling. This rubber and spring coupler connects the steering column to the intermediate shaft, dampening vibrations. If it dries out, you’ll hear a squeak, especially at low speeds or when turning from lock to lock. Steering wheel vibration may accompany the noise, worsening over time. Unlike suspension noise-which typically originates from control arms or struts and worsens over bumps-this squeak is directly tied to steering input. You can distinguish it by turning the wheel slowly while stationary. A rhythmic squeak synchronized with rotation indicates coupling wear. Inspect the coupling under the dash near the firewall for cracks, stiffness, or visible wear. Early diagnosis prevents further damage.
Gather Tools to Lube the Steering Coupling
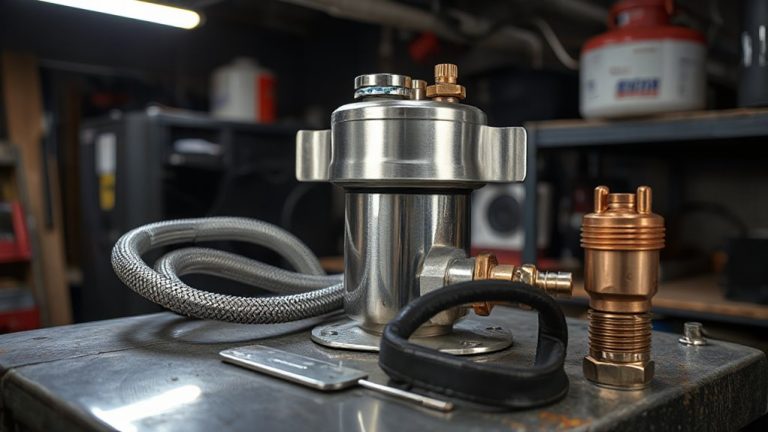
You’ll need a few essential tools and materials to properly lubricate the steering column shaft coupling on your 2014 Honda Accord. Proper tool selection guarantees efficiency and prevents damage. Gather a 10mm socket wrench, a 12-inch extension, and a ratchet. Include a flathead screwdriver for prying out retaining clips. Use lithium-based or silicone grease-each provides durable, temperature-resistant lubrication. A clean lint-free cloth helps remove old grease and debris. Wear safety gloves and eye protection; these safety precautions protect against sharp edges and contaminant exposure. Confirm the ignition is off and the key is removed before proceeding. Use dielectric grease if moisture resistance is needed, as it repels water and resists corrosion. Store all tools in a dry place post-use to maintain longevity. Always verify compatibility with OEM part specs.
Access the Shaft Coupling Under the Dashboard
Start by positioning yourself comfortably beneath the dashboard with the driver’s seat fully reclined. You’ll need to remove lower dashboard panels to access the steering column shaft coupling. Use a trim tool to carefully unclip the plastic fasteners and avoid damaging the brittle components. Dashboard removal requires disengaging two 7 mm bolts securing the support bracket. Once the panel is off, locate the shaft coupling near the base of the steering column. It connects the steering wheel to the intermediate shaft. Be cautious around nearby electrical connections-disconnect the negative battery terminal before proceeding to prevent shorts. The coupling sits just above the brake pedal, shielded by a rubber boot. Inspect the area for wear or debris, but don’t remove the coupling. Keep all wiring harnesses clear during inspection. Proper access guarantees precise lubrication without unnecessary disassembly.
Clean Old Grease From the Coupling
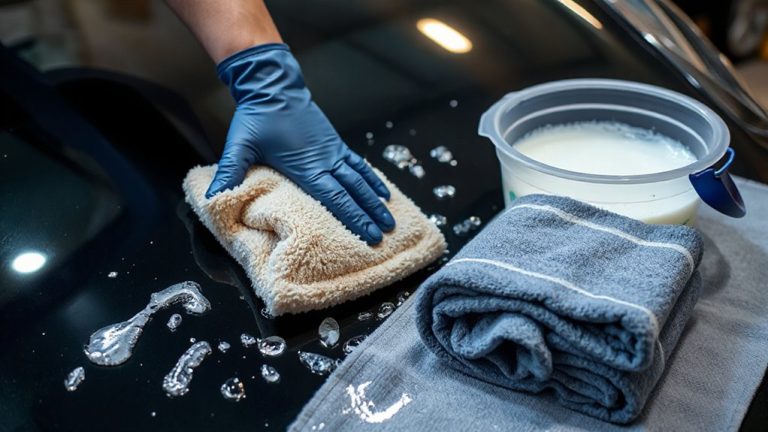
With the coupling exposed, begin by removing old grease to guarantee effective lubrication. Old grease accumulates debris and breaks down over time, leading to grease degradation that hampers performance. Use a lint-free cloth and brake cleaner to thoroughly wipe the coupling’s surface. Make certain all residue is cleared from grooves and contact points. Grease degradation increases friction and creates heat, accelerating wear. Left unaddressed, this raises corrosion risk, especially in humid or salty environments. Inspect metal surfaces for pitting or rust-if present, corrosion has likely started. A wire brush may be needed for stubborn deposits, but avoid scratching the metal. Clean until the shaft and coupling show bare, smooth metal. Proper cleaning guarantees new grease adheres correctly and functions as designed.
Apply High-Temperature Grease for Smooth Steering
Now that the coupling is clean and free of old residue, it’s time to apply a high-temperature grease to guarantee long-lasting, smooth steering performance. Use a lithium-based or molybdenum disulfide grease with proven temperature resistance up to 500°F (260°C). Proper grease application assures consistent lubrication under varying engine bay conditions. Apply a uniform 0.5 mm layer to all metal-to-rubber contact points. Avoid over-greasing-excess grease attracts dust and debris, accelerating wear. This specific grease resists oxidation and thermal breakdown, maintaining viscosity across extreme temperature cycles. It also reduces torsional friction between the shaft and coupling, preventing binding. The rubber insert expands slightly during operation; compatible grease maintains integrity without degrading elastomers. Always use OEM-recommended or equivalent spec fluids, like NLGI #2 grade. This assures peak flow and adhesion. Proper lubrication directly impacts steering precision and component longevity. For added vehicle maintenance protection, consider installing high-quality seat covers for Toyota Tundra to preserve interior longevity and resale value.
Test Steering and Confirm No More Squeaks
Once the coupling is properly lubricated, turn the steering wheel lock-to-lock several times to distribute the grease evenly across contact surfaces. This action guarantees full seating of the components and eliminates dry spots that may cause residual noise. After cycling the steering, verify proper steering wheel alignment by confirming the wheel is centered with the vehicle traveling straight on a level surface. Misalignment may indicate improper reassembly or suspension issues. Perform an electrical connection check at the clockspring and steering column connectors to confirm no pinched wires or loose terminals-intermittent airbag warnings often stem from disturbed connections. Test drive the vehicle at varying speeds, paying close attention to corners and low-speed maneuvers. If squeaks persist, reinspect the coupling for over-greasing or misalignment. A well-lubricated coupling should operate silently through 1,200 degrees of total rotation with no binding or resistance.
On a final note
You’ve successfully serviced the steering column shaft coupling. Proper lubrication prevents wear and eliminates noise. Use only high-temperature molybdenum disulfide grease (NLGI Grade 2, operating range -20°F to 350°F). Apply a 360-degree film, 0.5 mm thick, to the coupling’s ridges. Reassemble carefully. Test at multiple steering angles. No squeak means correct coverage. This procedure maintains OEM torque specs (34–38 lb-ft) and guarantees precise steering response. Repeat every 24,000 miles.