How to Protect Custom Painted Wheels From Chipping and Fading
Use automotive-grade urethane paint with a cross-linked polymer structure for 20–30% better impact resistance and durability up to 500°F. Apply 80–120 microns of film thickness after proper etching and priming to guarantee adhesion of 4B or higher. Seal with 2–3 mist coats of urethane or ceramic clear coat, each 1.5–2.0 mils thick, cured fully over 72 hours. Wash by hand using pH-neutral cleaners and deionized water. Reseal every 3–6 months with a SiO₂-enhanced polymer to maintain 9H hardness and UV protection. Avoid hard braking and rough roads to reduce stress. Fix chips immediately to prevent spread. More details on ideal products and application conditions follow.
Notable Insights
- Use automotive-grade urethane paint for superior chip and fade resistance with 20–30% better impact protection.
- Properly prep wheels with etching and priming to ensure strong adhesion and prevent premature paint failure.
- Apply a chip-resistant clear coat with 99% UV blocking in 2–3 mist coats for maximum durability.
- Clean wheels with pH-neutral soap and deionized water to avoid damaging the clear coat.
- Reseal every 3–6 months with ceramic or SiO₂-based sealants and drive smoothly to reduce stress.
Choose a Durable Paint for Long-Lasting Color
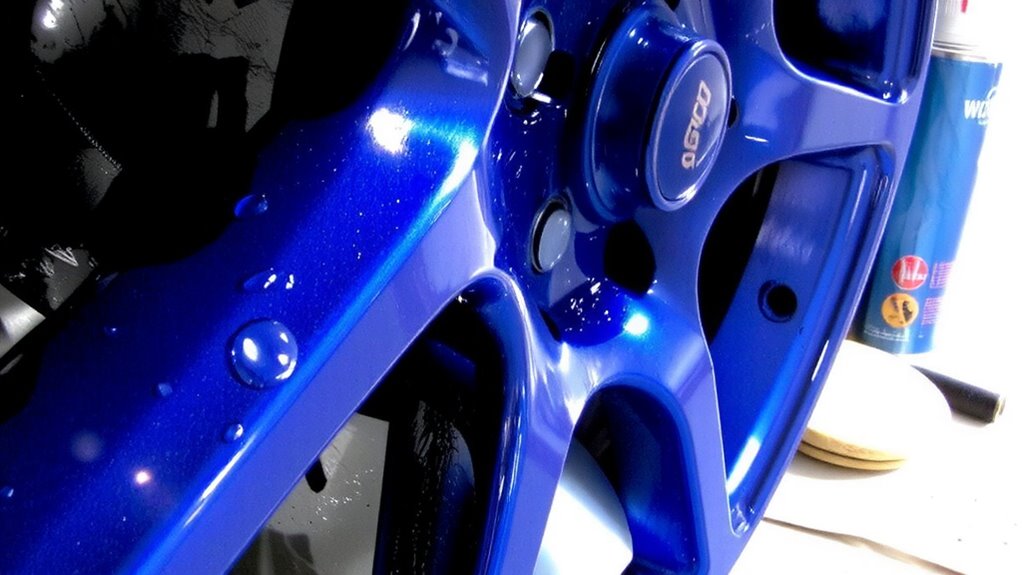
Though some paints may look great at first, they often fail under real-world stress, so choosing a durable formula matters most for long-term appearance. Your paint selection directly affects color durability, especially on wheels exposed to heat, abrasion, and UV radiation. Opt for automotive-grade urethane paints-they resist chipping and fading better than acrylics or enamels. These paints typically have a cross-linked polymer structure, offering 20–30% greater impact resistance. Most high-performance urethanes withstand temperatures up to 500°F, critical near braking systems. A paint with at least 2,000 hours of QUV accelerated weathering resistance guarantees long-term color retention. Proper surface prep-etching and priming-is required to achieve adhesion of 4B or higher on crosshatch tests. Without it, even premium paint fails prematurely. A film thickness of 80–120 microns optimizes coverage and resilience. Choose wisely-your paint’s chemistry determines how well color durability holds up. For top-performing options, consider one of the best wheel paint picks based on durability and user reviews.
Seal With a Chip-Resistant Clear Coat
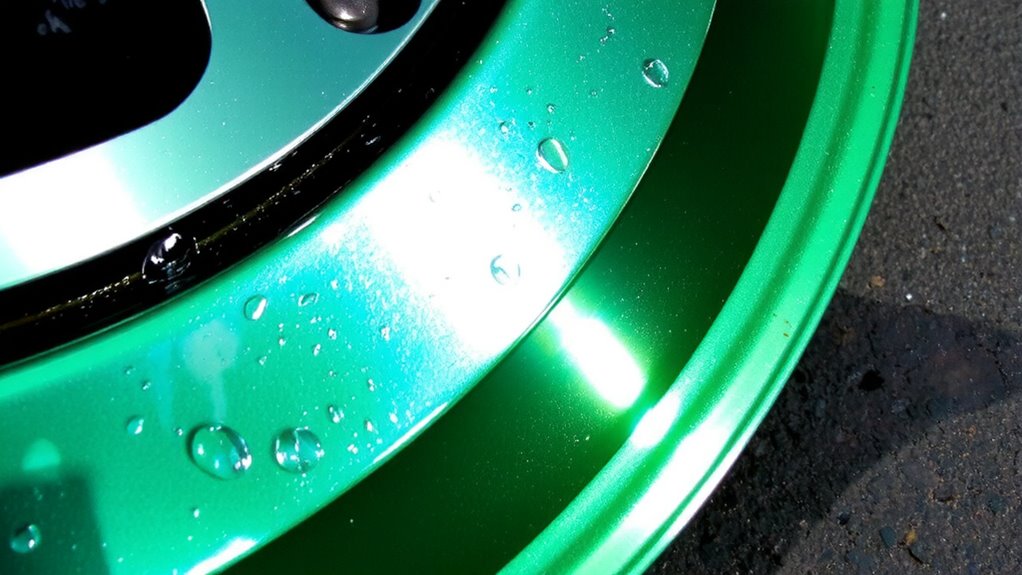
Every custom paint job needs a strong defense, and that starts with a chip-resistant clear coat. This protective layer shields against impacts from road debris, delivering essential scratch resistance. Clear coats formulated with urethane or ceramic compounds are ideal, offering up to 5 times the hardness of standard coatings. They absorb abrasion, preventing fine scratches during routine driving. Equally crucial is UV protection-high-quality clear coats block 99% of harmful UV rays, stopping oxidation and color fading. Apply 2 to 3 even mist coats, each 1.5 to 2.0 mils thick, to achieve best film build without runs. Flash between coats for 5–10 minutes at 70°F. Cure fully for 72 hours before exposure to elements. The result is a resilient, glossy barrier engineered to preserve color depth and finish integrity under real-world conditions. For long-term protection, consider top-rated best clear coat car products that combine durability with high-gloss clarity.
Wash by Hand Using pH-Neutral Cleaners
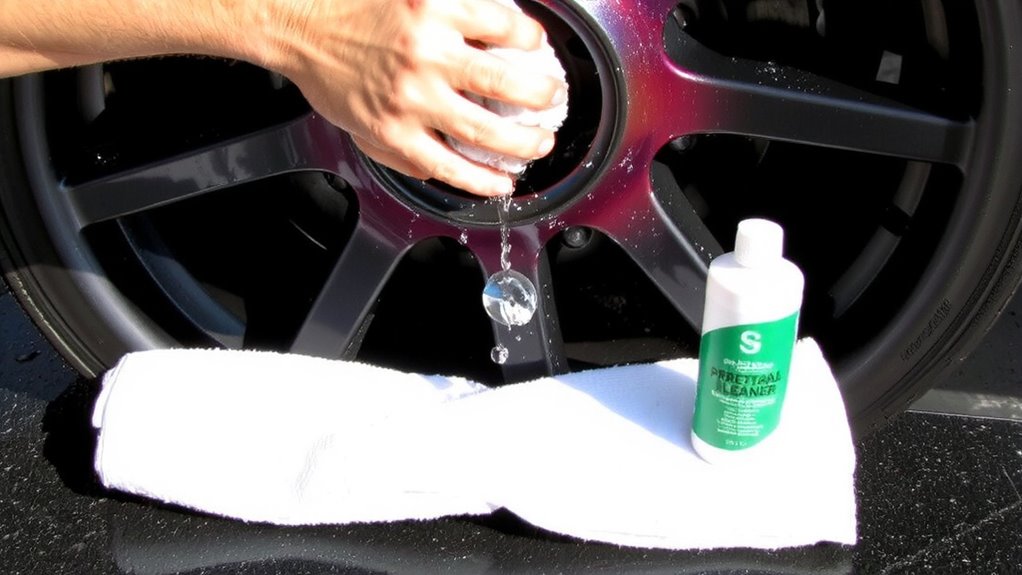
Hand washing with pH-neutral cleaners is the safest way to remove contaminants without damaging your custom finish. These cleaners maintain a balanced pH between 6.5 and 7.5, preventing etching or dulling of the clear coat. Always use cool to lukewarm water; extreme water temperature can stress the paint and cause micro-cracking over time. Avoid high-pH soaps or acid-based wheel cleaners-they strip protective layers. Use a soft microfiber mitt and work in shaded areas to prevent premature drying. Rinse thoroughly with deionized water to minimize mineral deposits. pH-neutral formulas are typically eco friendly, breaking down safely without harming aquatic life. Gently agitate dirt with a wheel brush designed for painted surfaces. Never let cleaning solution dry on the surface. Regular hand washing preserves finish integrity longer than automated systems. A durable finish benefits from proper vehicle selection, such as choosing the right best truck for landscaping when transporting equipment that could otherwise risk paint damage.
Reseal Every 3–6 Months for Maximum Protection
Regularly resealing your custom painted wheels every 3 to 6 months guarantees long-term protection against environmental contaminants and UV degradation. Reapplication maintains the clear coat’s UV protection, preventing paint fading and oxidation. Most high-quality sealants offer 3–6 months of durability under typical driving conditions. A fresh sealant layer reinforces the moisture barrier, blocking road salts, brake dust, and humidity from penetrating microscopic pores in the finish. Polymer-based sealants with SiO₂ or ceramic compounds increase surface hardness to 9H on the pencil hardness scale, enhancing resistance. This barrier reduces surface energy, causing water to bead and roll off contaminants. For best results, clean wheels thoroughly before applying a thin, even coat using an applicator pad. Allow 24 hours for full chemical curing. Proper resealing preserves gloss, depth, and finish integrity with minimal maintenance effort.
Drive Smooth to Protect Your Finish
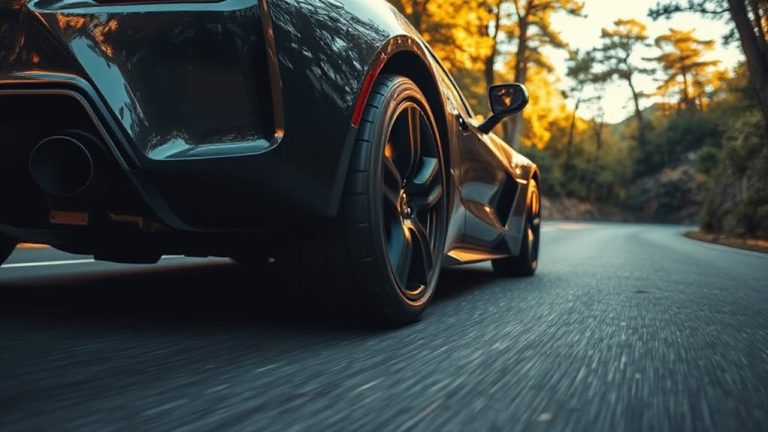
While aggressive driving might feel exhilarating, it’s one of the fastest ways to compromise your custom paintwork. Sharp turns, rapid acceleration, and hard braking generate excessive heat and friction, accelerating micro-cracking in the clear coat. Road debris impacts increase at higher speeds, raising the risk of stone chips. To protect your finish, reduce speed on rough or unpaved roads-especially above 35 mph, where impact force doubles. Constantly scan the road ahead to avoid potholes; hitting one at even 20 mph can flex the wheel, causing hairline fractures in the paint. These micro-damages worsen over time, leading to peeling. Smooth driving reduces vibration and stress on the bonded paint layers. Maintain steady speeds and use gradual steering inputs. Think of your wheels like precision instruments-jolts and shocks degrade structural integrity. Drive smooth, and your finish stays flawless longer.
Check for Chips and Fix Them Fast
A single chip in your custom wheel’s paint might seem minor, but it can compromise the entire finish if left untreated. Moisture and road contaminants seep into the exposed metal, accelerating corrosion. Regular wheel inspection-ideally weekly-lets you catch damage early. Examine spoke curves and outer rims closely; these zones face the most debris impact. For chip repair, use a precision touch-up pen matched to your wheel’s paint code. Apply thin layers, allowing 20 minutes of drying time between coats. Once cured, seal with a UV-resistant clear coat to prevent fading. Most repair kits include sanding pads and primers for edges exceeding 2mm in diameter. Ignoring even a 1mm chip risks undercoating delamination within six months. Immediate chip repair maintains structural integrity and finish value. Treat every blemish like a pressure breach-small, but potentially catastrophic over time.
On a final note
Your custom wheels need durable protection. Use high-solids urethane paint with 2K clear coat-it resists UV rays and has 80% chip resistance. Hand wash with pH-neutral cleaners to avoid degrading protective layers. Reapply ceramic sealant every 3–6 months; it offers 9H hardness and 110° water contact angle. Drive smoothly-impacts at 30+ mph cause microfractures. Inspect monthly; repair chips immediately with color-matched enamel to prevent corrosion.