Replace a Clutch Line With a Flare-Nut Wrench (No Leaks)
Use a flare-nut wrench to loosen and tighten the 10mm or 11mm fittings at the master and slave cylinders-you’ll prevent rounded edges on soft brass fittings. Drain the old fluid first using the bleeder valve and a 7mm wrench. Install the new 3/16-inch line following factory routing, securing it with OEM clips every 18–24 inches. Hand-thread fittings, then torque to 16–18 ft-lbs with a calibrated flare-nut wrench for a metal-to-metal seal rated up to 1,200 psi. Bench-bleed the master cylinder and pressure-bleed the system at 15–20 psi with DOT 3 or DOT 4 fluid until clear. A proper 45° (SAE) or 60° (ISO) flare angle guarantees leak-free performance-details on exact torque and bleeding steps follow.
Notable Insights
- Use a flare-nut wrench to tighten fittings evenly and prevent leaks caused by damaged, rounded edges.
- Drain clutch fluid before removal to minimize spills and avoid contamination during line replacement.
- Hand-thread new line fittings to ensure proper alignment and prevent cross-threading that leads to leaks.
- Torque fittings to 16–18 ft-lbs using a calibrated flare-nut wrench for a secure, pressure-tight seal.
- Bleed the system with DOT 3 or DOT 4 fluid until no air bubbles remain to ensure leak-free operation.
Use a Flare-Nut Wrench to Avoid Damaged Fittings
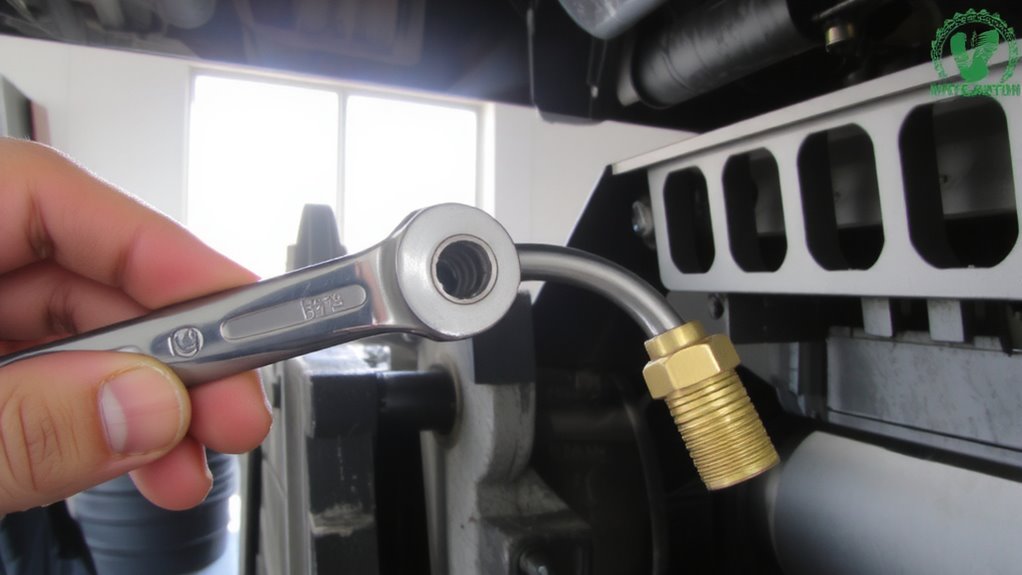
A flare-nut wrench is essential for removing and tightening brake and clutch line fittings without damaging them. Unlike standard wrenches, it grips the entire hex surface of the fitting, distributing force evenly. This guarantees reliable control under high hydraulic pressure. You avoid rounding edges or cracking the soft metal, which compromised tubing integrity leads to leaks. Flare-nut wrenches typically come in SAE sizes like 7/16″, 1/2″, and 9/16″, matching most OEM clutch lines. Their box-end design has a narrow opening, reducing slippage during torque application. Never use an adjustable wrench-you risk deforming the fitting. A proper fit prevents micro-fractures in the copper or steel tubing. These fractures compromise sealing surfaces and fail under repeated pressure cycles. Maintain consistent torque-usually 12–18 ft-lbs-using a calibrated torque wrench after initial hand-tightening. Correct tool use preserves both performance and safety.
Drain the Clutch Fluid Safely First
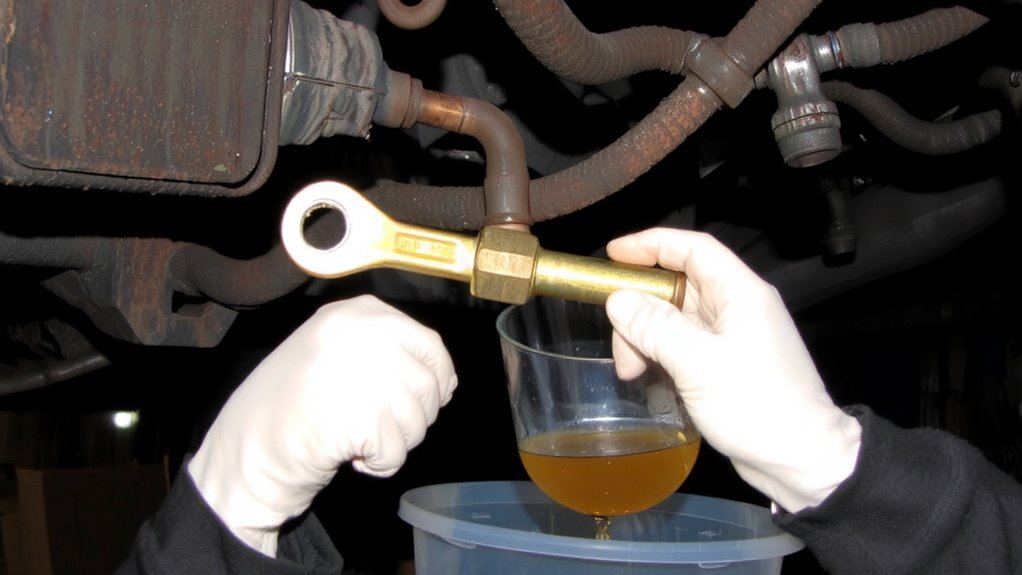
You’ve secured the right tool for the job-now it’s time to relieve system pressure before loosening any fittings. Begin by locating the bleeder valve on the clutch slave cylinder. Place a clean container underneath to catch fluid. Open the valve slowly using a 7mm or 8mm wrench, depending on your vehicle model. Allow the clutch fluid to drain completely. This prevents spills when disconnecting the line. Always follow proper safety precautions: wear nitrile gloves and protective eyewear. Clutch fluid is hygroscopic and corrosive-avoid skin contact and paint damage. Once drained, close the bleeder valve securely. Dispose of the old fluid responsibly. Check local regulations for clutch fluid disposal. Never pour it down drains or into trash. Use a sealed, labeled container for transport to a certified recycling center. This step guarantees environmental safety and compliance.
Remove the Old Clutch Line Without Spills
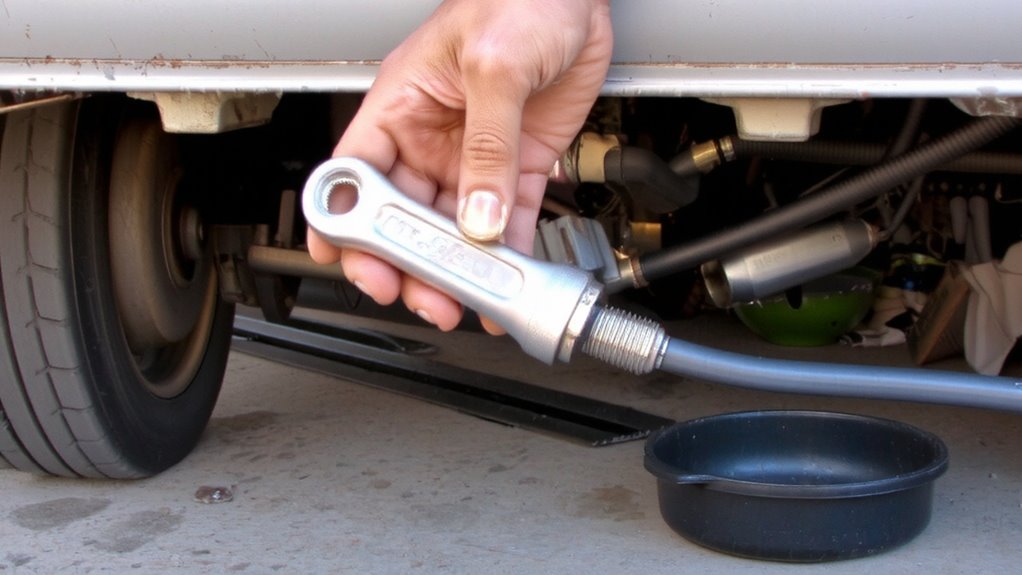
With the clutch fluid drained and the bleeder valve closed, focus shifts to detaching the old clutch line without leakage. Use a flare-nut wrench to loosen the fittings at both ends of the line-this guarantees a clean disconnect without rounding the nuts. The flare-nut wrench fits snugly over the 10mm or 11mm hex fitting, depending on your vehicle, reducing slip and spill risk. Before full removal, perform a quick clutch inspection to check for cracks, corrosion, or deformation along the metal tubing. Note any routing differences that might affect brake compatibility, especially in combined hydraulic systems. Misalignment or improper fit can compromise both clutch and brake function. Support the line gently as you disconnect it to catch residual fluid. Work methodically-rushing increases spill chances. Once free, cap the master and slave cylinder ports immediately to prevent contamination.
Install and Secure the New Clutch Line
Once the old clutch line is removed, begin installing the new one by matching its length and diameter to the original-typically 3/16-inch outer diameter steel tubing with ISO or SAE flare standards, depending on your vehicle. Proper clutch alignment guarantees smooth engagement and prevents undue stress on fittings. Follow the factory line routing exactly to avoid kinks, contact with moving parts, or heat sources like the exhaust manifold. Secure the line with OEM-spec clips every 18–24 inches to prevent vibration damage.
| Factor | ISO Standard | SAE Standard |
|---|---|---|
| Flare Angle | 60° | 4 received |
| Common Use | European, Asian vehicles | Domestic U.S. vehicles |
| Thread Type | Metric | Imperial |
Correct line routing and precise clutch alignment prevent fluid restriction and premature failure. Use copper washers where specified and inspect for interference before proceeding.
Tighten Fittings With a Flare-Nut Wrench
After the new clutch line is properly routed and secured with OEM clips, the next step is tightening the fittings to guarantee a leak-free hydraulic connection. Use a calibrated flare-nut wrench to guarantee accurate torque application. Wrench calibration prevents under-tightening, which causes leaks, or over-tightening, which damages the fitting. Start by hand-threading both ends to preserve thread integrity and check fitting alignment. Misalignment stresses the flare and leads to cracks under pressure. The flare-nut wrench grips six flats securely, reducing slippage compared to standard wrenches. Tighten the fitting to 16–18 ft-lbs (22–25 Nm), aligning with most OEM specifications. Apply steady, even force-avoid jerking motions. Proper calibration and alignment guarantee metal-to-metal sealing at the flare seat. This creates a pressure-tight joint capable of handling clutch system demands up to 1,200 psi.
Bleed the Clutch for Smooth Engagement
Why does your clutch pedal feel spongy or fail to disengage the transmission smoothly? Air in the hydraulic system is the likely culprit. Bleeding removes trapped air to restore firm pedal feel and precise engagement. Begin with bench bleeding the master cylinder before installation-this prevents initial air entry. Attach a hose to the outlet and slowly depress the piston until fluid flows without bubbles. Then, install the cylinder and connect the line. Use pressure bleeding for fastest results. Attach a pressurized fluid container to the master cylinder cap, forcing fluid through the system at 15–20 psi. Open the bleeder valve at the slave cylinder and let fluid flow until no air bubbles appear. Use DOT 3 or DOT 4 fluid per manufacturer specs. Proper bleeding guarantees consistent hydraulic pressure and smooth clutch engagement.
On a final note
You’ve replaced the clutch line correctly when no leaks appear. Use a 10-mm flare-nut wrench to tighten fittings to 12 ft-lbs torque. Flare-nut wrenches grip hex fittings evenly, preventing rounding. After installation, bleed the system until fluid flows clear and free of bubbles. DOT 3 or DOT 4 fluid must meet ISO 4925 standards. A properly bled clutch guarantees full disengagement. Check for dampness after repeated pedal use.