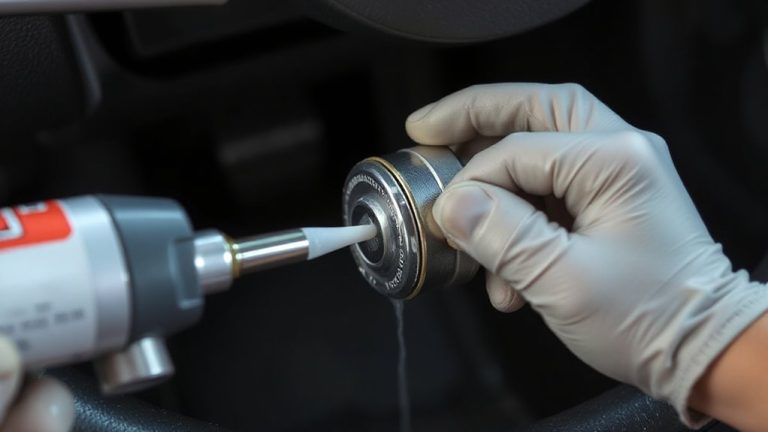
2011 Ford Focus Rear Brake Pads: DIY Replacement Guide
Lift your 2011 Ford Focus on level ground using a floor jack and secure it with jack stands. Remove the lug nuts with a wrench, then take off the rear wheel. Slide out the old brake pads and inspect the rotor for grooves or runout exceeding 0.05 mm. Compress the caliper piston with a C-clamp, apply brake lubricant to pad contact points, and install new pads. Reattach the caliper, torque guide pins to 25 ft-lbs, remount the wheel, and pump the brake pedal to restore pressure-proper setup guarantees peak pad seating and braking performance.
Notable Insights
- Lift the vehicle with a jack and secure it on jack stands before removing the rear wheels.
- Remove the caliper bolts, slide out the old brake pads, and inspect the rotor for damage or excessive wear.
- Compress the caliper piston using a C-clamp before installing the new brake pads.
- Apply brake lubricant to pad contact points and install new pads securely into the caliper bracket.
- Reattach the caliper, torque bolts to 25 ft-lbs, remount the wheel, and test brakes at low speed after bleeding if necessary.
Gather Tools and Prepare the Ford Focus
Before starting the brake pad replacement, make sure you have all the necessary tools and the vehicle is safely prepared. You’ll need a jack, jack stands, a lug wrench, a C-clamp, and a 10mm socket. Lift the car securely and guarantee it’s on level ground. The parking brake must be disengaged for proper wheel removal and brake work. Check the brake fluid level in the master cylinder reservoir-top it off if low, but avoid overfilling to prevent spillage during piston retraction. Improper brake fluid level can lead to spongy pedal feel or air in the system. A correct parking brake adjustment is critical; too tight, and the pads drag; too loose, and the rear brakes won’t hold. Use a torque wrench to tighten lug nuts to 100 ft-lbs upon reassembly. Proper prep guarantees safety and correct function.
Remove the Rear Wheel and Access the Brake Pads
Start by loosening the lug nuts on the rear wheel while the car is still on the ground-this prevents the wheel from spinning and makes removal easier. Use a breaker bar or torque wrench to break them free; the recommended wheel lug torque is 100 ft-lbs. Once loose, raise the vehicle with a floor jack and secure it on jack stands. Remove the lug nuts completely and pull the wheel straight off. Inspect the exposed brake assembly carefully. Brake pad corrosion can occur in humid environments or after prolonged exposure to road salts, leading to seized caliper bolts or stuck pads. Check for rust buildup around the pad edges and caliper housing. If corrosion is present, apply penetrating oil before proceeding. Clean debris from the caliper and backing plate to guarantee safe, unobstructed access. Proper cleaning now prevents complications during pad replacement.
Take Out Old Pads and Inspect the Rotor
With the wheel off and the brake assembly exposed, you can now remove the old brake pads and assess the rotor’s condition. Start by sliding out the worn pads from the caliper bracket. Check for uneven brake pad wear, which may indicate misalignment or seized hardware. Measure pad thickness; if it’s below 3 mm, replacement is necessary. Next, inspect the rotor surface condition. Look for scoring, grooves, or cracks deeper than 0.8 mm, as these compromise braking performance. A smooth, even rotor surface guarantees maximum friction. Minor scarring can be resurfaced, but excessive damage requires rotor replacement. Verify lateral runout with a dial indicator-acceptable tolerance is under 0.05 mm. Always assess both rotors. Proper inspection prevents noise, vibration, and reduced stopping power. Safety and performance depend on these details.
Compress the Caliper Piston and Install New Pads
You’ll need to compress the caliper piston before installing the new brake pads, as the worn pads have created extra space the piston must now retract to accommodate. Use a C-clamp or piston-compression tool to slowly press the piston back into the caliper bore. This guarantees proper fitment of the new, thicker pads. Once retracted, apply a small amount of brake lubricant to the pad’s metal backing and contact points-never on friction surfaces. Lubrication reduces noise and prevents sticking. Check pad alignment carefully; the pads must sit flush and fully contact the rotor without binding. Misalignment causes uneven wear and reduced braking performance. Confirm the pad ears fit securely in the caliper bracket grooves. Proper alignment maintains consistent caliper movement during operation. Always inspect the piston boot for tears during compression. Replace the caliper if damage is evident.
Reassemble and Test the Rear Brakes
After confirming the new brake pads are properly seated and the caliper piston is fully retracted, reattach the caliper to the mounting bracket using the guide pins. Tighten the bolts to 25 ft-lbs using a torque wrench to guarantee secure, vibration-resistant fitment. Reinstall the wheel and lower the vehicle. Check the brake fluid level in the reservoir-brake compression often raises fluid, so guarantee it’s between “MIN” and “MAX” to prevent overflow or low pressure. Top off with DOT 3 fluid if needed. Before any test drive safety check, pump the brake pedal several times to restore system pressure. Perform a cautious test drive at low speed, verifying even brake response and absence of noises. Avoid hard stops for the first 100 miles to allow pad bedding. Monitor for warning lights, vibrations, or sponginess, which indicate air in the lines or improper installation. For accurate measurements during brake inspections, consider using tools from top caliper brands.
On a final note
You’ve completed the rear brake pad replacement on your 2011 Ford Focus. Always use a torque wrench to tighten lug nuts to 100 lb-ft. Test brakes at low speed before normal driving. Properly bed-in new pads with six to eight moderate stops from 35 mph. This guarantees maximum friction transfer. Listen for abnormal noises. Inspect rotors every 15,000 miles. Well-maintained brakes guarantee safety and performance.