How to Use a Paint Thickness Gauge to Detect Hidden Repairs During Car Detailing
You use a paint thickness gauge to detect hidden repairs by first cleaning the surface with isopropyl alcohol and calibrating the device on bare metal. Take measurements on flat panels like the hood or doors, avoiding curves. Normal factory paint measures 80–160 microns; readings above 180 or differences over 30 microns between panels signal repainting or filler. The gauge detects thickness via magnetic induction or eddy currents, revealing inconsistencies invisible to the eye. High or low values point to overspray, sanding, or poor refinishing. Consistent mapping across symmetrical surfaces highlights anomalies. Further insights into interpreting subtle discrepancies follow.
Notable Insights
- Clean and dry the surface with isopropyl alcohol before measuring to ensure accurate paint thickness readings.
- Calibrate the gauge using the zero plate or calibration foil to maintain measurement accuracy within ±2%.
- Take measurements on flat, accessible panels like the hood or doors to ensure consistent sensor contact and reliable results.
- Compare readings across symmetrical panels, flagging differences over 30 microns as potential signs of hidden repairs.
- Identify suspicious areas with readings below 80 µm or above 180 µm, which may indicate sanding, overspray, or repainting.
How to Measure Paint Thickness Accurately
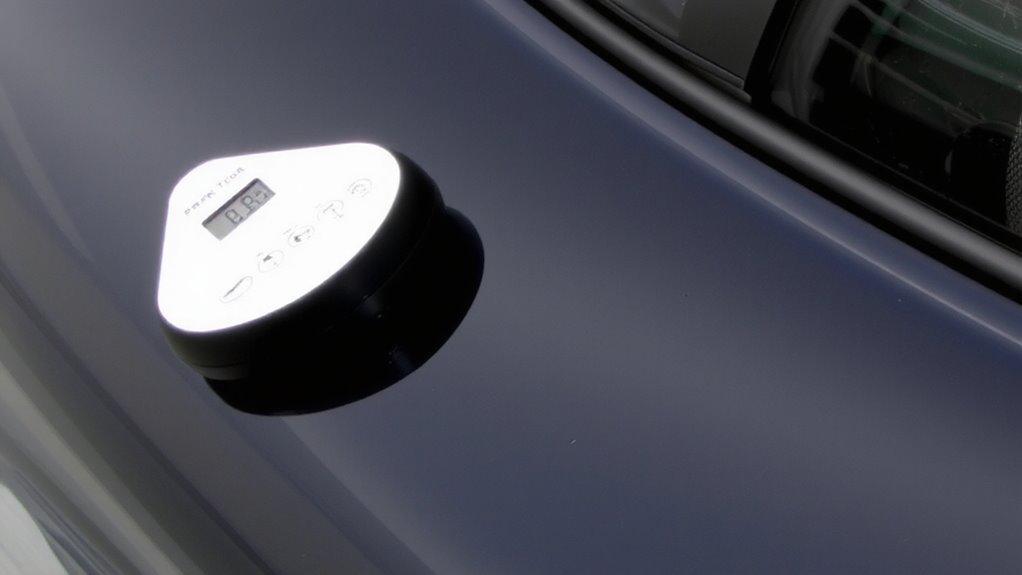
When measuring paint thickness accurately, start by making sure the surface is clean and dry, as contaminants can skew readings. Surface preparation is critical-remove wax, dirt, or grime with isopropyl alcohol. Let the area dry completely. Turn on your gauge and perform calibration techniques using the supplied zero plate or calibration foil. Most digital gauges require a zero check on bare metal; deviations beyond ±1 micron need recalibration. Hold the gauge perpendicular to the surface, applying light, consistent pressure. Take multiple readings within a 1-inch radius to account for inconsistencies. Magnetic induction gauges work best on steel panels, while eddy current types suit aluminum. Typical OEM paint ranges from 80 to 130 microns; readings above 160 may indicate overspray or repairs. Document each measurement for comparison. Proper calibration techniques and surface preparation guarantee precision within ±2%.
Where to Use a Paint Thickness Gauge for Best Results
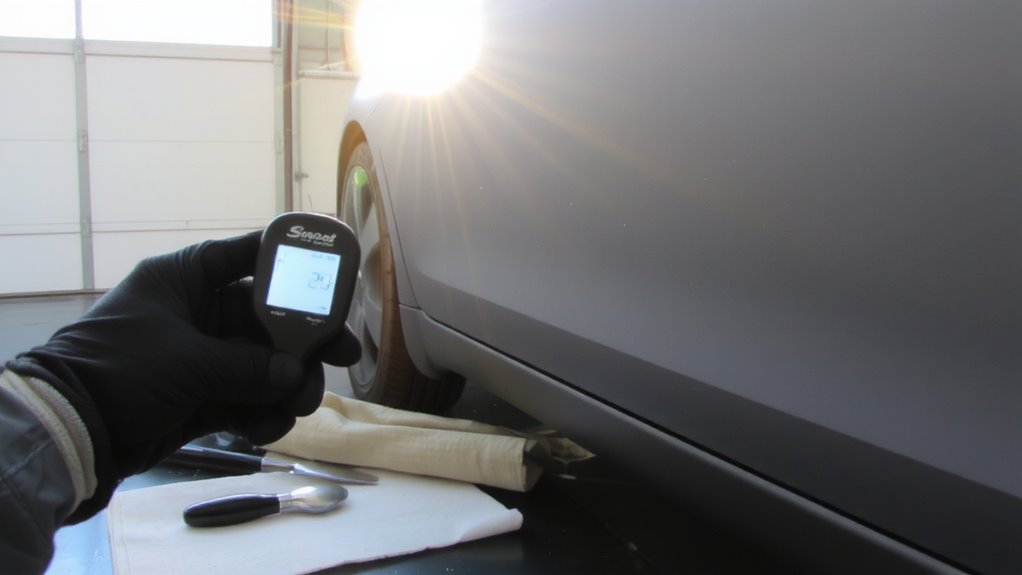
A paint thickness gauge delivers the most reliable results when used on flat, accessible vehicle panels with minimal contour. Focus on areas like the hood, roof, trunk lid, and doors-surfaces that offer better surface consistency and are less prone to measurement distortion. These panels typically show clear panel symmetry when factory-finished, making deviations easier to detect. Measure multiple points across each panel, maintaining consistent pressure and angle to avoid skewed readings. Avoid heavily curved or recessed sections, as irregular geometry interferes with sensor accuracy. Factory stampings and flat expanses provide stable contact, improving repeatability. Surface consistency allows the probe to deliver uniform electromagnetic flux or ultrasonic waves, depending on your gauge type. Panel symmetry between left and right sides helps confirm original, undamaged surfaces. Use these reference zones first to establish baseline thickness before inspecting suspected areas.
Normal vs. Suspicious Paint Thickness Readings
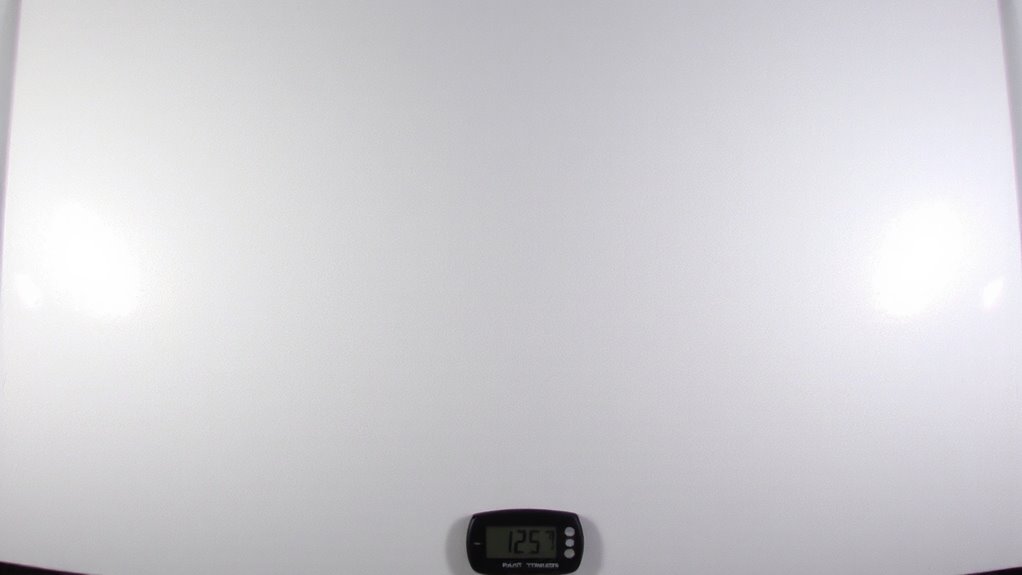
Though paint thickness can vary slightly across factory panels, you’ll typically expect readings between 100 and 160 microns (4 to 6.5 mils) on most modern vehicles. This range indicates a factory-applied finish with minimal surface variation. Readings outside this band suggest potential issues. Coating inconsistency above 180 microns often points to overspray from repainting. Values below 80 microns may indicate sanding damage or thin factory application. Consistent spikes or dramatic thickness shifts between adjacent panels reveal underlying repairs. You should flag differences exceeding 30 microns as suspicious. Surface variation within a single panel should be under 10 microns; larger deviations imply poor refinishing. Always compare like-for-like areas-door skins, fenders, hoods-to identify anomalies. Stick to calibrated, non-destructive testing. Trust the numbers: they expose what the eye can’t see.
How Your Paint Thickness Gauge Detects Repairs
Because paint thickness often tells the hidden story of a vehicle’s history, your gauge becomes a critical tool for spotting repairs. It sends a magnetic or eddy current signal through the coating, measuring the distance between the metal substrate and the probe tip. Variations in readings indicate inconsistencies from oversanding, filler use, or repainting. Differences in paint chemistry between original and repair coatings can alter density and dielectric properties, affecting accuracy. Your gauge compensates using calibration settings for steel or aluminum. Poor surface adhesion in repaired areas often leads to uneven buildup, which the gauge detects as abnormal peaks or drops. Readings beyond OEM specs-typically 80–180 microns-suggest intervention. By scanning multiple panels and comparing results, you identify mismatches invisible to the eye, ensuring transparency in a vehicle’s finish history.
What High and Low Readings Mean After Repairs
Your paint thickness gauge doesn’t just flag repairs-it reveals their quality and scope through measured values. High readings often indicate excess material from poor paint blending or thick surface priming. Low readings suggest oversanding or thin application, risking durability. Understanding these values guarantees accurate repair assessment.
| Area Tested | Normal Range (µm) | Interpretation |
|---|---|---|
| OEM Panel | 90–140 | Factory finish, no repair |
| Repaired Hood | 180–220 | Excess primer or poor blending |
| Fender Edge | 60–80 | Oversanded, inadequate coverage |
| Door Panel | 130–160 | Acceptable repaint with proper priming |
Consistent measurements across panels confirm quality work. Sudden spikes imply hidden damage or rushed paint blending. Always compare adjacent zones. Surface priming should add uniform thickness-typically 40–60 µm-not uneven bulges. Accurate readings protect your detailing investment.
Pro Tips for Using a Paint Thickness Gauge Like a Pro
When used correctly, a paint thickness gauge becomes a precision diagnostic tool rather than just a number reader. You must master calibration techniques before each use-zero the device on an untreated factory panel to guarantee accuracy. Always clean the surface first; contaminants skew results. Take multiple readings within a 1-inch grid to detect surface variations that suggest bodywork. Factory paint typically measures 80–160 microns; readings above 220 indicate potential overspray or repairs. Use a dual-function gauge capable of measuring both ferrous and non-ferrous substrates for maximum versatility. Hold the gauge perpendicular to avoid skewed data. Temperature affects readings-avoid use below 50°F (10°C). Record measurements with location tags for comparison. Consistent technique eliminates false positives and reveals true inconsistencies. This methodical approach turns raw data into reliable evidence of hidden work.
On a final note
You now know how to use a paint thickness gauge effectively. These tools measure coating thickness in microns, typically ranging from 0–2,000 µm, with accuracy within ±3%. Consistent readings suggest original factory paint. Sudden spikes indicate overspray or thick touch-ups. Low values may reveal sanding damage. Always calibrate on bare metal first. Take multiple readings near seams and edges. Variations over 100 µm between adjacent panels signal hidden repairs.