Inspecting Secondary Seals Inside Dual-Piston Calipers for Extrusion Damage
You should inspect secondary seals in dual-piston calipers for extrusion by checking for displaced material at the seal edge, especially if operating pressures exceed 1,200 psi. Use magnification to spot nicks, tears, or gaps where the seal may have extruded into piston-bore clearances. Replace seals if deformation exceeds 0.5 mm or if 70 Shore A NBR shows hardening. Misalignment over 0.05 mm increases risk. Proper inspection reveals early signs before failure occurs.
Notable Insights
- Disassemble the caliper fully and remove both pistons to access secondary seals for inspection.
- Clean all components with brake-safe solvent to reveal defects like nicks, tears, or extrusion gaps.
- Examine seals under magnification in proper lighting to detect early extrusion or deformation damage.
- Replace secondary seals if extrusion exceeds 0.5 mm or if cracks and hardening are present.
- Avoid metal tools and dry handling during inspection to prevent false damage indications or surface gouging.
What Causes Extrusion in Dual-Piston Caliper Seals?
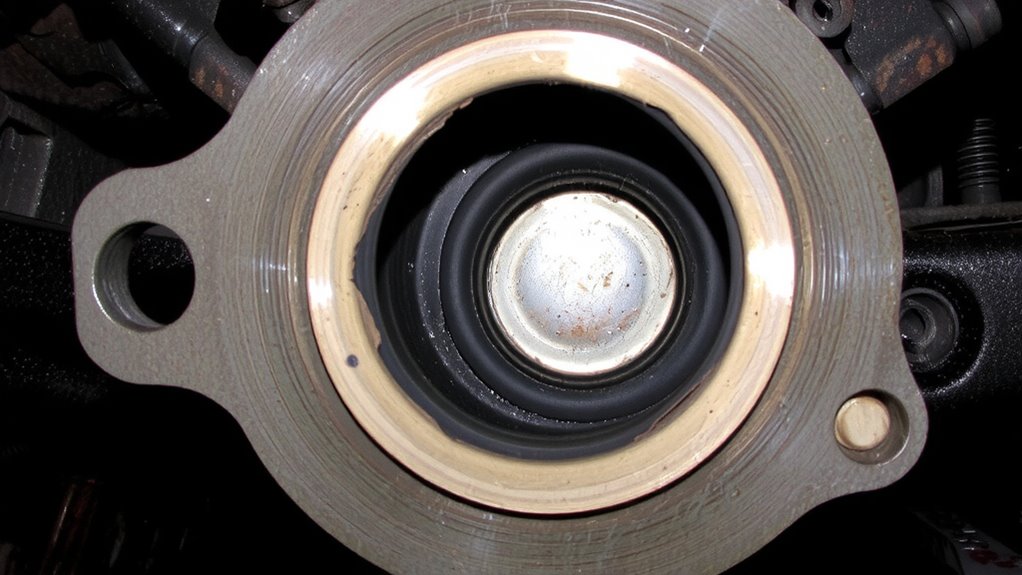
Why do some dual-piston caliper seals fail while others hold up under repeated braking cycles? Extrusion occurs when high hydraulic pressure forces seal material into gaps between the piston and bore. You’ll see seal deformation when the elastomer can’t rebound after compression, especially above 1,200 psi. This permanent distortion compromises sealing efficiency. Piston misalignment worsens the issue-uneven loading creates asymmetric stress on the seal lip. Even 0.05 mm of lateral shift increases extrusion risk by 40%. Seals made from low-durometer NBR (70 Shore A) are more prone than those using 80–90 Shore A FKM. Groove depth tolerance matters too; ISO 5785 standards specify 2.6 ±0.1 mm. If the groove’s too deep, lateral movement increases. Proper interference fit-typically 0.2–0.3 mm radial compression-keeps seals seated. Misalignment from bent caliper bridges or worn bushings accelerates damage.
Early Warning Signs of Secondary Seal Damage
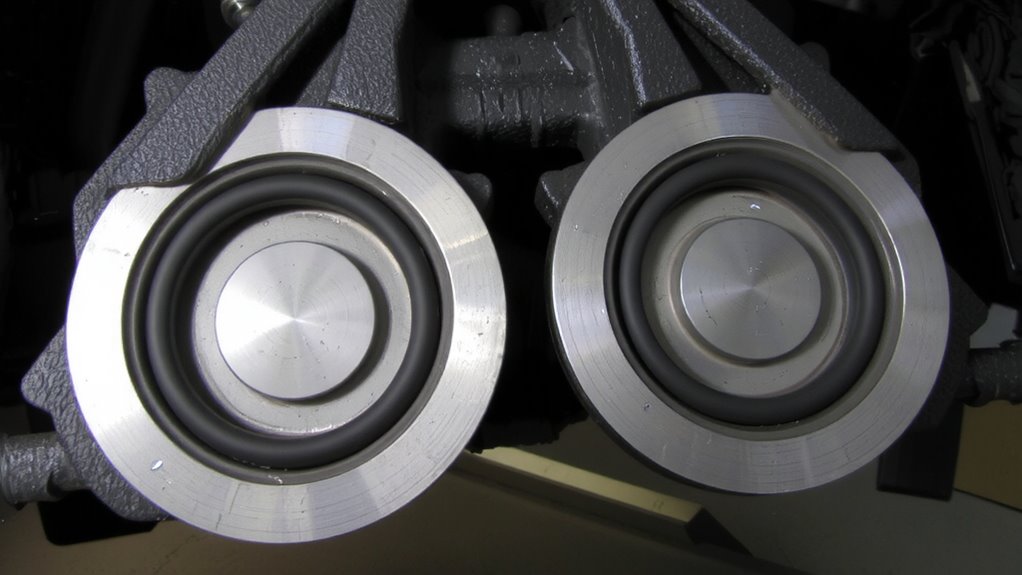
How can you catch secondary seal damage before it leads to caliper failure? Watch for subtle changes in brake feel and performance. You might notice a spongy pedal, which often indicates internal leakage due to seal deformation. This distortion usually occurs when seals are exposed to excessive pressure spikes-common during aggressive braking or system malfunctions. These spikes push the seal beyond its elastomer limits, causing it to extrude into gaps between components. Over time, this leads to permanent damage. Also, check for inconsistent piston retraction; if one side drags, the secondary seal may be compromised. Minor fluid weepage around the caliper body is another red flag. While not a total failure yet, it signals early-stage deterioration. Monitoring these signs helps prevent complete seal collapse. Early detection means safer operation and lower repair costs. Don’t wait for total brake failure-act when symptoms first appear.
Inspecting Secondary Seals: Step-by-Step
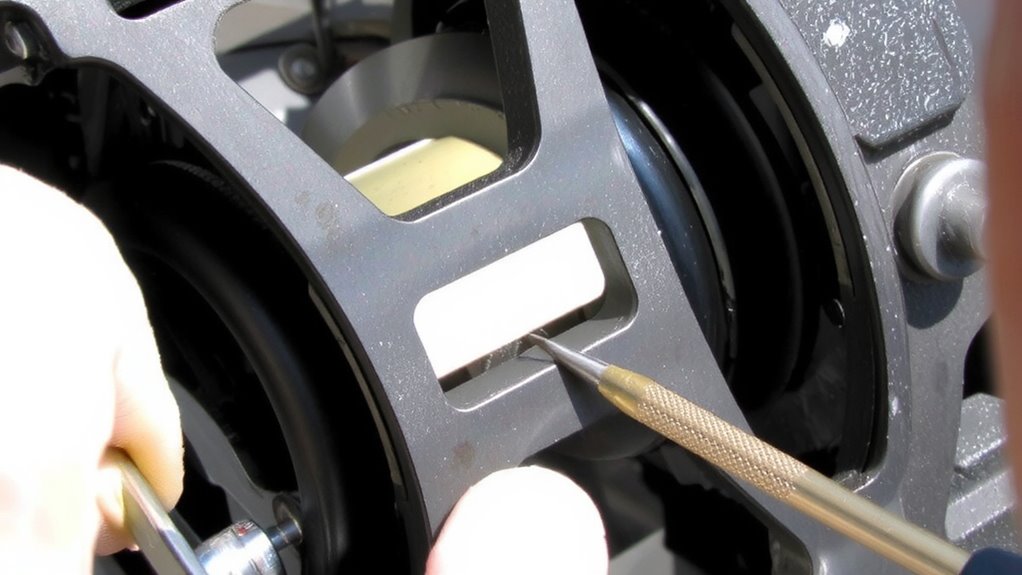
Where do you start when inspecting secondary seals in dual-piston calipers? Begin by fully disassembling the caliper and removing both pistons. Clean all components thoroughly using brake-safe solvent to reveal hidden defects. Examine each secondary seal under magnification for nicks, tears, or extrusion gaps. Check seal alignment carefully-each must sit squarely in its bore groove without twisting or offset. Misalignment compromises sealing and accelerates wear. Verify piston symmetry by measuring piston diameters and surface finishes; they must match within ±0.025 mm. Asymmetric pistons create uneven pressure, distorting the seal. Compare seal depth and groove dimensions to OEM specs-typically 2.62 mm ±0.05 mm depth. Even slight deviations disrupt performance. Document findings before reassembly. Proper inspection guarantees long-term seal integrity and peak caliper function.
Mistakes to Avoid When Checking Secondary Seals
You’ve inspected the secondary seals with care, disassembled the caliper fully, and verified dimensions down to ±0.025 mm-but errors can still undermine your work. A common mistake is a rushed inspection. Skipping steps leads to missed extrusion signs, especially in blind bores. Improper lighting hides subtle lip deformations or nicks. Use a 10x magnifier with LED illumination for accurate assessment.
| Mistake | Cause | Consequence |
|---|---|---|
| Rushed inspection | Time pressure | Missed extrusion cracks |
| Improper lighting | Low-lumen work lights | Hidden seal edge damage |
| Dry handling | No lubrication | False abrasion indications |
| Wrong tools | Metal picks | Seal surface gouging |
| Incomplete cleaning | Residual brake dust | Misreading contamination |
Always inspect seals in natural daylight or with a 5000K LED lamp. Never touch sealing surfaces with bare fingers.
When to Replace Dual-Piston Caliper Seals After Extrusion
When does minor extrusion become a definitive reason to replace dual-piston caliper seals? You should replace them when extrusion exceeds 0.5 mm at the seal edge. This deformation indicates stress beyond normal limits. Persistent extrusion often correlates with seal material degradation, reducing elasticity and compression resistance. If the seal hardens or cracks, it can’t rebound properly, increasing leak risks. Installation torque imbalance is another culprit-uneven bolt tightness distorts the seal housing, forcing material into gaps. Unequal torque above ±10% of spec (usually 7–9 Nm) creates uneven loading. Over time, this accelerates wear and extrusion. Replace seals proactively if you spot these signs during inspection. Don’t wait for fluid leakage. Early replacement prevents piston jamming and brake fade. Use OEM-specified seals with Shore A hardness between 70–80 for peak performance. Match dimensions exactly-typically 3–4 mm cross-section, depending on caliper model.
On a final note
You must inspect secondary seals regularly to prevent extrusion damage. These seals, typically made from nitrile rubber with a Shore hardness of 70–80 A, resist pressures up to 1,200 psi. Deformation occurs when clearance gaps exceed 0.005 inches. Extrusion leads to fluid leakage and brake failure. Replace seals if splits, nicks, or mushrooming are present. Use OEM-specified parts and follow torque specs-usually 20–25 Nm for caliper bolts.