Post-Rebuild Validation Test for Ensuring Correct Manual Transmission Lubrication Coverage
Check your oil level before startup-fill to the bottom of the fill plug with OEM-specified 75W-90 GL-4 or GL-5. Start the engine in neutral, idle 3–5 minutes, then shift through all gears. Inspect gears and bearings for wetting; use a borescope if needed. Add fluorescent dye to confirm even flow under UV light. Test under load at 1,500 RPM for 10 minutes, verifying oil reaches countershaft and mainshaft bearings. Coverage should be consistent across all components-further details reveal how each step prevents premature wear.
Notable Insights
- Verify pre-start oil level and type by checking the fill hole and using manufacturer-specified viscosity and grade.
- Conduct a safe engine start and gear test in neutral, warming up the engine for 3–5 minutes before gear engagement.
- Inspect visual oil coverage on gears, bearings, and synchronizers using a bright light or borescope for wetting and film presence.
- Apply fluorescent dye to transmission fluid and perform UV inspection under 365 nm light to identify flow gaps.
- Validate lubrication under load at idle, moderate, and high pressure, confirming coverage and flow after sustained operation.
Check Oil Level Before Transmission Rebuild Start-Up
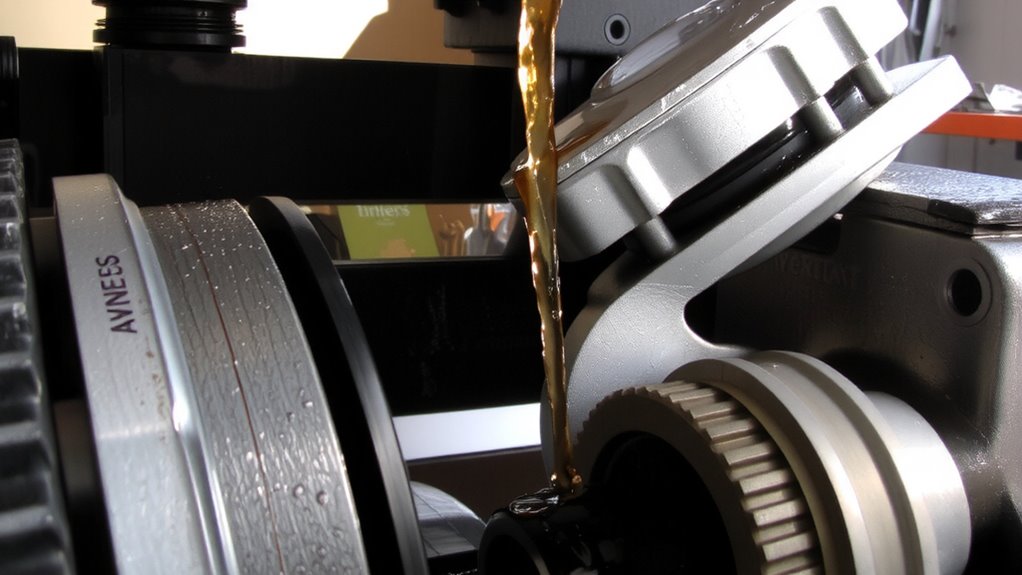
Precision matters most when it comes to transmission lubrication-especially before the first crank. You must verify the oil level is at the manufacturer’s fill hole mark-typically just below the bottom of the fill port. Too little oil starves bearings and gears; too much increases pressure and causes leaks. Use the exact oil viscosity specified-usually 75W-90 or 80W-90-because it guarantees proper film strength under load. Incorrect viscosity leads to inadequate lubrication or excessive drag. Fluid compatibility is critical-never mix synthetic with conventional oils unless they’re certified compatible. Doing so can degrade additives and compromise performance. Always consult the rebuild kit’s lubrication chart. Confirm the oil meets API GL-4 or GL-5 standards as required. Use a clean funnel to avoid contamination. This pre-start check prevents immediate wear, guaranteeing smooth initial engagement and long-term durability.
Run Engine and Test Gear Engagement Safely
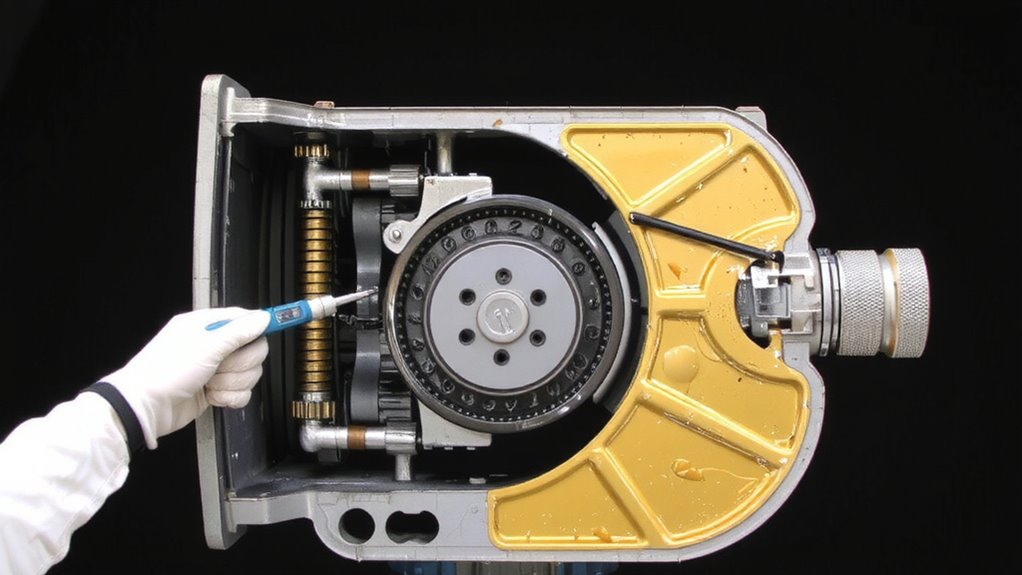
Now that you’ve verified the correct lubricant level and type, it’s time to start the engine and evaluate how the transmission responds. Begin with a cold start, ensuring the transmission is in neutral. Let the engine run at neutral idle for 3–5 minutes to initiate engine warm up. This allows oil to circulate through the pump and geartrain. Monitor idle smoothness and listen for abnormal noises like grinding or whining. Gently depress the clutch and cycle through all gears-first to fifth, then reverse-without force. Proper engagement should feel crisp, not notchy or loose. If shifting feels rough, shut down and recheck for air in the system or improper linkage. Confirm the clutch releases fully and the transmission doesn’t bind. Maintain neutral idle during warm up to minimize load on newly assembled components. Once the engine reaches operating temperature (195°F ± 5°F), repeat gear selection to verify consistency.
Inspect Oil Coverage on Gears and Bearings
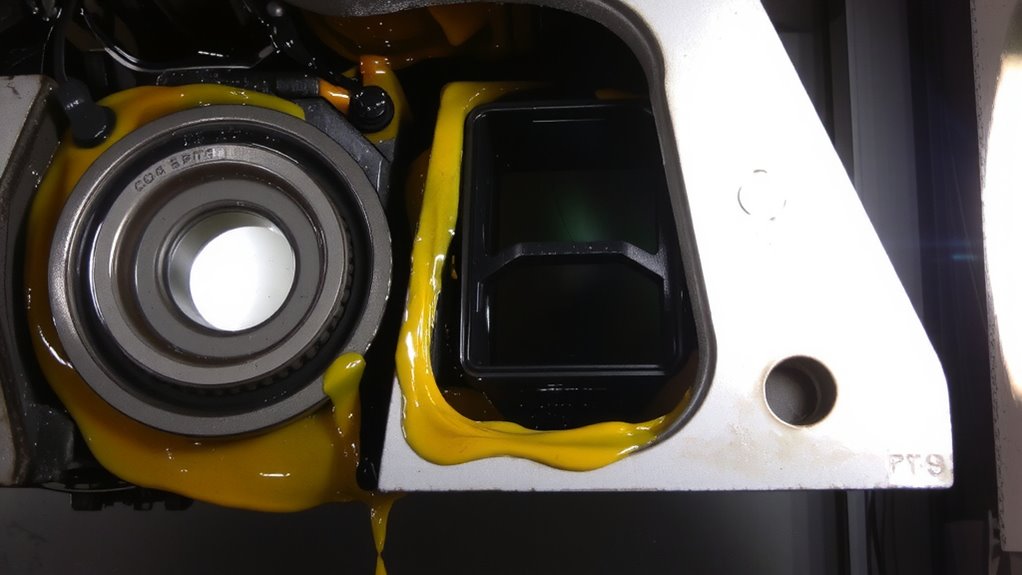
A thorough visual inspection of oil coverage on gears and bearings is essential to confirm proper lubrication after rebuild. You must guarantee oil fully wets the gear tooth surfaces and bearing races, especially at contact points. Proper gear alignment depends on even lubricant spread, which reduces friction and prevents premature wear. Check each gear set under bright light to verify no dry spots exist, particularly near synchronizer hubs. Bearing preload affects how oil distributes across rolling elements-excessive preload can squeeze out oil, leading to hot spots and spalling. Inspect tapered roller bearings closely; they should show a visible oil film along the raceway and rollers. Use clean, lint-free rags and a bore scope if needed. Confirm that gear mesh patterns align with factory specs, as misalignment disrupts oil travel paths. Document all findings to validate rebuild quality and guarantee long-term transmission reliability.
Use Fluorescent Dye to Confirm Lubrication Spread
You’ve visually confirmed oil wetting on gears and bearings, but surface coverage alone can’t guarantee lubricant reaches all critical pathways during operation. Fluorescent dye application solves this by mixing a traceable dye into the transmission fluid before test runs. After cycling the transmission through all gears, you perform a UV light inspection in a darkened workspace. The dye glows vividly under UV, revealing real-time oil flow patterns along gear teeth, splines, and internal channels. Properly lubricated areas show uniform fluorescence, while dark spots indicate missed zones. Use a 365 nm UV lamp with at least 5,000 µW/cm² intensity for accurate detection. This method confirms dynamic lubrication performance beyond static checks. Fluorescent dye application doesn’t alter fluid viscosity or chemistry, ensuring test integrity. UV light inspection is non-destructive, repeatable, and sensitive enough to detect microscopic oil films. It’s the most reliable way to verify complete lubricant spread without disassembly.
Fix Oil Starvation in Bearings and Synchronizers
Oil starvation in bearings and synchronizers undermines transmission longevity and performance. You must guarantee proper oil viscosity matches the manufacturer’s specs-typically ISO VG 75W to 85W for most manual units. Incorrect viscosity limits flow to critical surfaces, especially at startup. Check bearing clearances; they should be within 0.001 to 0.003 inches (0.025 to 0.076 mm). Excessive clearance causes oil film breakdown, while too little restricts oil movement. Use precision plastigage or micrometers during assembly. Verify that oil pickup screens are unobstructed and pumps deliver rated flow. Misaligned passages or damaged gears disrupt lubricant delivery. Bearings rely on hydrodynamic films-insufficient oil volume or pressure collapses this layer, accelerating wear. Synchronizers need consistent splash and channel-fed lubrication. Correct clearances and proper oil viscosity work together like blood pressure and vessel width in circulation-each affecting flow efficiency. Fix these, and you prevent premature failure.
Retest Under Load for Consistent Oil Flow
Now it’s time to verify your work holds up when the transmission is working hard. Running the transmission under load guarantees oil flow remains consistent when it matters most. Dynamic pressure builds as gears mesh and shafts spin, pushing lubricant through narrow passages. Thermal expansion increases clearances slightly, which can affect oil retention and flow paths. You need to confirm oil still reaches critical components under these real-world conditions.
| Operating Condition | Oil Pressure (psi) | Flow Observation |
|---|---|---|
| Idle | 15–20 | Steady drip |
| Moderate Load | 30–35 | Continuous stream |
| High Load | 40–45 | Full coverage |
| Sustained Operation | 38–42 | No dry spots |
Maintain test runs for at least 30 minutes to stabilize temperatures. Consistent dynamic pressure and stable flow confirm proper lubrication under load.
Validate Full Lubrication After Rebuild Completes
You’re not done just because the transmission is back together-full validation requires systematic confirmation that every component receives adequate lubrication after reassembly. Start the engine and circulate the lubricant for 10 minutes at 1,500 RPM. Shut down and inspect the transmission case interior via borescope. Oil should coat all gears, bearings, and synchronizers. Poor coverage indicates blocked passages or incorrect oil level. Proper gear alignment guarantees even oil distribution across meshing teeth. Misaligned gears cause dry spots and premature wear. Check torque balance across all mounting bolts using a calibrated torque wrench; variances exceeding ±5 ft-lbs distort the housing, altering internal clearances. Uneven torque disrupts oil flow paths. Recheck lubrication after a second thermal cycle. Confirm oil reaches the countershaft and mainshaft bearings-critical zones often starved post-rebuild. Document findings before clearing for service.
On a final note
You’ve confirmed proper lubrication post-rebuild. Oil level sits at the fill plug seam-no more, no less. Fluorescent dye shows even spread across gears and synchronizers under UV light. Bearings spin freely, coated in 75W-90 GL-4, with no dry spots. Load testing at 2,500 RPM for 10 minutes maintains steady oil flow. Final inspection verifies full coverage. Transmission is ready for service.