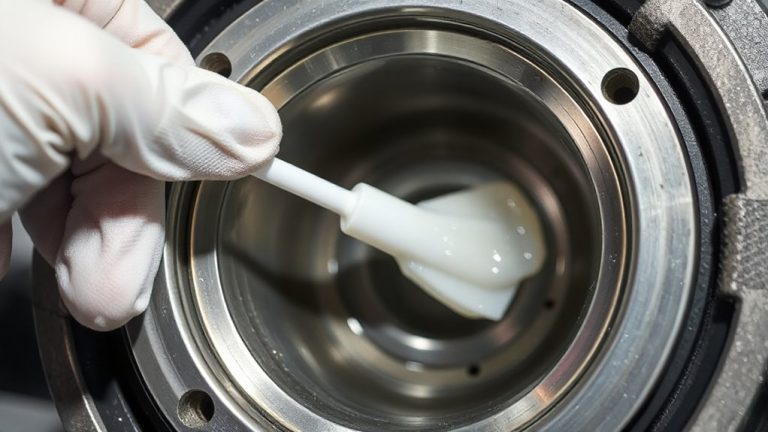
Step-By-Step: Replacing a Clutch in a Vehicle With a High-Torque Diesel Engine
You’ll need a clean, flat workspace lit to 500 lux with 5000K LED fixtures and diesel-specific tools like a 1/2-inch impact wrench (600 ft-lbs), long-reach extensions, and a dial torque wrench (20–200 ft-lbs). Support the engine with a transmission jack-never rely on coolant lines. Remove the driveshaft and crossmember, then lower the transmission steadily. Inspect the clutch disc for less than 4.5 mm of friction material and check flywheel warpage beyond 0.002 inches. Replace or resurface as needed. Align the new high-torque clutch using an alignment tool, seat it on the dowels, and torque pressure plate bolts in a crisscross pattern to 25–30 ft-lbs. Follow factory specs: flywheel bolts at 75–85 ft-lbs, release hub at 15–20 ft-lbs, and slave cylinder at 10–12 ft-lbs. Clean the mating surface thoroughly and guarantee no oil contamination remains. Reassembly demands precision to maintain drivetrain balance. Proper tooling and torque control prevent premature failure. Every step affects clutch longevity under high diesel torque loads. Details on exact bolt sequences and flywheel resurfacing tolerances come next.
Notable Insights
- Set up a clean, well-lit workspace with diesel-specific tools and organized storage for fasteners and components.
- Support the engine and transmission using a jack or support bar to prevent misalignment during clutch access.
- Remove the transmission carefully using a transmission jack after detaching the driveshaft and crossmember.
- Inspect the clutch disc, pressure plate, and flywheel for wear, replacing or resurfacing components as needed.
- Install the new clutch using an alignment tool and torque all bolts to manufacturer specifications in a crisscross pattern.
Set Up a Safe Work Area and Gather Diesel-Specific Tools
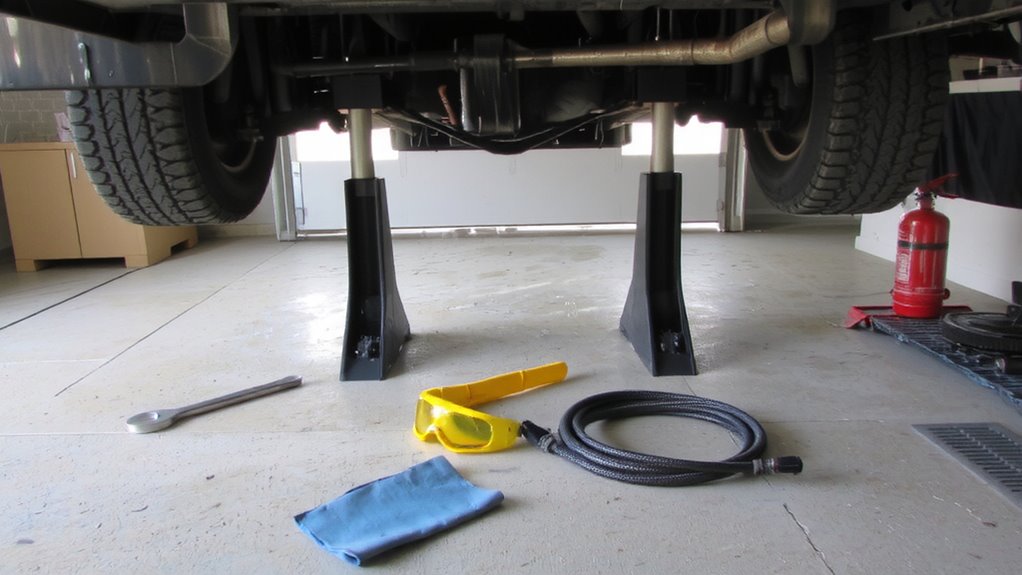
Before you begin, make sure your workspace is clean, flat, and well-lit to avoid accidents and guarantee accurate work. Proper workshop lighting-ideally 5000K LED fixtures delivering at least 500 lux-guarantees visibility during intricate tasks. Poor lighting increases error rates and compromises safety. Tool organization directly impacts workflow efficiency. Use shadow-board layouts or magnetic trays to store diesel-specific tools like a 1/2-inch impact wrench (minimum 600 ft-lbs torque), long-reach socket extensions, and a dial torque wrench calibrated for 20–200 ft-lbs. Diesel clutches require precise fastener sequencing; missteps risk flywheel warping. Keep a vacuum cleaner nearby to remove metal debris. Organized tools reduce contamination risks and accidental damage. Label containers for bolts, clips, and washers. A clutter-free space enhances focus and reduces downtime. Proper setup prevents injuries and guarantees repeatable, factory-spec results. Upgrading with top garage gadgets can significantly improve efficiency and safety in your workspace, especially when tackling demanding jobs like diesel clutch replacements. Top Garage Gadgets enhance both functionality and workflow in modern home garages.
Support the Engine and Transmission for Diesel Clutch Access
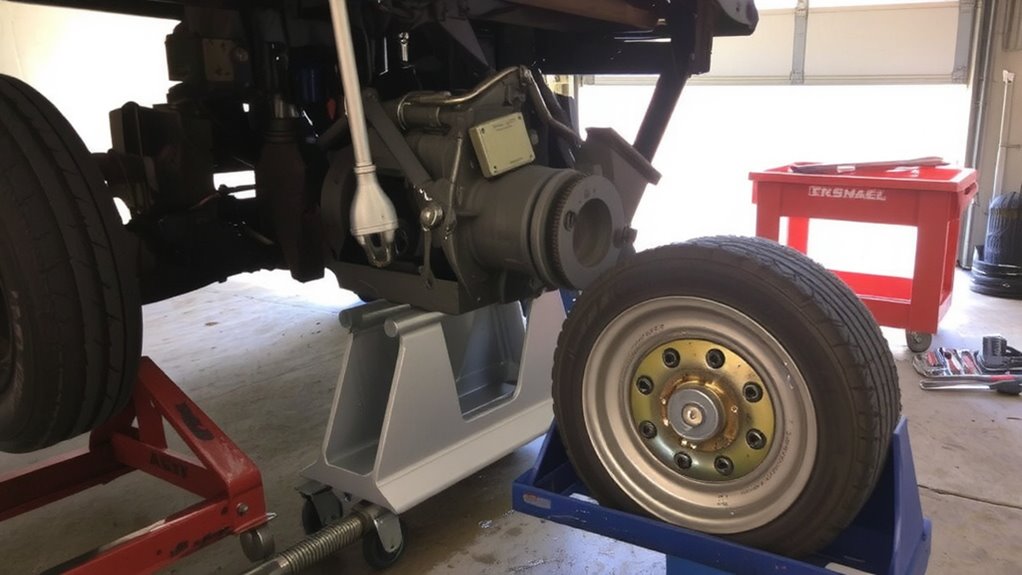
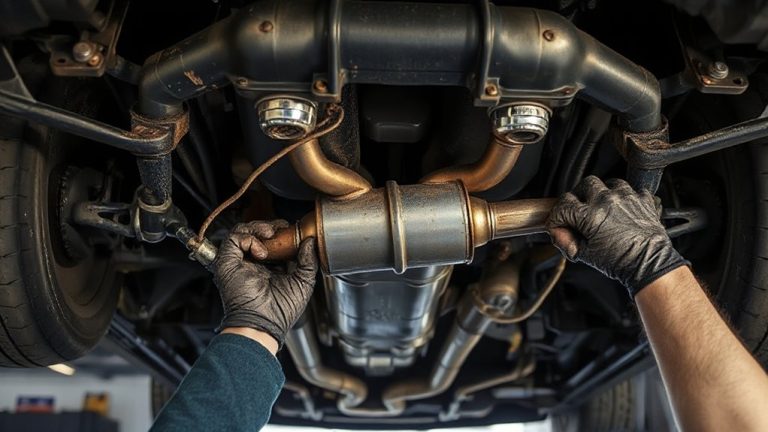
To safely access the clutch in a diesel vehicle, you’ll need to properly support both the engine and transmission-never rely on the exhaust or coolant lines to bear weight. Use a transmission jack or engine support bar to stabilize components. Diesel engines produce high torque, so maintaining precise engine alignment during support is critical to prevent damage to mounting points. Misalignment can distort the bell housing and affect clutch engagement. Support the engine near the suspension mounts if removing the crossmember. Always follow factory torque specifications when loosening or removing mount bolts to avoid sudden shifts. Engine mounts on high-torque diesel platforms are stiffer than gasoline counterparts, requiring secure, balanced support. Confirm stability before proceeding. Proper support guarantees safe, accurate transmission removal later and protects drivetrain geometry. Engine alignment and adherence to torque specifications prevent premature wear and maintain driveline integrity.
Remove the Transmission to Reach the Clutch
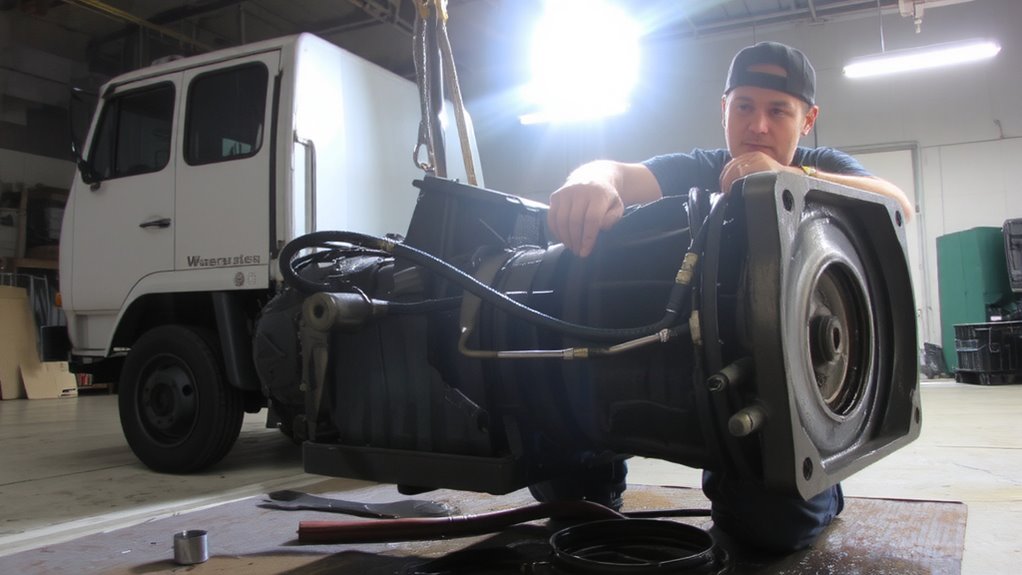
You’re now ready to take the transmission out so you can get to the clutch. Begin by detaching the driveshaft and crossmember to free the transmission. Unbolt the transmission from the clutch housing, making certain you keep all fasteners organized. Carefully separate the transmission from the engine block, using a transmission jack for control. Maintain transmission alignment during removal to avoid damaging the input shaft or pilot bearing. The alignment is critical-misalignment can cause binding or difficulty reassembling later. As the unit slides back, support its full weight evenly. Clean the clutch housing mating surface once the transmission is clear. Inspect for debris or damage that could affect reinstallation. Proper handling prevents warping and guarantees smooth future assembly. This step exposes the clutch assembly, setting up the next phase. Save time later by noting positioning details now.
Inspect for Diesel Clutch and Flywheel Wear
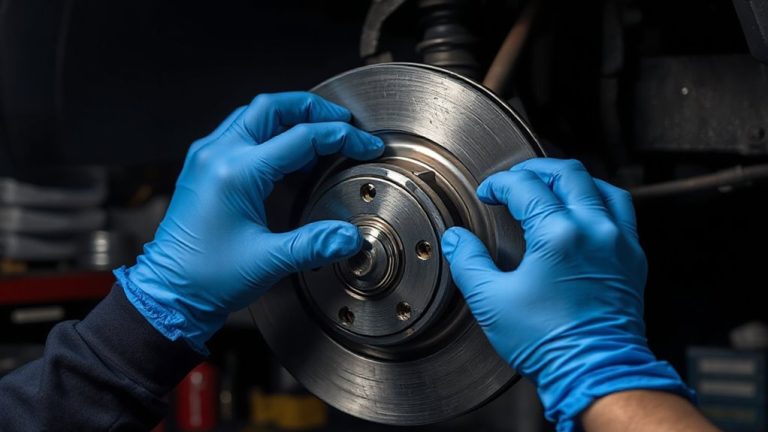
With the transmission safely removed, the clutch and flywheel are now fully accessible for evaluation. Inspect the clutch disc for signs of clutch slipp packs. Measure the remaining friction material thickness; replace if it’s below 4.5 mm. Check the pressure plate springs for even tension and visible wear-uneven wear indicates impending failure. Examine the flywheel for scoring. Flywheel scoring deeper than 0.015 inches requires resurfacing or replacement. Use a dial indicator to check for warpage; anything over 0.002 inches indicates excessive runout. Make certain the flywheel surface is flat and clean-any debris or oil contamination can lead to poor engagement. Diesel engines produce high torque, accelerating wear; inspect all components thoroughly. Replace any worn parts before reassembly to guarantee proper function and longevity.
Install the New High-Torque Diesel Clutch
Once you’ve confirmed all surfaces are clean and within spec, installing the new high-torque diesel clutch begins with aligning the replacement disc perfectly with the transmission input shaft. Proper clutch alignment is critical-use a clutch alignment tool to prevent binding or misalignment. Gently slide the pressure plate onto the dowels, ensuring the disc doesn’t shift. Begin threading the bolts by hand to avoid cross-threading. Always follow manufacturer-recommended torque specifications in a crisscross pattern. Under-torquing risks slippage; over-torquing warps the pressure plate.
| Component | Torque Specification (ft-lbs) |
|---|---|
| Pressure Plate | 25–30 |
| Flywheel (if removed) | 75–85 |
| Clutch Release Hub | 15–20 |
| Slave Cylinder Mount | 10–12 |
| Transmission Mounts | 35–40 |
Final bolt tightening secures even pressure distribution for reliable engagement.
Reassemble and Test for Smooth Operation
After the clutch assembly is securely fastened, reassemble the drivetrain components in reverse order of disassembly, starting with reconnecting the transmission to the bellhousing. Torque the bellhousing bolts to 25 ft-lbs in a crisscross pattern to guarantee even pressure. Verify clutch alignment using a pilot tool; misalignment causes vibration and premature wear. Reinstall the driveshaft, securing U-bolts to 35 ft-lbs. Refill the transmission with 75W-90 GL-4 gear oil-typically 3.5 quarts. Reconnect battery terminals and bleed the hydraulic clutch system if applicable. Perform pedal calibration: measure free play at 0.5 to 1 inch before engagement. Test for smooth engagement by starting the engine in neutral. Shift through all gears with the vehicle stationary. Then conduct a low-load road test, monitoring for slippage, dragging, or abnormal noises. Confirm full release and proper bite point.
On a final note
You’ve completed the clutch replacement on your high-torque diesel. The new clutch kit, rated for 550 lb-ft of torque, guarantees reliable engagement. Use a torque wrench to tighten flywheel bolts to 75 ft-lbs in a star pattern. Reconnect all sensors and refill transmission fluid to the specified level. Start the engine and check for smooth operation. A properly installed clutch delivers firm take-up and no slippage under load.