Step-by-Step Guide to Replacing Factory Speakers in a Sports Coupe
Start by gathering a trim tool, 8mm and 10mm sockets, and a digital multimeter to verify your factory 4-ohm impedance. Remove door panels carefully using plastic tools to avoid damage. Measure speaker size-typically 6.5-inch or 6×9-inch-and confirm mounting depth. Choose replacements with polypropylene cones, 50–100 watts RMS, and 88+ dB sensitivity. Match impedance and connect with crimp connectors, ensuring correct polarity. Secure wires and use rubber gaskets to seal against vibration. Set front bias to 55/45 and adjust crossovers to 80 Hz. Fine-tune frequencies using an RTA app for balanced output within ±3 dB. Proper setup guarantees clarity and imaging that reveal the full potential of your music.
Notable Insights
- Gather essential tools including a trim removal tool, sockets, ratchet, wire cutters, and a digital multimeter for speaker impedance testing.
- Select replacement speakers matching factory size, 4-ohm impedance, and with suitable sensitivity, power handling, and frequency response.
- Carefully remove door panels using plastic trim tools and unscrew factory speakers without damaging wiring or mounting hardware.
- Install new speakers by aligning with existing screw holes, sealing with rubber gaskets, and connecting wires with correct polarity.
- Fine-tune audio settings including balance, crossover, and equalization using an RTA app to achieve balanced, clear sound output.
Gather Tools to Upgrade Your Sports Coupe Speakers
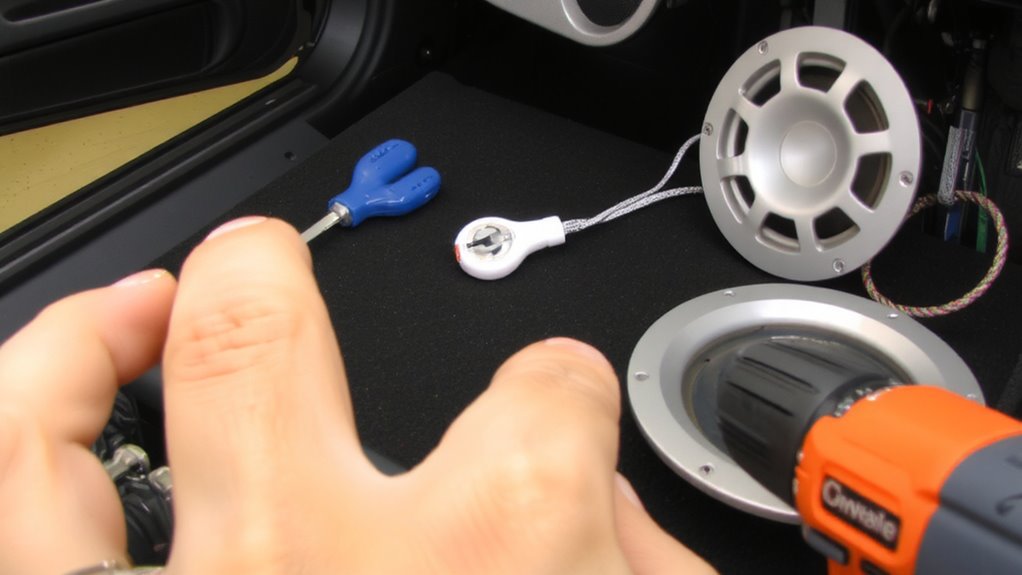
Before you begin swapping out your sports coupe’s factory speakers, guarantee you have the right tools on hand-working without them can lead to damaged panels or poor installations. You’ll need a trim removal tool, 8mm and 10mm sockets, a ratchet, and wire cutters. A digital multimeter helps verify speaker impedance, typically 4 ohms in factory systems. Matching impedance prevents amplifier strain. Use crimp connectors, not tape, for secure connections. Include heat-shrink tubing for clean, durable joins. Audio shielding is critical; install braided shielding around signal wires to block electromagnetic interference from the engine or alternator. Unshielded wires introduce noise. A 12V power tester confirms circuit integrity. Label each wire with masking tape to avoid misconnections. Double-check polarity-reverse wiring degrades sound. Proper preparation guarantees signal accuracy and system reliability. Tools aren’t optional-they’re essential to precision.
Choose Replacement Speakers That Fit and Sound Better
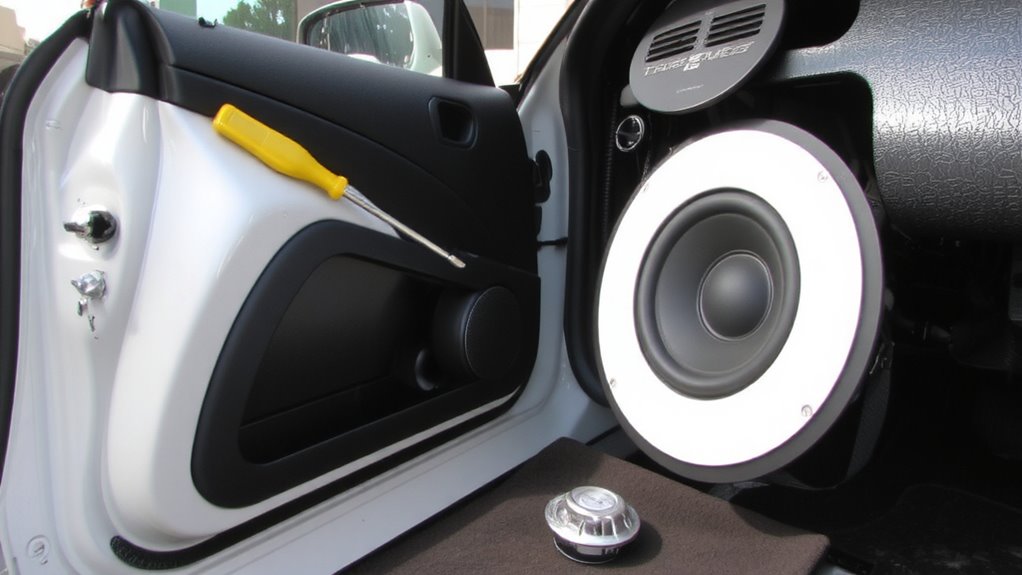
Many replacement speakers won’t fit your sports coupe without modifications, so measuring matters. Confirm the factory speaker size-common fits are 6.5-inch or 6×9-inch-using a ruler or caliper before buying. Choose speakers with a compatible mounting depth to avoid interference with door panels or mechanisms. High-quality speaker materials like woven polypropylene cones and rubber surrounds improve durability and clarity over cheap paper or foam. Look for a frequency response range of 50 Hz to 20 kHz and a sensitivity rating of at least 88 dB for efficient sound output. A higher RMS power handling (50–100 watts) reduces sound distortion during high-volume playback. Component speaker systems, with separate tweeters and crossovers, deliver tighter imaging compared to coaxial models. Guarantee the impedance matches your amplifier or head unit-typically 4 ohms. For balanced performance and value, consider best mid-range car speakers that offer enhanced sound quality without exceeding budget constraints.
Remove Factory Speakers Without Damaging Trim
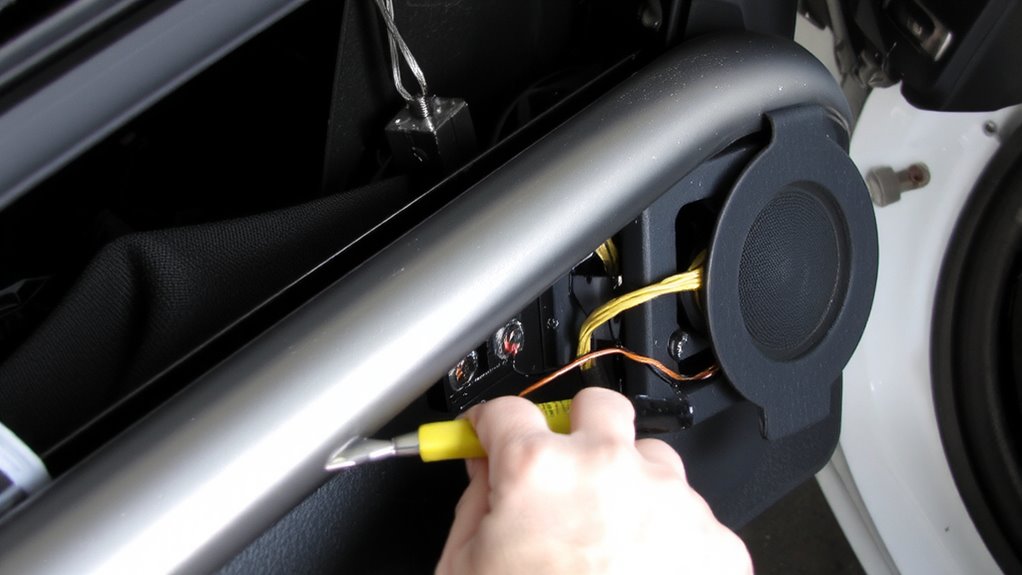
Start by gathering the right tools to remove factory speakers safely-you’ll need a plastic trim removal imagin, a screwdriver set, and possibly a socket wrench depending on your vehicle’s setup. Carefully pry off door panels using the plastic tool to avoid scratching or cracking the trim. Remove screws securing the speaker grille, then unscrew the factory speaker mounting bolts. Note the speaker orientation before disconnecting wires-this guarantees correct alignment when addressing wiring compatibility with new components. Gently disconnect the factory harness, taking care not to damage terminals. Factory speakers typically use a 4–6 ohm impedance and 25–50 watt RMS handling, but verify specifications on the magnet casing. Avoid pulling wires forcefully; instead, release the connector latch. Preserve the factory wiring for adapter use. Keep hardware organized. A methodical approach prevents damage and simplifies installation. For those upgrading on a budget, consider that some best budget car speakers deliver surprisingly rich sound without sacrificing durability.
Install New Sports Coupe Speakers Securely
You’re ready to secure your new speakers, and doing it right guarantees both performance and longevity. Begin with precise speaker placement-align the mounting frame with factory screw holes, guaranteeing the woofer and tweeter face the best angle for sound projection toward the driver and passenger. Most sports coupes use 6.5-inch coaxial speakers front and rear; verify fit by checking the speaker’s outer diameter and mounting depth. Use rubber gaskets to seal against moisture and vibrations. Apply proper wiring techniques: strip 1/4 inch of insulation, twist wires tightly, and use crimp connectors or solder for secure, corrosion-resistant joints. Match polarity-positive to positive, negative to negative-using a multimeter if needed. Secure speaker wires with zip ties to prevent interference. Avoid pinched wires during installation. Mount speakers with included screws, tightening evenly to avoid frame warping. These steps guarantee clean, distortion-free audio output. For even greater acoustic performance, consider upgrading to high-sensitivity units found in the best truck speakers for big sound on the road, such as models with high-sensitivity drivers.
Balance Audio Settings for Clear, Immersive Sound
Once the new speakers are securely installed, fine-tuning your sports coupe’s audio settings becomes essential for achieving clear, immersive sound. Adjusting these settings optimizes sound staging and frequency response for accurate audio reproduction.
| Setting | Recommended Level |
|---|---|
| Front/Rear Balance | Slight front bias (55/45) |
| Subwoofer Crossover | 80 Hz for seamless integration |
| Midrange (500 Hz – 2 kHz) | +2 dB for vocal clarity |
| Tweeter Level | +1 dB to enhance sound staging |
Use these benchmarks as a starting point. A front-weighted balance improves imaging, aligning with factory speaker placement logic. Adjust crossover points to match your speakers’ frequency response range-typically 50 Hz to 20 kHz for component sets. This guarantees clean output across the spectrum. Tweeters set slightly higher improve stereo separation, making sound staging more precise.
Test and Fine-Tune Your Upgraded Sound System
How does your new audio system truly perform? Test it with familiar tracks across genres to evaluate clarity, imaging, and volume handling. Begin at low volume, then increase gradually to detect distortion. Check sound isolation by closing doors and listening for external noise intrusion or speaker vibration leakage. Proper damping materials reduce panel resonance, enhancing overall fidelity. Assess bass response using calibrated test tones between 40–120 Hz; a flat frequency graph indicates accuracy. Use a real-time analyzer (RTA) app with an external microphone to measure output deviations within ±3 dB. Adjust amplifier gain and crossover settings to match driver capabilities-typically 80 Hz for subwoofers, 3–5 kHz for tweeters. Re-test after adjustments. Consistent soundstage depth and channel balance confirm ideal tuning. Finalize settings only after all components perform cohesively across multiple listening positions.
On a final note
You’ve installed speakers that deliver superior audio resolution and output. High-sensitivity drivers (≥90 dB) guarantee efficient amplification, while frequency ranges from 45 Hz–22 kHz reproduce deep bass and crisp highs. Secure mounting prevents vibrations. Proper wiring minimizes impedance mismatches, preserving head unit longevity. Adjust gain settings gradually, using an RTA mic to flatten response within ±3 dB. Balanced front-to-rear staging creates a cohesive soundstage, like a live performance aligned with the windshield.