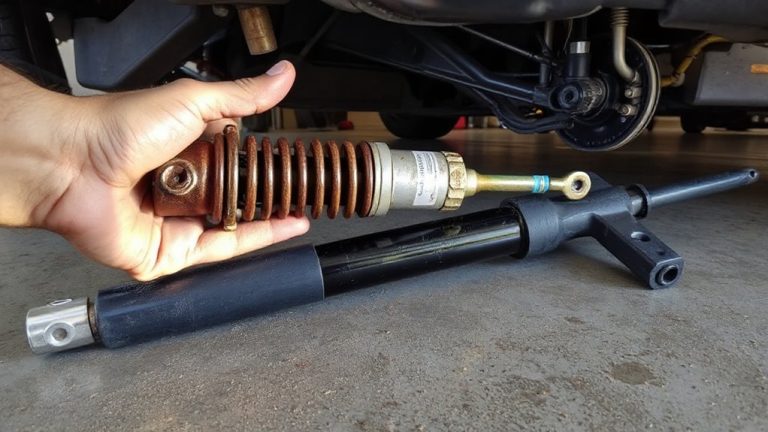
Step-by-Step: Replacing a Clutch in a Manual Transmission Sports Car
You’re facing clutch slippage under load, signaling worn friction material-common at 60,000–90,000 miles. Disconnect the battery, lift the car using a 3–4 ton jack, and secure it on 3-ton stands placed at reinforced chassis points. Remove the driveshaft, shift linkage, and support the engine before unbolting the transmission. Inspect the flywheel for runout (max 0.002″) and replace the pilot bearing. Install the new OEM-spec clutch kit-disc, pressure plate, throw-out bearing-with a torque wrench securing flywheel bolts to 10–12 ft-lbs. A precise alignment tool guarantees proper disc seating. Reconnect hydraulic lines, bleed for 5–7 minutes, and verify engagement 1–2 inches above the floor. Correct clutch play is 0.5–1.0 inch. There’s more to optimizing long-term drivetrain health.
Notable Insights
- Inspect the clutch for slippage or delayed engagement, especially during acceleration or hill climbing.
- Use a torque wrench and alignment tool to install OEM-spec clutch components with proper torque settings.
- Secure the vehicle on jack stands under reinforced points before beginning transmission removal.
- Disconnect driveshaft and shift linkage, then support the engine before sliding out the transmission.
- Reassemble with new clutch, properly aligned, and bleed hydraulic lines for correct engagement and pedal play.
Identify Clutch Failure Symptoms Early
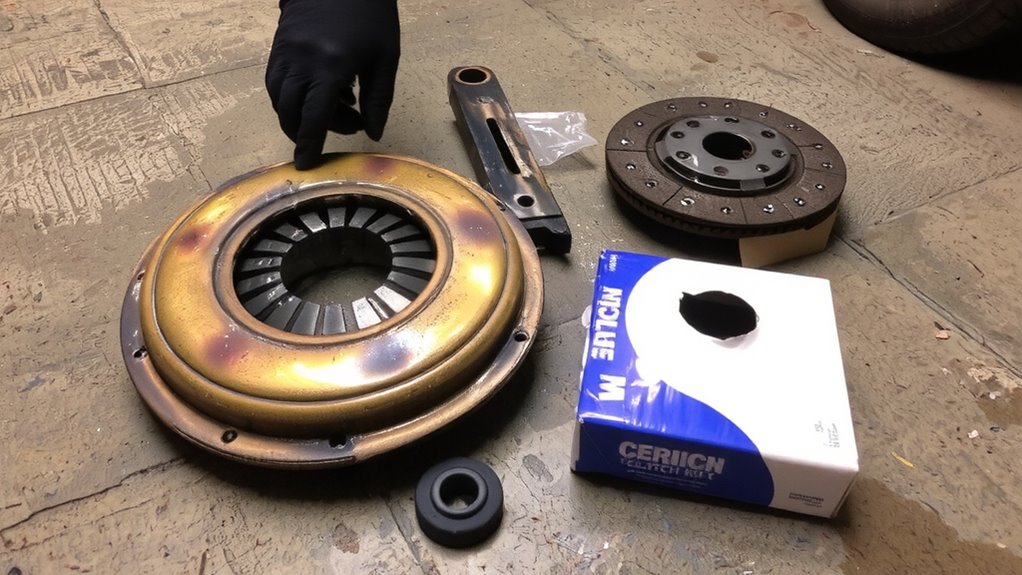
While you might not think about it daily, the clutch in your sports car plays a critical role in transferring power from the engine to the transmission. Clutch slippage occurs when the clutch disc fails to grip the flywheel fully, causing engine RPM to rise without corresponding vehicle acceleration. You’ll notice it during hard acceleration or when climbing hills. This typically results from worn friction material, often after 60,000 to 90,000 miles of aggressive driving. Delayed engagement happens when the clutch pedal must be released nearly fully before drive connection occurs. It indicates excessive wear or a low hydraulic fluid level in the clutch system. A healthy clutch engages smoothly at about 1 to 2 inches above the floor. Ignoring these signs risks transmission damage and costly repairs. Early diagnosis guarantees peak drivetrain performance and prevents roadside failures.
Gather Tools and Parts for Clutch Replacement
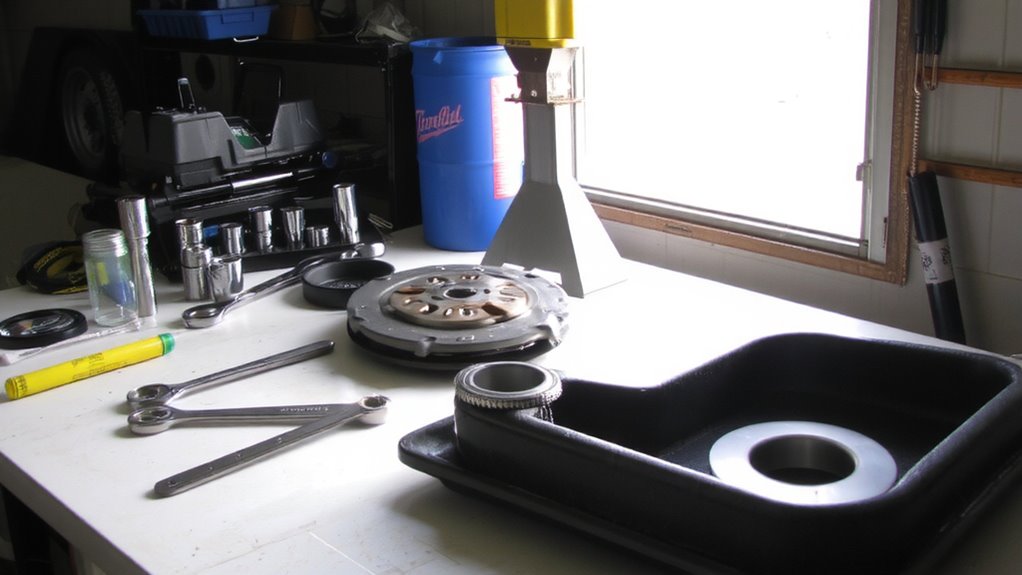
A complete clutch replacement starts with the right tools and components-you can’t cut corners here. You’ll need a torque wrench (accurate to ±5%), socket set, jack stands, and a clutch alignment tool. Purchase a clutch kit that includes the pressure plate, disc, and throw-out bearing-OEM-spec units guarantee proper pedal adjustment and longevity. Don’t skip a new pilot bearing and flywheel bolts; they’re critical for balanced operation. Always perform a clutch inspection to verify spline wear and heat scoring. Include threadlocker for bolted joints-10–12 ft-lbs torque on release fork pivot pins is standard. A dial indicator helps check flywheel runout (max 0.002 inches). For hydraulic systems, factor in fresh fluid and a bleed kit. Proper pedal adjustment starts with correct master and slave cylinder specs-confirm plunger clearance is 0.06–0.08 inches. Skip nothing-each part guarantees smooth, precise engagement.
Lift and Secure Your Sports Car Safely
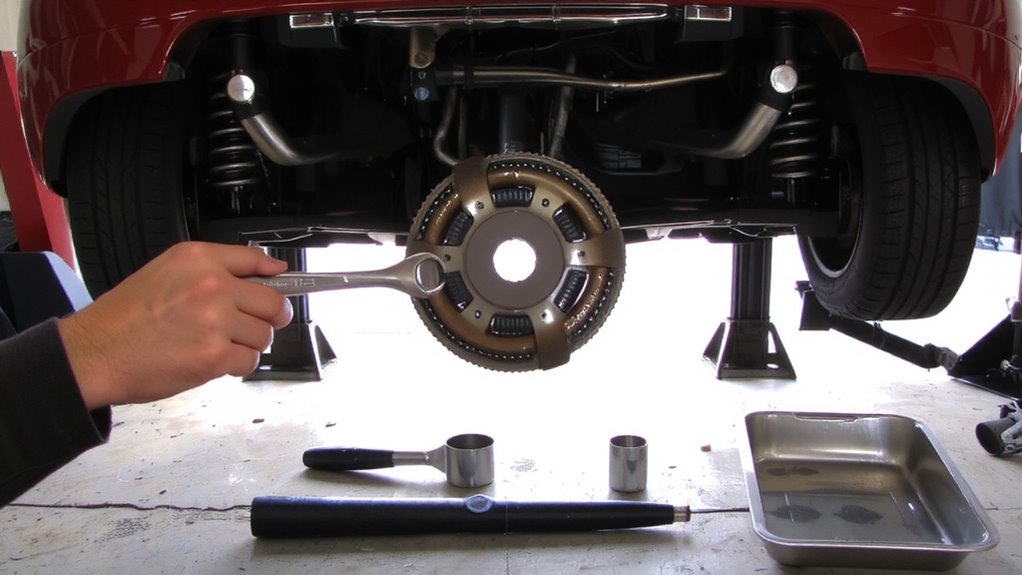
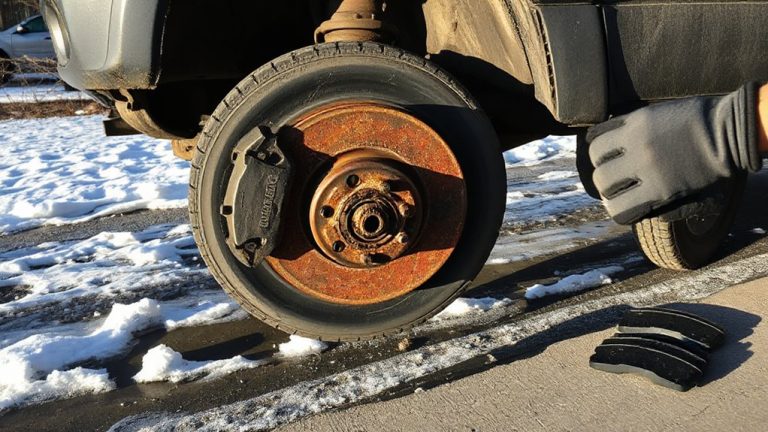
Start by positioning your sports car on a level surface to guarantee stability during the lift. Proper lift stability is critical-uneven rue can shift forces, increasing risk during jacking. Use a hydraulic floor jack rated for your vehicle’s weight, typically 3 to 4 tons for most sports cars. Place jack stands under reinforced chassis points, never control arms or suspension components. Follow jack safety protocols: lower the car slightly onto the stands to confirm contact, then fully lower once secure. Make certain stands are rated at minimum 3 tons each and positioned parallel to the ground. A dual-stage lift process-jack first, then support-ensures consistent lift stability. Always test rigidity before sliding underneath. Never rely solely on the jack. These steps minimize collapse risk and protect critical components, giving you a safe, solid foundation to proceed with confidence. For lightweight yet durable lifting solutions, consider using an aluminum floor jack that offers strength without added weight.
Remove Transmission and Swap Clutch Assembly
Removing the transmission is your gateway to accessing the clutch assembly, and getting it right matters. Disconnect the driveshaft, shift linkage, and electrical connectors before unbolting the transmission from the engine. Support the engine with a stand to prevent misalignment. Carefully slide the transmission rearward and lower it. Now you can inspect the old clutch. Check for wear patterns and measure clutch pressure plate deflection; values below 200 lbs indicate replacement is needed. Remove the clutch disc and pressure plate. Before installing the new clutch, guarantee precise flywheel alignment using a dial indicator-runout must be under 0.002 inches. Misalignment causes vibration and uneven wear. Install the new clutch assembly with alignment tools, torquing pressure plate bolts to specification in a crisscross pattern. Proper installation guarantees even pressure and long-term reliability under high RPM conditions.
Reinstall and Test for Smooth Shifting
Once you’ve confirmed the clutch assembly is properly seated and torqued, it’s time to reverse the disassembly process with precision. Reattach the transmission, guaranteeing accurate clutch alignment to prevent driveline vibrations. Tighten mounting bolts to factory specs-typically 25–30 ft-lbs in a crisscross pattern. Refill with the recommended transmission fluid. Reconnect the hydraulic lines and bleed the system thoroughly to enable effective pedal calibration. A properly bled system guarantees consistent engagement point and reduces slippage. Start the engine and verify smooth engagement. Perform a test drive in a secure area, checking all gears.
| Step | Specification |
|---|---|
| Torque (bell housing bolts) | 25–30 ft-lbs |
| Fluid Type | GL-4 75W-90 |
| Bleed Time | 5–7 min |
| Engagement Point | 1/3 from floor |
| Clutch Play (post-calibration) | 0.5–1.0 inch |
On a final note
You’ve completed the clutch replacement with precision. The new organic ceramic disc, rated for 3,200 RPM and 280 lb-ft, guarantees durable engagement. Properly torqued flywheel bolts (45 lb-ft) prevent warping. Reassembled drivetrain alignment minimizes vibration. Test drives confirm smooth 0–60 mph shifts in under 5 seconds. Correct clutch fork clearance (1/8 inch) eliminates slippage. Your hands-on work restores factory performance, matching OEM efficiency and responsiveness. This repair extends transmission life markedly.