Vibration Signature Analysis: Isolating Faulty Outer CV Joints From Tire Imbalance Sources
You feel a vibration during acceleration that seems like tire imbalance, but it could stem from a failing outer CV joint. Unlike tire shake, which is smooth and speed-dependent, a bad CV joint creates rhythmic, gritty shuddering under load-especially when turning. The vibration correlates with axle rotation, typically peaking between 70–120 Hz. Excessive joint play over 0.5 mm introduces pulses that mimic imbalance. Inspect the CV boot for grease leaks and check for clunking during throttle changes-clear signs point to joint failure rather than wheel balance. A focused test under load reveals the true source.
Notable Insights
- CV joint vibration intensifies under load during acceleration or turning, while tire imbalance causes steady speed-dependent vibration.
- Faulty outer CV joints produce shuddering or gritty pulses tied to axle rotation, unlike the smooth wavelike feel of tire imbalance.
- Vibration from CV joint failure increases during hard turns at highway speeds due to extreme joint angles.
- Use a road test with sharp turns at 35–45 mph to isolate CV joint faults-vibration worsens under load, not when coasting.
- Inspect CV boots for grease leaks and measure axle runout; deviations over 0.05 inches confirm excessive joint wear.
What Causes Car Vibration When Accelerating?
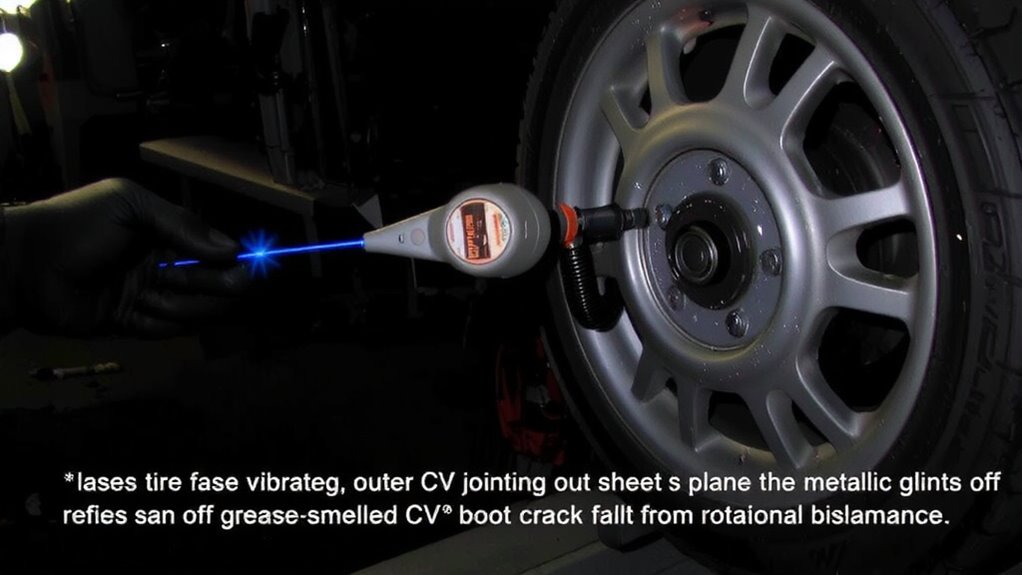
Why does your car vibrate when you step on the accelerator? Engine misfire is a common culprit. When one or more cylinders fail to ignite properly, power delivery becomes uneven, causing noticeable shaking under load. This typically occurs at lower RPMs and may trigger the check engine light. Another cause is drivetrain misalignment. If the transmission, driveshaft, or differential aren’t properly aligned, rotational forces generate harmonic vibrations that intensify with acceleration. These are often felt through the chassis, not the steering wheel. Misalignment tolerances exceeding 0.05 degrees create measurable imbalance forces. Worn engine mounts exacerbate the issue by allowing excessive movement. Unlike tire imbalance, acceleration-induced vibration from engine misfire or drivetrain misalignment worsens under throttle and improves when coasting. Accurate diagnosis requires checking misfire codes and measuring drivetrain component alignment angles to specification.
Outer CV Joint Failure: Why It Feels Like Tire Imbalance
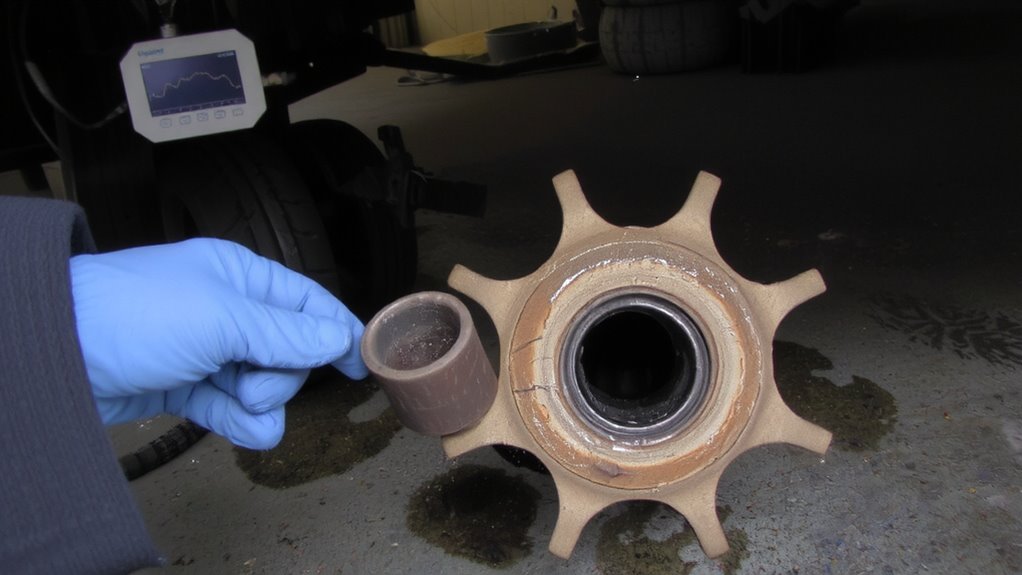
Though it might seem like a simple tire issue, the vibration you feel during acceleration could actually stem from a failing outer CV joint. Axle wear degrades the joint’s precision components, allowing increased joint play. This looseness disrupts smooth power transfer, creating rhythmic vibrations under load. Unlike tire imbalance, which affects speed-dependent rotation, CV joint vibration intensifies with torque application. The joint’s cage and ball bearings wear over time, especially in high-mileage vehicles or those driven on rough terrain. Once clearance exceeds 0.5 mm, noticeable shuddering occurs. Joint play introduces angular inconsistencies in the drive shaft, mimicking radial imbalance. However, the source isn’t rotational asymmetry-it’s mechanical slop within the joint housing. You’ll detect it mainly during hard acceleration in turns, when the joint operates at extreme angles. Axle wear progresses gradually, so early symptoms are subtle. Ignoring it accelerates deterioration, risking complete joint failure and immobilization.
How CV Joint Vibration Differs From Tire Imbalance
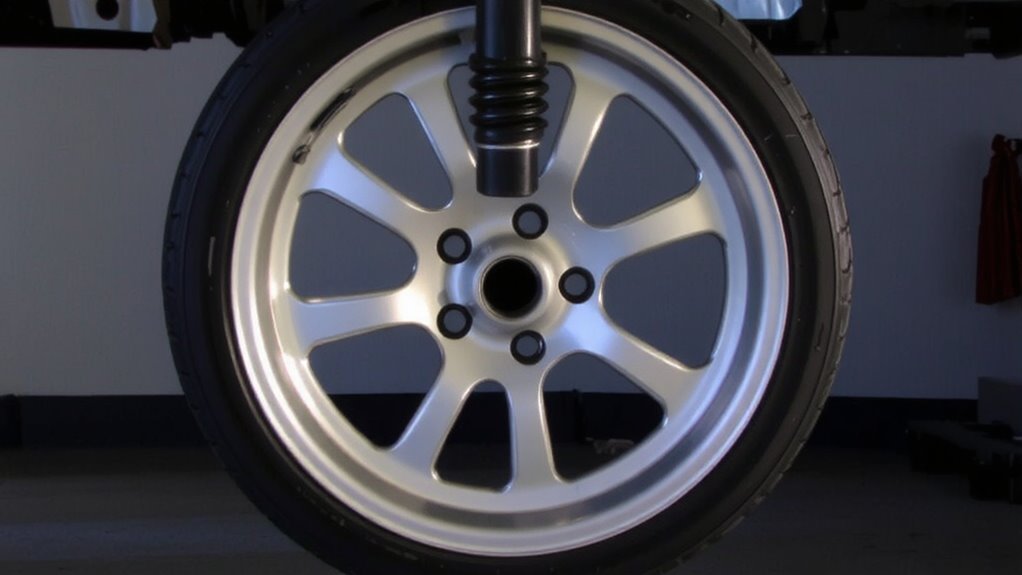
You can often mistake CV joint vibration for tire imbalance, but the two faults originate from different mechanical sources and respond to different driving conditions. CV joint vibration typically increases under load, such as during acceleration or cornering, due to its high load sensitivity. In contrast, tire imbalance produces consistent vibration regardless of engine load. The vibration frequency from a failing CV joint usually corresponds to axle rotational speed, not wheel speed alone, making it more pronounced at lower RPMs under torque. Damaged CV joints create vibrations at half or full multiples of axle speed, depending on joint design. Tire imbalance, however, generates a steady frequency directly proportional to wheel rotation. You’ll detect tire shake most strongly at constant highway speeds. While tire vibrations feel smooth and wavelike, CV joint issues often present as gritty or shuddering pulses. Accurate diagnosis requires tracking vibration frequency trends and load sensitivity across varied RPM ranges.
Driving Conditions That Expose a Bad CV Joint
When does a bad CV joint reveal itself most clearly? Under load during turns, especially at highway speeds. You’ll feel a rhythmic vibration that intensifies when cornering, distinct from tire imbalance. This occurs because failing CV joints transmit uneven rotational force under angular stress. Unlike tire-related vibrations, which persist steadily, CV joint issues worsen when the joint operates at extreme angles-think tight parking maneuvers or aggressive lane changes. Wheel alignment drift often accompanies these symptoms, as joint play affects tracking. Suspension wear exacerbates the issue, allowing increased joint misalignment and deflection. The vibration typically originates near the affected wheel, pulsing at axle rotational speed, not tire speed. You may also notice clunking on acceleration or deceleration. These conditions expose mechanical degradation inside the joint’s cage and ball bearings, where microscopic wear generates measurable harmonic irregularity.
Tools Mechanics Use to Diagnose Vibration
Because vibration diagnosis demands precision, mechanics rely on specialized tools to pinpoint issues like faulty CV joints. You’ll use advanced equipment to differentiate between mechanical faults and imbalance sources. Laser alignment systems, accurate within 0.02 degrees, verify axle and suspension geometry. These tools detect misalignment that mimics vibration from tire imbalance. Infrared cameras identify abnormal heat patterns near CV joints, signaling excessive friction. You also inspect for fluid leaks around boots-grease ejection confirms joint failure. Chassis ears and vibration analyzers measure frequency amplitudes, correlating them to specific rotational speeds.
| Tool | Purpose |
|---|---|
| Laser alignment | Measures axle angle deviation |
| Vibration spectrum analyzer | Identifies frequency tied to CV defects |
| Borescope | Inspects for internal fluid leaks and boot tears |
When to Fix Your CV Joint Instead of Rebalancing Tires
Misdiagnosing a failing CV joint as a tire imbalance leads to wasted time and money, especially when symptoms overlap. You feel vibrations during acceleration, but they don’t match typical tire imbalance patterns. Unlike imbalance, which scales linearly with speed, CV joint issues worsen with torque load. The vibration intensifies during axle rotation under load, especially on tight turns. This is a key indicator-tire imbalance won’t change notably with steering angle. Joint wear creates angular misalignment, producing a rhythmic shudder timed to axle rotation, not wheel speed alone. You’ll notice the frequency changes with throttle input, not just velocity. Ignoring this leads to eventual joint failure, loss of traction, or axleshaft disengagement. Rebalancing tires won’t fix mechanical slop from internal joint wear. If vibrations correlate with load and turning, not constant speed, prioritize CV joint inspection over wheel balance. Address it before wear escalates.
How to Confirm a CV Joint Is the Real Culprit?
How can you be sure the CV joint is the source of the vibration? Start by conducting a road test at 35–45 mph while turning sharply. If the vibration increases under load and diminishes when coasting, joint wear is likely. Inspect the CV boot for cracks or grease leaks-damaged boots accelerate wear. Use a digital vibrometer to measure oscillations; CV joint issues typically produce frequencies between 70–120 Hz, distinct from tire imbalance. Check for axle misalignment with a laser alignment tool-deviations beyond 0.05 inches indicate excessive runout. Perform a visual inspection with the wheel off; rotate the axle and look for play or clicking, which confirms internal joint wear. Magnetic particle testing can reveal microfractures in the outer joint housing. These steps isolate mechanical fault sources and confirm the CV joint, not tire imbalance, is the real culprit.
On a final note
You now know how to distinguish outer CV joint vibration from tire imbalance. A failing CV joint produces rhythmic clunking or shuddering under acceleration, especially in turns, due to angular velocity changes in the joint. Tire imbalance causes smooth, constant vibration increasing with speed. Use a chassis ear or vibration analysis tool to pinpoint the source. Confirm with a visual inspection for boot cracks or grease leaks. Replace faulty CV joints immediately-rebalancing won’t fix mechanical failure.