Pressure and Technique in Wax Application Explained: Key Factors for Success
Use light, consistent pressure-about 2 to 3 ounces, like writing with a pencil-when applying wax by hand. Heavy pressure traps air, causes uneven buildup, and reduces gloss. Apply in small, circular motions for uniform coverage. Ideal film thickness is 0.5 to 1 mil per coat. Soft foam or microfiber applicators improve spreadability and absorption. Maintain control with 3–4 inch pads and overlap buffer passes by 50%. You’ll discover refined methods that enhance protection and finish clarity.
Notable Insights
- Apply 2–3 ounces of pressure using light circular motions for even wax distribution without trapping air.
- Match applicator type to wax: soft foam for liquids, microfiber for paste, ensuring no streaks or waste.
- Use a dual-action polisher at 1,200–1,800 OPM with 3–5 pounds of pressure for uniform wax layering.
- Adjust pressure by surface-3–5 lbs for soft paint, 7–10 lbs for metal or glass to optimize adhesion.
- Apply thin, even coats; avoid thick layers to prevent cloudiness and ensure proper curing and longevity.
Apply Wax by Hand With Light, Even Pressure
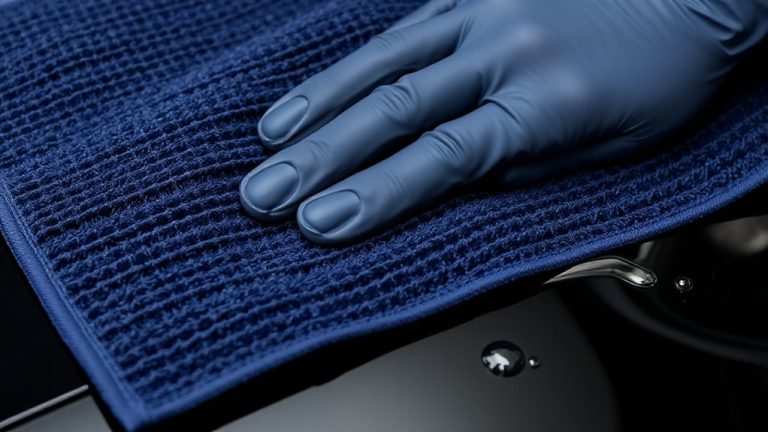
Why do so many beginners press too hard when applying wax by hand? You think pressure improves adhesion or speeds up the process, but it actually hinders performance. Applying too much force disrupts wax distribution, leading to uneven build-up and waste. For ideal hand consistency, use light, circular motions with minimal downward pressure-about 2 to 3 ounces of force, similar to writing with a pencil. This guarantees even coverage across the surface without trapping air or creating thick spots. High-quality waxes are formulated to spread thin; excessive pressure doesn’t enhance absorption. Instead, it risks clogging pores in the finish and extending cure time. Maintain steady hand consistency to achieve uniform thickness, ideally between 0.5 and 1 mil per coat. Even coverage maximizes protection and gloss. Let the wax’s solvent content do the work-your role is precision, not force.
Choose the Right Applicator for Your Wax
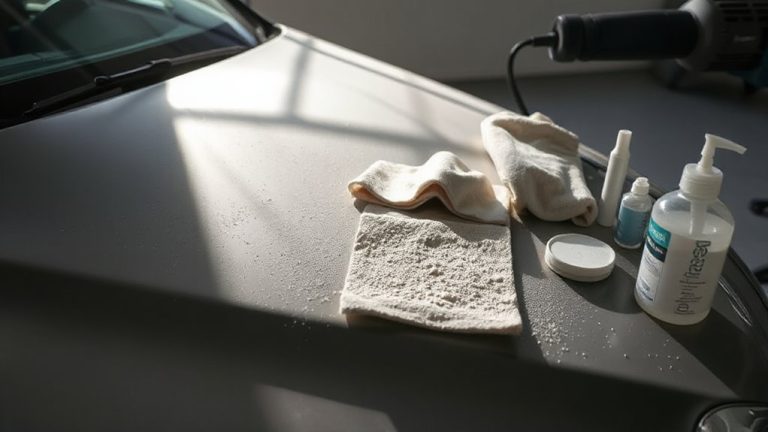
A good wax application starts with the right applicator. You need to match the applicator texture to both the wax formulation and surface type. Soft foam applicators work best with liquid waxes, spreading product evenly without streaking. Microfiber pads offer more absorption, ideal for paste waxes requiring extended dwell time. Applicator texture directly impacts adhesion and film uniformity-smooth surfaces need fine-textured pads to avoid marring, while textured paints benefit from slightly abrasive surfaces for better coverage. Always consider wax temperature; cool wax below 70°F thickens viscosity, requiring a denser applicator to transfer product effectively. Warm wax above 85°F thins out, so use a firm, non-porous applicator to prevent dripping. Choose diameter-3 to 4 inches is standard-for control and consistent pressure distribution during application.
Control Buffer Speed and Pressure for Flawless Wax
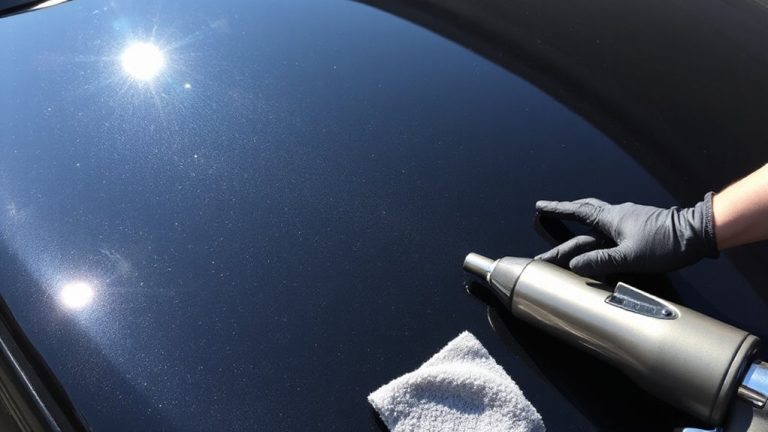
When applying wax with a dual-action polisher, maintaining the right speed and pressure guarantees a uniform finish without generating excess heat. Set your buffer rotation to 1,200–1,800 orbits per minute (OPM)-this range guarantees effective wax dispersion while minimizing thermal risk. Excessive speed increases friction, potentially damaging both wax and clear coat. Apply light, consistent pressure-roughly 3 to 5 pounds of force-to maintain ideal surface contact. Let the machine do the work; pressing too hard reduces pad mobility and creates uneven application. Proper surface contact allows the pad to spread wax in a thin, consistent layer, enhancing adhesion and curing. Use overlapping passes (about 50% pad coverage per stroke) for complete coverage. Control buffer rotation and pressure simultaneously to avoid pooling or hazing. This precise balance guarantees a flawless, durable wax finish across flat and contoured panels alike. A high-quality spray detailer can be used post-waxing to enhance shine and remove any residue without disturbing the wax layer.
Adjust Wax Pressure by Surface Type
Surface contours demand tailored pressure to guarantee consistent wax adhesion and finish quality. You must adjust pressure based on surface sensitivity and material compatibility to prevent marring or incomplete coverage. Soft surfaces like acrylic or painted finishes require 3–5 lbs of pressure; higher force causes swirling and heat buildup. On harder substrates such as polished metal or glass, apply 7–10 lbs to secure proper wax transfer and film formation. Match your pad-foam for delicate areas, microfiber for durability-to the surface type. Over curved edges, reduce pressure by 30% to maintain even distribution. Material compatibility determines chemical interaction; use pH-neutral waxes on sensitive exteriors. Test on inconspicuous areas first. Pressure inconsistencies lead to patchy results, undermining durability. By calibrating force to surface characteristics, you achieve uniform protection and enhanced gloss. This precision extends wax life and preserves surface integrity over time.
Common Mistakes That Ruin Your Wax Finish
You skipped the test patch, and now you’re staring at a hazy, uneven finish-this is how wax applications go wrong. Overheating surfaces causes wax to bubble and separate, ruining adhesion. Using old wax leads to poor curing and streaking due to degraded solvents and oxidized oils. Always check expiration dates and store wax in a cool, dark place.
| Mistake | Effect | Prevention |
|---|---|---|
| Skipping test patches | Inconsistent finish | Test on hidden area first |
| Overheating surfaces | Bubbling, lifting | Keep surface below 100°F (38°C) |
| Using old wax | Sticky residue, poor bond | Discard after 2 years or if thickened |
| Applying too thick | Cloudy appearance | Use thin, even layers |
| Wrong cloth material | Lint, streaks | Use 100% cotton or microfiber |
How Pressure Affects Wax Adhesion and Finish
Though often overlooked, the amount of pressure you apply during waxing plays a critical role in adhesion and final appearance. Too much pressure compacts the wax, reducing its ability to bond with the surface texture. Light, even pressure allows the wax viscosity to spread uniformly, guaranteeing ideal film thickness-typically 0.5 to 1.0 mils for most synthetic blends. High-viscosity waxes require slightly more pressure to initiate flow but risk smearing if over-applied. On uneven surfaces, excessive pressure forces wax into micro-imperfections, leaving thin spots on peaks. Low-viscosity formulas level better under minimal pressure, adapting to contour variations. Consistent 3–5 psi hand pressure works best across most pads and surfaces. This balance guarantees full coverage without burnishing prematurely. Uniform pressure directly influences refractive index and gloss retention. You control adhesion and finish clarity with every pass-precision matters.
Pro Tips for a Long-Lasting Shine
When aiming for a long-lasting shine, preparation matters just as much as application. Surface cleanliness guarantees wax adhesion. Remove contaminants with a pH-neutral wash and clay bar before applying any product. Use moderate pressure in circular motions to evenly distribute wax without thinning it prematurely. Allow proper cure time-typically 15 to 30 minutes-before buffing off with a microfiber towel.
Wax storage and environmental conditions affect product longevity. Store wax in a cool, dry place below 80°F (27°C) to prevent hardening or separation. For best shine maintenance, reapply every 3–6 months depending on climate and use.
| Factor | Recommendation |
|---|---|
| Application Temp | 60–80°F (15–27°C) |
| Ideal Humidity | Below 60% |
| Cure Time | 15–30 min |
| Wax Storage | Sealed, upright, cool |
| Shine Maintenance | Reapply every 3–6 months |
On a final note
You achieve ideal wax adhesion with consistent, light pressure-typically 2 to 3 pounds per square inch. Excessive force generates heat, softening wax and reducing coverage. Use foam applicators for even spread and microfiber cloths for residue removal. Buff at 1,200–1,800 RPM with minimal downforce to prevent holograms. Match wax viscosity to surface porosity: paste waxes suit flat metal; liquids work better on textured areas. Proper technique extends protection up to six months.