DIY Brake Maintenance: Bleed, Flush & Replace Pads (3mm Rule)
Park your vehicle on a level surface and use jack stands rated for its weight. Disconnect the battery and gather tools: torque wrench (80–100 ft-lbs), C-clamp, and bleeder wrench. Flush old brake fluid every 24,000 miles using DOT 3 or DOT 4 fluid-DOT 4 offers a higher boiling point (446°F). Remove old fluid with a suction tool and refill from a sealed container. Start bleeding at the wheel farthest from the master cylinder-usually the right rear. Attach a tube to the bleeder valve and loosen it as an assistant presses the pedal fully. Tighten before releasing the pedal to prevent air intake. Repeat until fluid runs clear and free of bubbles. Maintain fluid level in the reservoir-never let it run dry. Replace pads when thickness drops to 3mm, or shoes if linings fall below 2mm. Use OEM-spec hardware and apply anti-squeal compound where indicated. Match friction material to your vehicle: ceramic for quiet operation, semi-metallic for durability. Test the system by pressing the pedal-it should feel firm. Check for leaks at calipers and fittings. Engage the emergency brake; it should lock the rear wheels in 3 to 5 clicks. Perform a low-speed test: verify straight stopping, no vibration, and no pulling. Confirm all warning lights are off and no unusual noises occur. Proper maintenance guarantees reliable, responsive braking performance. You’ll find the full process follows a logical, safety-focused sequence.
Notable Insights
- Prepare your vehicle safely by parking on a level surface, using jack stands, and disconnecting the battery before starting brake work.
- Flush old brake fluid every two years using DOT 3 or DOT 4 fluid, ensuring no mixing and proper disposal of used fluid.
- Bleed brakes starting from the wheel farthest from the master cylinder, maintaining fluid levels to prevent air entry.
- Replace brake pads when thickness drops to 3mm or less, using OEM-matched materials and anti-squeal compound as needed.
- Test the brake system by checking pedal feel, leaks, emergency brake engagement, and performance during a low-speed road test.
Prepare Your Vehicle for DIY Brake Work
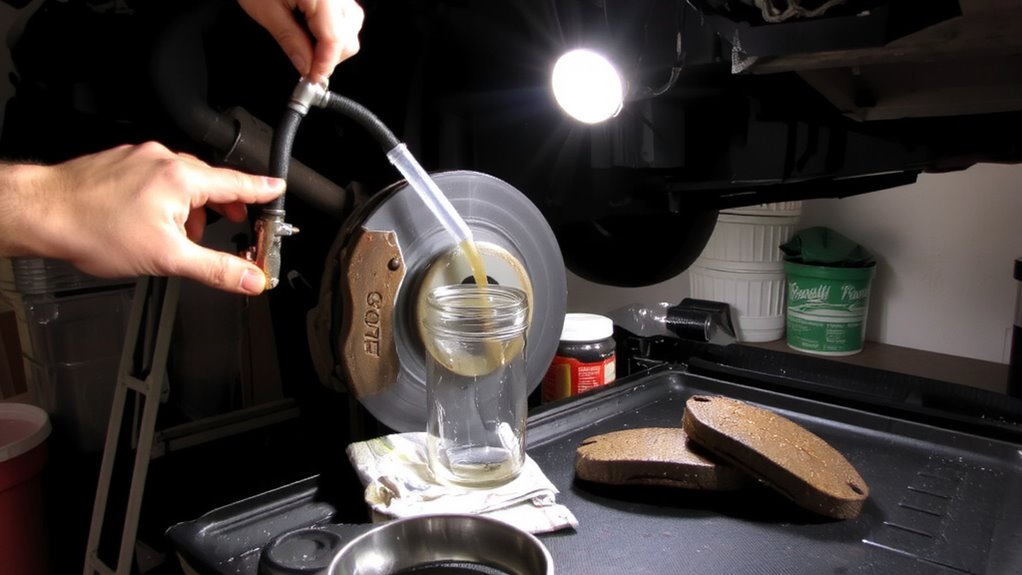
Why risk injury or damage when preparing your vehicle for brake work? Prioritizing vehicle safety is essential. Begin by parking on a flat, level surface and engaging the parking brake. Use jack stands rated for your vehicle’s weight-never rely solely on a hydraulic jack. Disconnect the battery to prevent electrical shorts during tool preparation. Gather necessary tools: a torque wrench (calibrated to your vehicle’s specs, usually 80–100 ft-lbs for wheel lug nuts), C-clamp, brake piston tool, and lug wrench. Inspect all tools for wear or damage. Clean brake components with DOT-compliant brake cleaner to remove contaminants. Proper tool preparation guarantees precision and prevents introducing debris. Always wear safety glasses and nitrile gloves. Following factory-recommended procedures minimizes risks. Treat each step methodically-your safety depends on attention to detail, not luck.
Flush Old Brake Fluid at Home
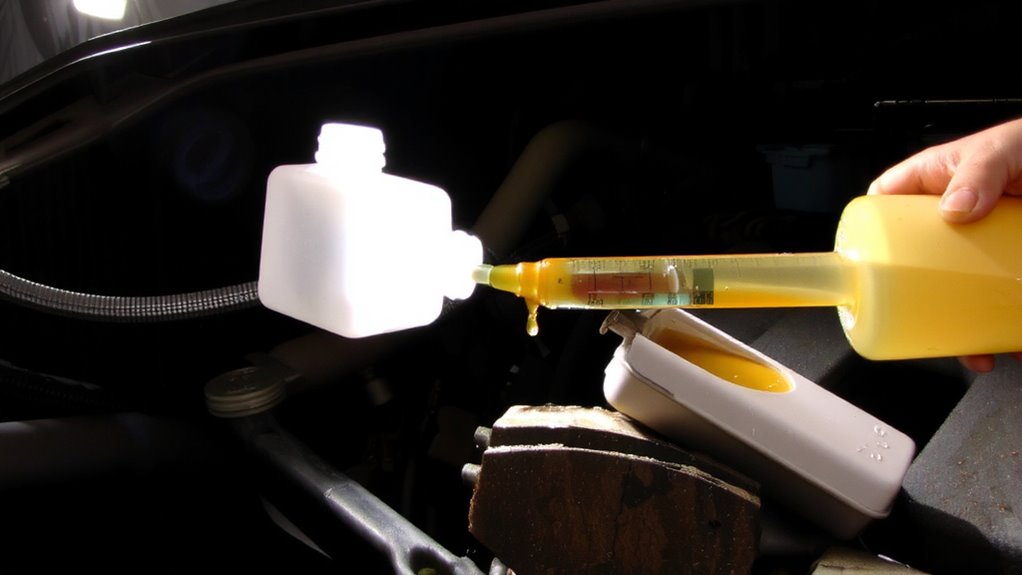
How often do you consider what’s flowing inside your brake lines? Old brake fluid absorbs moisture over time, leading to moisture contamination that lowers its boiling point and risks brake failure. You should flush it every two years or 24,000 miles. Start by identifying your vehicle’s correct brake fluid types-most use DOT 3 or DOT 4, which are glycol-based and hygroscopic. DOT 4 handles higher temperatures, typically boiling at 446°F dry versus DOT 3’s 401°F. Use only fresh fluid from a sealed container. Open the reservoir, remove the old fluid with a suction tool, then refill with new fluid. Avoid mixing incompatible types. This process clears contaminated fluid but doesn’t remove air-bleeding comes later. Proper flushing maintains system integrity and prevents internal corrosion. Always dispose of used fluid according to local regulations.
Bleed Your Brakes for a Firm Pedal
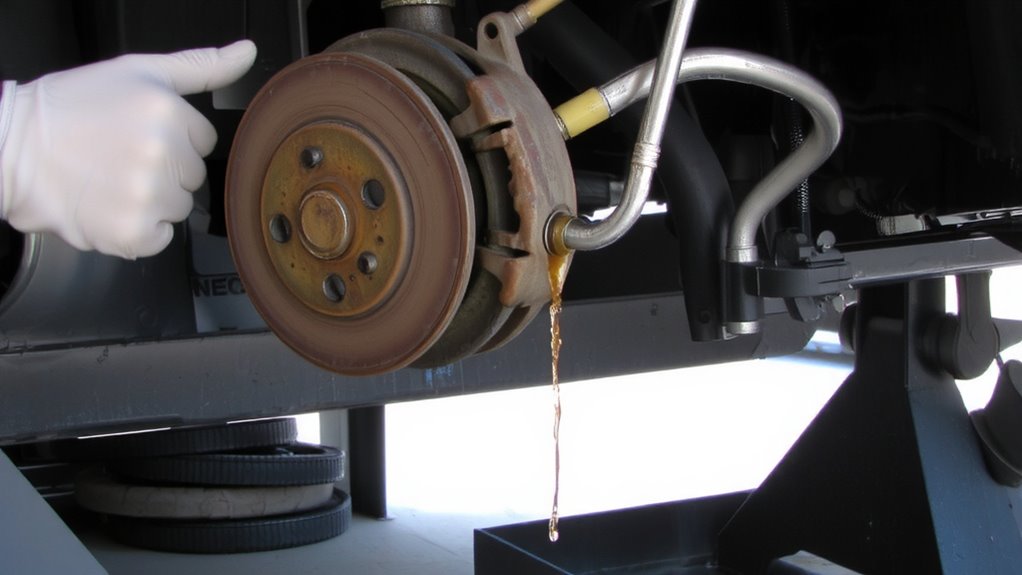
After replacing the old fluid, the next step is removing trapped air that causes a spongy brake pedal. Air in the lines reduces brake pressure because gases compress more than fluid. You’ll need fresh DOT 3 or DOT 4 fluid and a bleeder wrench. Start at the wheel farthest from the master cylinder-usually the right rear. Loosen the bleeder valve slightly while a helper presses the brake pedal fully. Tighten the valve before the pedal releases. Repeat until fluid flows without bubbles. Do this for each caliper, moving toward the master cylinder. Good pedal response returns when all air is purged. A firm, consistent feel confirms proper brake pressure. Use a 1/8-inch tube over the bleeder to prevent spills. Check fluid level often. Never let the master cylinder run dry during bleeding. For added convenience during extended roadside maintenance, consider keeping essential tools and fluids organized with a portable car camping tech setup.
Replace Brake Pads or Shoes Yourself
While the brake system is already exposed from bleeding, it’s an ideal time to inspect and replace pads or shoes if needed. Check for brake pad wear: most manufacturers recommend replacement at 3mm thickness or less. Measure with a caliper or use a ruler through the wheel spokes. Worn pads reduce stopping power and can damage rotors. Rear drum brakes require attention too-shoe replacement timing typically aligns with pad changes, around 35,000 to 50,000 miles, but varies by driving conditions. Inspect linings; replace if below 2mm. Use OEM-spec hardware and anti-squeal compounds where specified. Match friction material to your vehicle’s specs-ceramic for quiet operation, semi-metallic for durability. Proper bedding prevents glazing. Always install new hardware on drum systems. Guarantee adjusters move freely. Reassembly mistakes lead to poor performance. Match each component to factory torque values. Using a quality brake bleeding kit can make the overall maintenance process more efficient and effective.
Test and Verify Your Brake System
You’ve replaced the pads or shoes and reassembled the braking components with correct torque and OEM-specified hardware. Now, verify system performance. Start with a static check: press the brake pedal firmly. You should notice a firm brake pedal feel-minimal travel with no sponginess. Sponginess indicates trapped air; re-bleed the system. Inspect for fluid leaks at calipers, hoses, and connections. Next, test the emergency brake function. Engage it fully; it should lock the rear wheels after three to five clicks. If not, adjust cable tension or inspect rear brake shoes. Perform a low-speed road test in a safe area. Apply moderate then sudden braking. The vehicle must stop straight, without vibration or pulling. Monitor for warning lights, noises, or soft pedal feel. Confirm all work meets factory specs. Safety depends on precision-double-check every detail.
On a final note
You’ve completed essential brake maintenance. Properly flushed fluid meets DOT 3, 4, or 5.1 standards and guarantees peak hydraulic performance. Bleeding eliminates compressible air, restoring firm pedal feel. New pads or shoes with ≥80% lining thickness improve stopping power. Test system at low speed. Confirm no leaks, sponginess, or warning lights. Correct torque on caliper bolts (22–25 ft-lbs) prevents misalignment. Well-maintained brakes extend rotor life and maintain safety margins under load.