DIY Guide to Replacing Ignition Coils: A Basic but Important Task That Can Improve Spark Timing Accuracy for Better Combustion Within Each Cylinder
You can fix misfiring and restore precise spark timing by replacing worn ignition coils. Faulty coils often show high resistance-over 12,000 ohms-or trigger codes like P0351. Use a socket wrench, insulated gloves, and a torque wrench set to 7–10 Nm. Install new coils matching OEM specs, typically 6,000–30,000 ohms. Avoid over-torquing or dirty connectors. Confirm proper function with an OBD2 scanner. Further diagnostic tips and performance checks follow.
Notable Insights
- Faulty ignition coils cause misfires and poor combustion, reducing engine efficiency and spark timing accuracy.
- Always disconnect the battery before replacing coils to prevent electrical hazards during the DIY process.
- Use a torque wrench to tighten mounting bolts to 7–10 Nm, avoiding coil damage from over-torquing.
- Install new coils with correct polarity and full electrical engagement to ensure proper spark generation.
- After replacement, use an OBD2 scanner to verify no misfire codes remain and monitor fuel trims.
How to Tell If Your Ignition Coils Are Failing
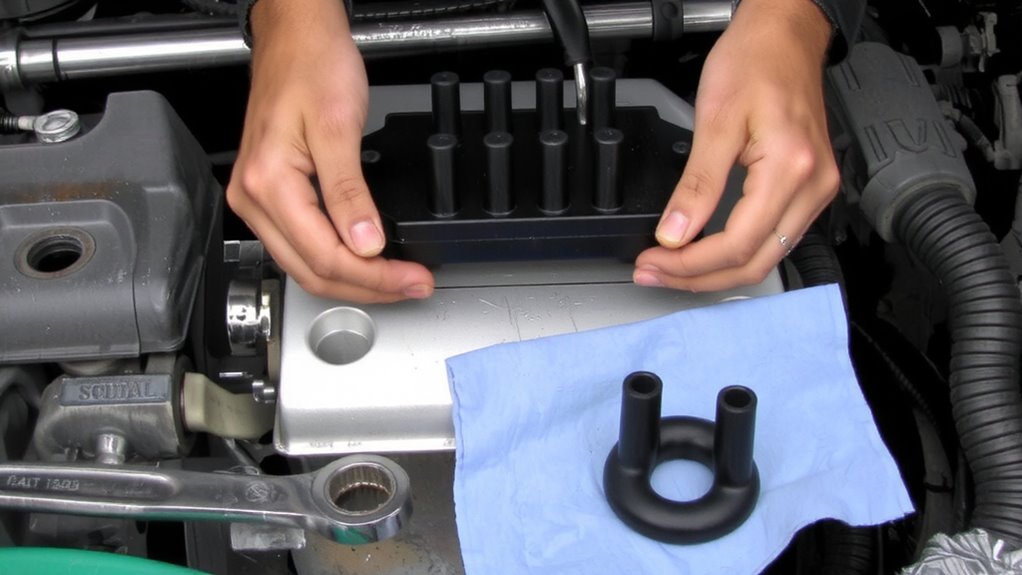
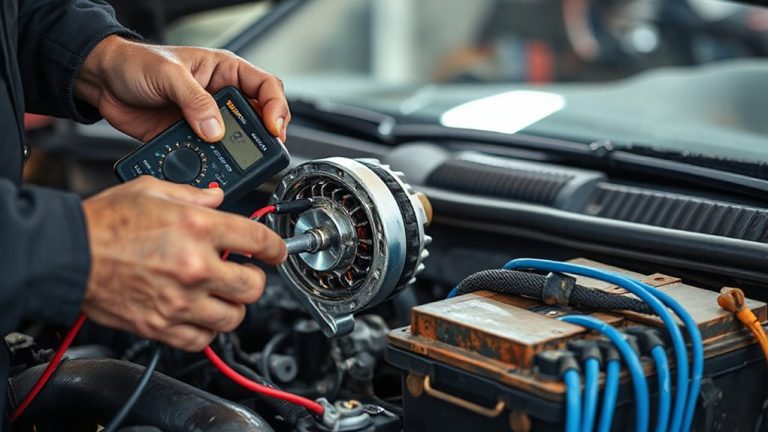
Why might your engine suddenly misfire or run roughly? It’s often due to failing ignition coils. These components generate the high voltage needed for spark plugs to ignite the air-fuel mixture. When they degrade, misfires become common. You’ll notice engine knocking-a metallic ping caused by premature combustion-especially under load. Poor acceleration follows, as unburned fuel reduces cylinder efficiency. Misfires typically trigger the check engine light and may log OBD-II codes like P0351–P0354. On multimeter tests, a healthy coil reads 6,000–12,000 ohms on the secondary winding; outside this range indicates failure. Resistance deviations of ±20% mean replacement is urgent. Ignition coils operate at 20,000–30,000 volts; weakened output disrupts spark timing accuracy. Left unaddressed, damage extends to catalytic converters and oxygen sensors. Early diagnosis prevents costly repairs. Using a reliable car diagnostic tool can help accurately identify ignition coil issues before they lead to more severe engine problems.
What Tools and Parts You Need to Replace Ignition Coils
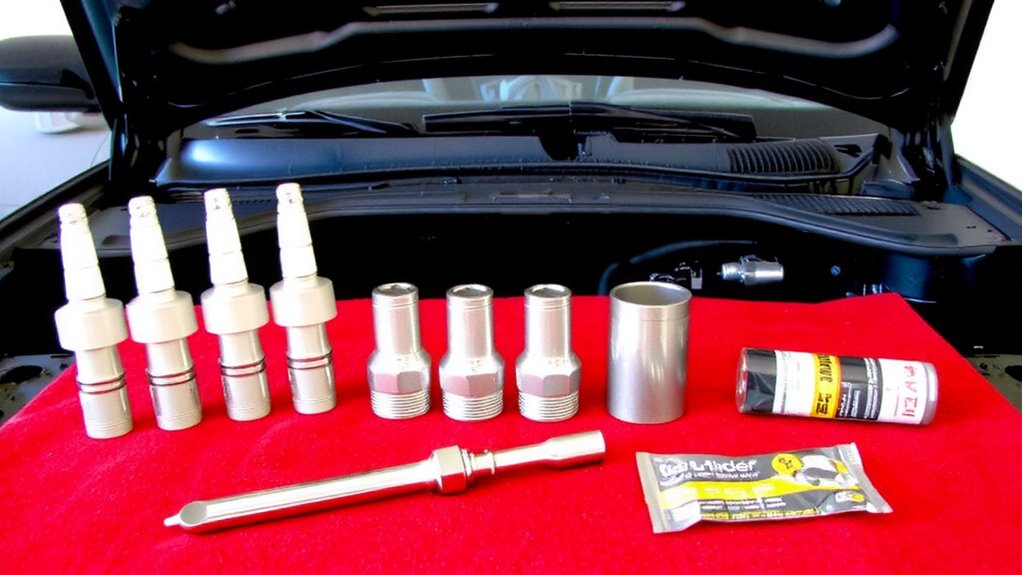
A complete set of the right tools and replacement parts makes ignition coil replacement straightforward and safe. You’ll need a socket wrench with a 7mm or 8mm socket, depending on your vehicle’s coil pack fasteners. Insulated gloves protect against accidental shocks. A torque wrench guarantees fasteners are tightened to manufacturer specs-usually 7–9 ft-lbs. Use dielectric grease to prevent moisture buildup on electrical contacts. New ignition coils must match your engine’s OEM specifications for coil resistance, typically between 6,000 and 30,000 ohms, to maintain proper spark intensity. Incorrect resistance disrupts spark timing and reduces combustion efficiency. A digital multimeter helps verify resistance before installation. Include anti-seize compound for coil boots if your engine runs hot. OEM-grade spark plug wires or coil-on-plug assemblies preserve consistent spark intensity. Label connectors to avoid misrouting. Keep all parts organized and clean.
Replace Ignition Coils in 6 Steps
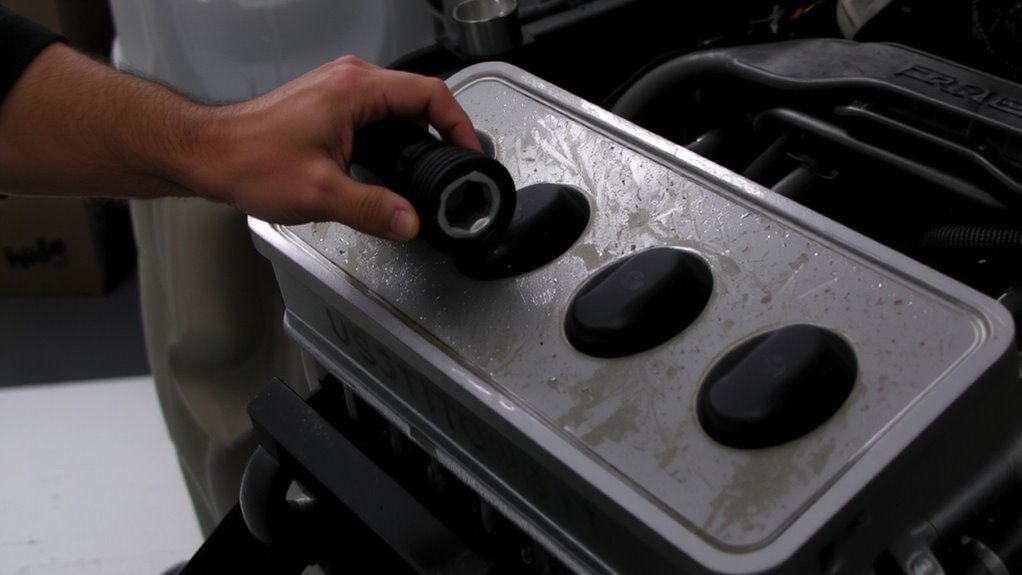
You can replace your ignition coils efficiently by following a clear, step-by-step process designed to maintain engine performance and safety. First, disconnect the battery to prevent electrical hazards. Locate the coils-typically on top of the engine-then unplug the electrical connector and remove the mounting bolt. Carefully pull out the old coil, noting its position and coil types, as designs vary between wasted spark and coil-on-plug systems. Install the new coil by reversing the steps, guaranteeing full electrical engagement. Repeat for each cylinder. Proper seating prevents misfires and maximizes spark efficiency. Use a torque wrench to tighten bolts to manufacturer specs-usually 7–10 Nm. Correct alignment and secure connections guarantee accurate spark timing and consistent combustion. Matching replacement coils to your engine’s required coil types maintains peak spark efficiency across all cylinders.
Avoid These Ignition Coil Installation Mistakes
Skipping proper installation procedures puts your engine’s reliability at risk, even with high-quality replacement coils. Always confirm correct coil polarity-reversing power and ground can permanently damage the ignition module. Most modern coils operate with a 12-volt supply; incorrect polarity disrupts the primary circuit’s magnetic field collapse, preventing spark generation. Use a multimeter if unsure, and consult your vehicle’s service manual for wiring diagrams. Avoid causing heat damage by never using open flames or excessive torch heat near coil packs during removal. Temperatures above 300°F degrade internal windings and insulation. Install coils snugly but don’t overtighten mounting bolts-typically 6–9 Nm torque is sufficient. Loose coils vibrate and abrade wiring, while over-torquing cracks the housing. Keep connectors clean and dry to guarantee reliable signal transfer.
Check for Misfires and Codes After Replacement
Why risk poor engine performance after replacing ignition coils if you’re not verifying the repair? Always scan for misfires and trouble codes using an OBD2 scanner. Left unchecked, residual codes can mask issues with spark quality or cylinder balance. Modern engines rely on precise ignition timing; even one weak coil throws off combustion efficiency. Check freeze frame data to confirm if misfires persist per cylinder. If codes return, reseat the coil or inspect spark plugs. Good spark quality guarantees complete fuel burn, reducing emissions and stress on the catalytic converter. A balanced cylinder load means each combustion event produces uniform power. Use live data to monitor misfire counts-any spike above 20 in a 1,000-cycle window indicates trouble. Proper diagnostics validate your work. It’s not done until the system confirms ideal spark and balance. A reliable best OBD2 scanners tool ensures accurate readings and efficient troubleshooting.
Test Engine Performance After Swap
With misfire codes cleared and ignition timing confirmed, the next step is evaluating how well the engine performs under real operating conditions. Take the vehicle for a 15- to 20-minute drive under varied loads-city streets, highways, and moderate acceleration. Monitor for improved engine smoothness, especially at idle and during low-RPM operation. A properly functioning ignition system should eliminate hesitation and rough shifts. Use a scan tool to observe fuel trims; stable short- and long-term trims indicate better combustion efficiency. Over time, you should notice a measurable gain in fuel efficiency-typically 1–3 miles per gallon-due to complete cylinder combustion. Pay attention to throttle response and power delivery; both should feel more consistent. Any remaining vibrations or surging suggest a faulty spark plug or wiring issue. Log performance data over several tanks of gas to confirm sustained improvements.
On a final note
You’ve successfully replaced your ignition coils. Properly installed coils guarantee precise spark timing, critical for maximum combustion efficiency. Each coil must sit flush with the spark plug, torqued to manufacturer specs-typically 8–15 ft-lbs. Residual oil or debris causes misfires. Reset fault codes and perform a live scan. A smooth idle and immediate throttle response confirm correct operation. This upgrade restores engine performance and fuel economy.