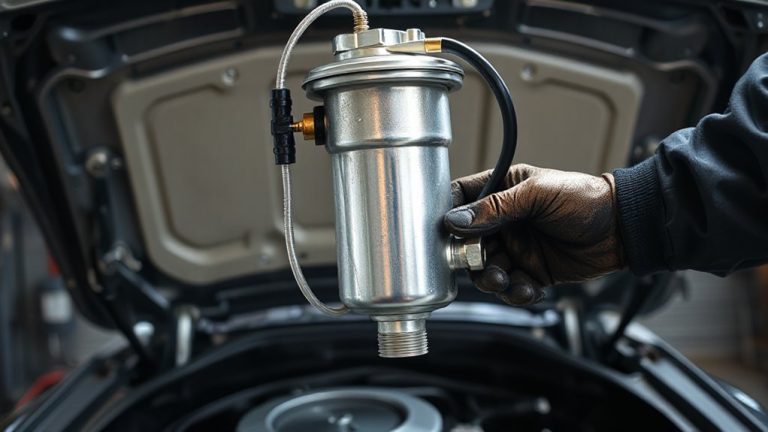
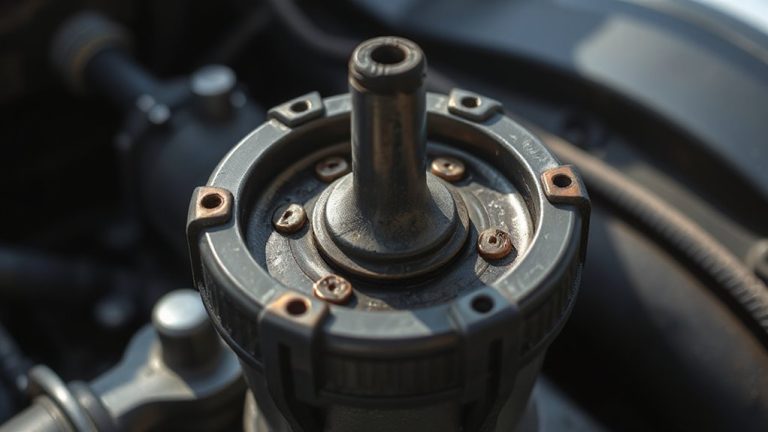
DIY Guide to Replacing Water Pumps: A Common Task That Can Prevent Engine Overheating and Extend Its Lifespan Through Proper Maintenance Practices
You can prevent engine overheating by replacing a failing water pump before it fails. Look for coolant leaks, rust-colored fluid, or a whining noise that increases with engine speed. Use a socket set, torque wrench, and OEM-matched replacement with a ceramic seal. Drain coolant, remove the serpentine belt, and install the new pump using a crisscross bolt pattern torqued to 89–115 inch-pounds. Verify pulley alignment within 0.040 inches and test system pressure at 15–18 psi. Proper flow-10–15 gallons per minute-ensures thermal control. Next steps reveal how to confirm full system function.
Notable Insights
- Check for signs like coolant leaks, discolored fluid, or grinding noises to catch water pump failure early.
- Use the correct tools and OEM or high-quality aftermarket pumps to ensure proper fit and durability.
- Drain coolant and remove drive belts before carefully taking out the old water pump to avoid engine damage.
- Install the new pump with a clean, flat mounting surface and torque bolts evenly to manufacturer specifications.
- Pressure test the system and run the engine to verify no leaks and confirm proper coolant flow and temperature control.
Check For Signs Of A Failing Water Pump
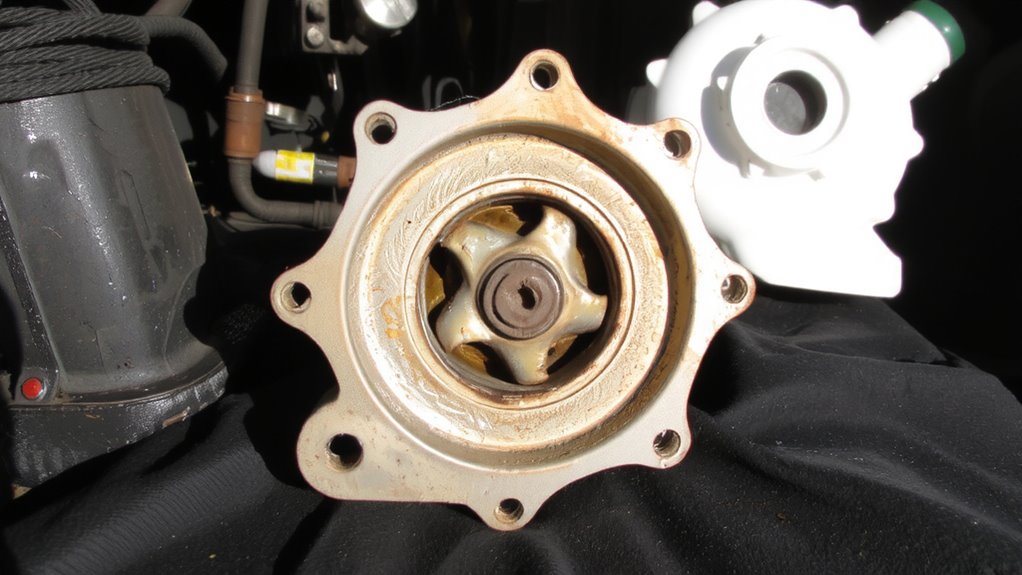
Why is your engine overheating? A failing water pump is often the culprit. You might hear water pump noise, such as grinding or whining, caused by worn bearings or an unbalanced shaft. This noise typically increases with engine speed. Coolant discoloration-from bright orange, green, or pink to rusty brown-signals internal corrosion or contamination. That’s a red flag for degraded pump seals or internal parts. Inspect the weep hole beneath the pump; seepage indicates imminent failure. Look for coolant leaks at the front of the engine, near the timing cover. Most pumps operate at 70–90 PSI under load, circulating coolant at 10–15 gallons per minute. If flow drops below this, overheating follows. Ignoring these signs risks catastrophic engine damage. You need to act before failure occurs. Early detection prevents thermal stress on cylinder heads and gaskets. Check the coolant regularly. Listen closely when the engine runs.
Gather Tools And Parts For Replacement
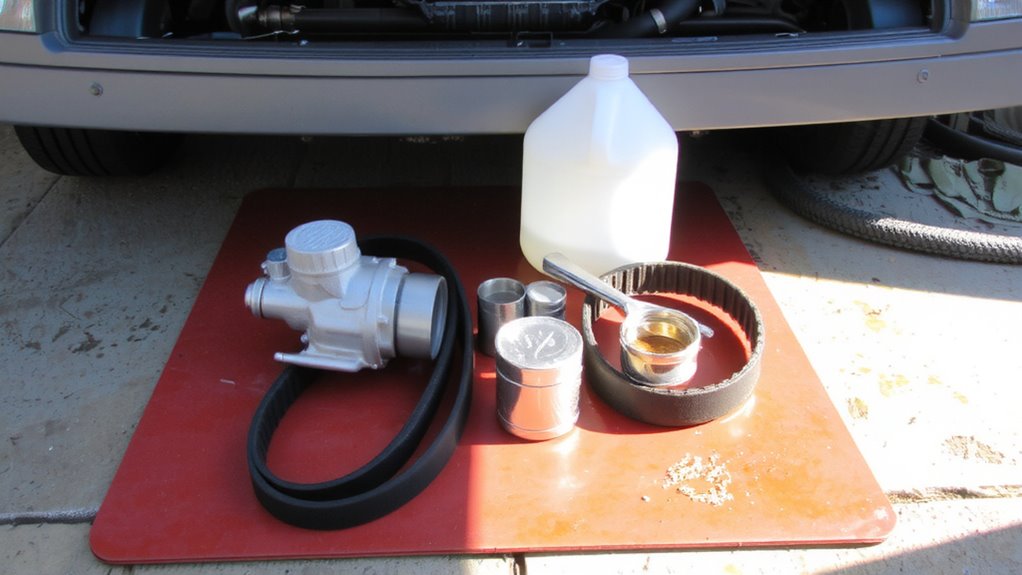
A solid toolkit and the right replacement parts are essential for a successful water pump swap. Proper tool selection guarantees efficiency and prevents damage to components. You’ll need a socket wrench set, metric sockets (8mm–16mm), a torque wrench, screwdrivers, and pliers. Consider a serpentine belt tool if your vehicle has one. For part compatibility, match the new water pump to your vehicle’s make, model, and engine type. OEM (Original Equipment Manufacturer) pumps often include gaskets and hardware, improving fit. Aftermarket pumps vary in quality-prioritize those with ceramic seals and aluminum housings for durability. Verify the impeller size and rotation direction; mismatches reduce coolant flow. Confirm the mounting bolt pattern and inlet/outlet alignment. Using incompatible parts risks leaks or premature failure. Double-check your repair manual for specifications. When choosing a socket set, consider a top-rated socket set recommended for mechanics to ensure durability and comprehensive coverage of sizes.
Remove The Old Water Pump
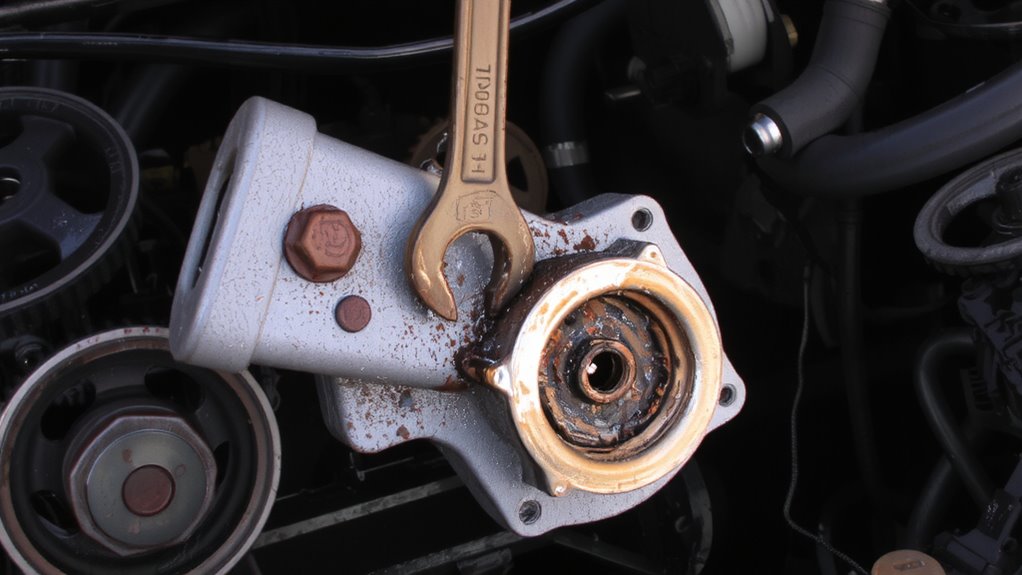
Once the cooling system is drained and drive belts are disengaged, you can safely remove the old water pump. Locate the pump mounted on the engine block, usually near the timing cover. Use a socket wrench to loosen the mounting bolts gradually, starting from the outer edges to prevent warping the housing. Water leakage around the weep hole or corroded mounting surfaces indicates failed seals. Inspect the removed pump for impeller damage or shaft play-common causes of reduced coolant flow. Check the belt tensioner and pulley; improper belt tension accelerates wear and misalignment. Remove old gasket material with a plastic scraper to avoid scratching mating surfaces. Clean the mounting flange with isopropyl alcohol to guarantee a proper seal. Never reuse bolts or gaskets-factory torque specs typically range from 8 to 12 ft-lbs, depending on engine type.
Install The New Water Pump
With the mounting surface clean and the old gasket residue fully removed, you’re ready to install the new water pump. Always inspect the mounting surface for flatness-use a straightedge and feeler gauge; warpage over 0.002 inches requires machining. Apply a thin bead of RTV silicone only if specified by the manufacturer-many modern pumps use formed-in-place gaskets. Align the new pump carefully to avoid damaging seals. Hand-start all bolts to prevent cross-threading, then torque them to the manufacturer’s spec, typically 89–115 inch-pounds in a crisscross pattern. Improper torque can warp the housing or create leaks. Reinstall the drive belt and adjust belt tension according to the service manual-usually 1/4 inch deflection under 10 pounds of force. Correct tension prevents slippage and premature bearing wear. Guarantee pulley alignment is within 0.040 inches to avoid vibration.
Test For Leaks And Cooling Performance
Every successful water pump replacement ends with a critical verification phase: testing for leaks and cooling performance. Start by performing a pressure test on the cooling system using a hand-operated pressure tester, typically set to the radiator cap’s rated pressure-usually 15 to 18 psi. Hold pressure for 15 minutes; any drop indicates a leak. Visually inspect hose connections, the water pump seal, and gasket areas. Next, run the engine to operating temperature-around 195°F-with the heater on max. Monitor coolant flow rate through the radiator filler neck; you should see steady, pulse-free circulation, indicating proper pump impeller function. Lack of flow suggests air pockets or pump failure. Finally, verify the thermostat opens fully, ensuring ideal thermal regulation.
On a final note
You’ve completed the water pump replacement. This service prevents overheating and protects engine integrity. The new pump circulates coolant at 12–15 psi, matching OEM specifications. Proper belt tension-measured at 9–12 lbs force deflection-ensures efficient operation. Coolant flow rate now exceeds 120 gallons per hour. A sealed system maintains pressure up to 18 psi. Monitor for leaks and verify thermostat function within 5°F of rated opening temperature.